Getting Started
Free Trial
You have to Create an account, without Account you cannot request free trial
1. Register Your Account and Set Up Your Free Trial Page
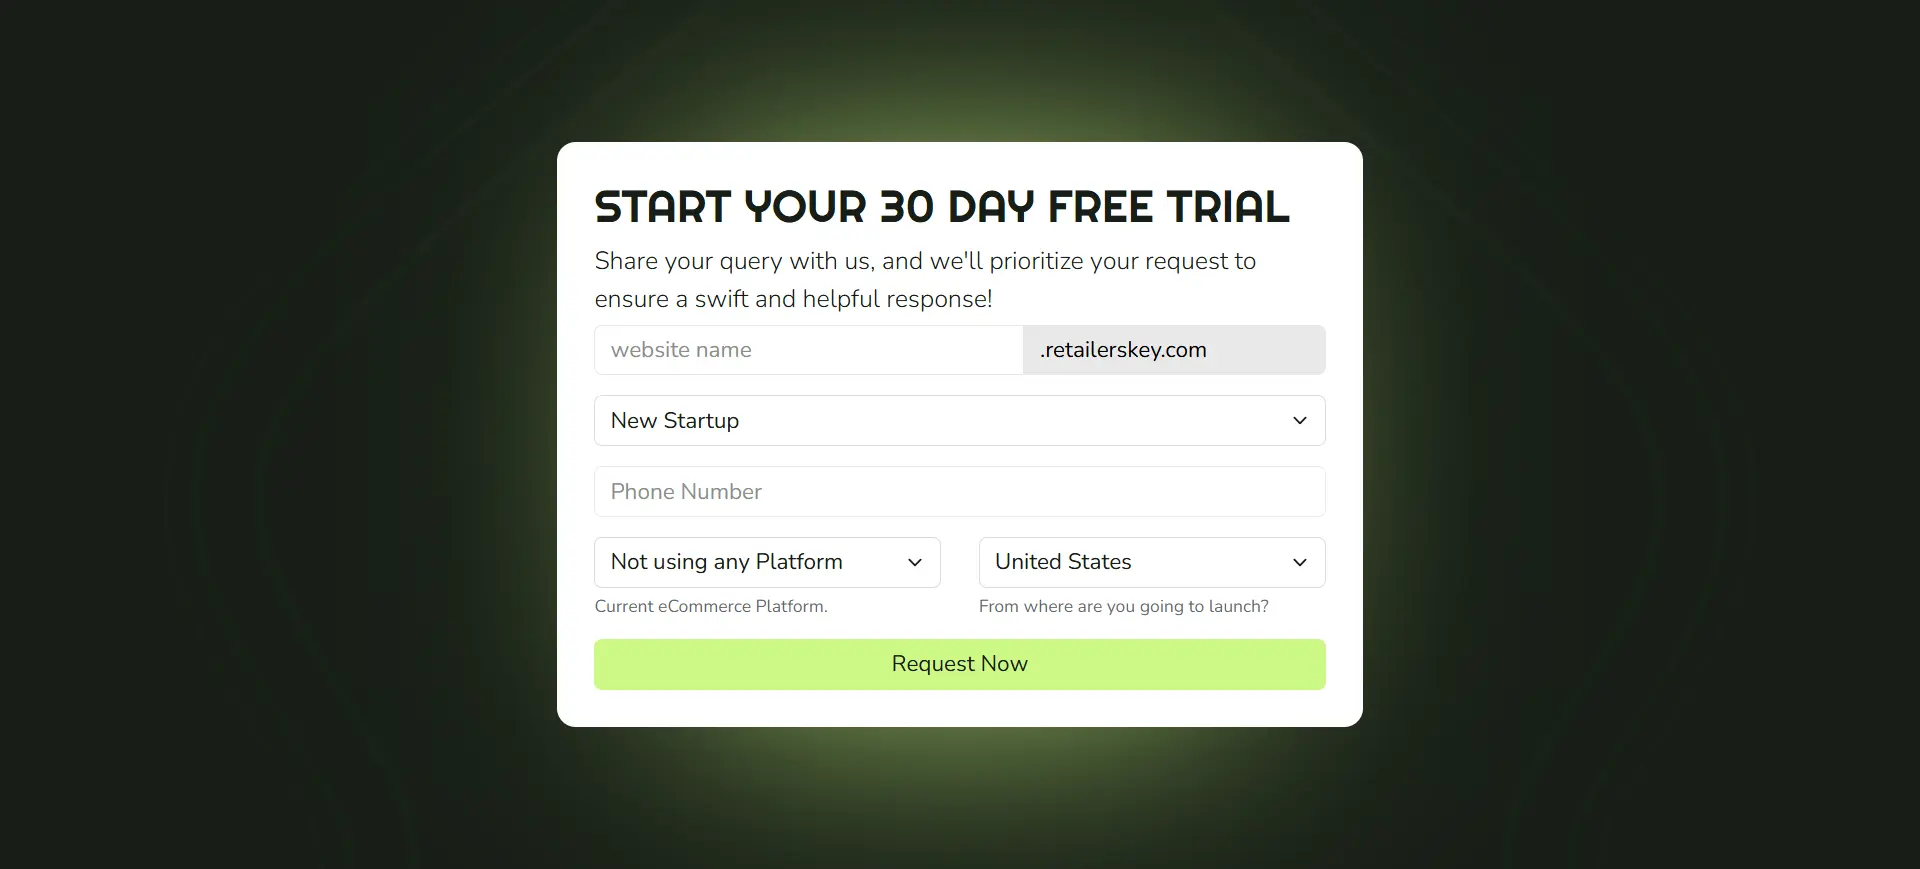
2. Complete the Free Trial Form
3. Redirecting to Setup Page – Please Allow Up to 12 Hours
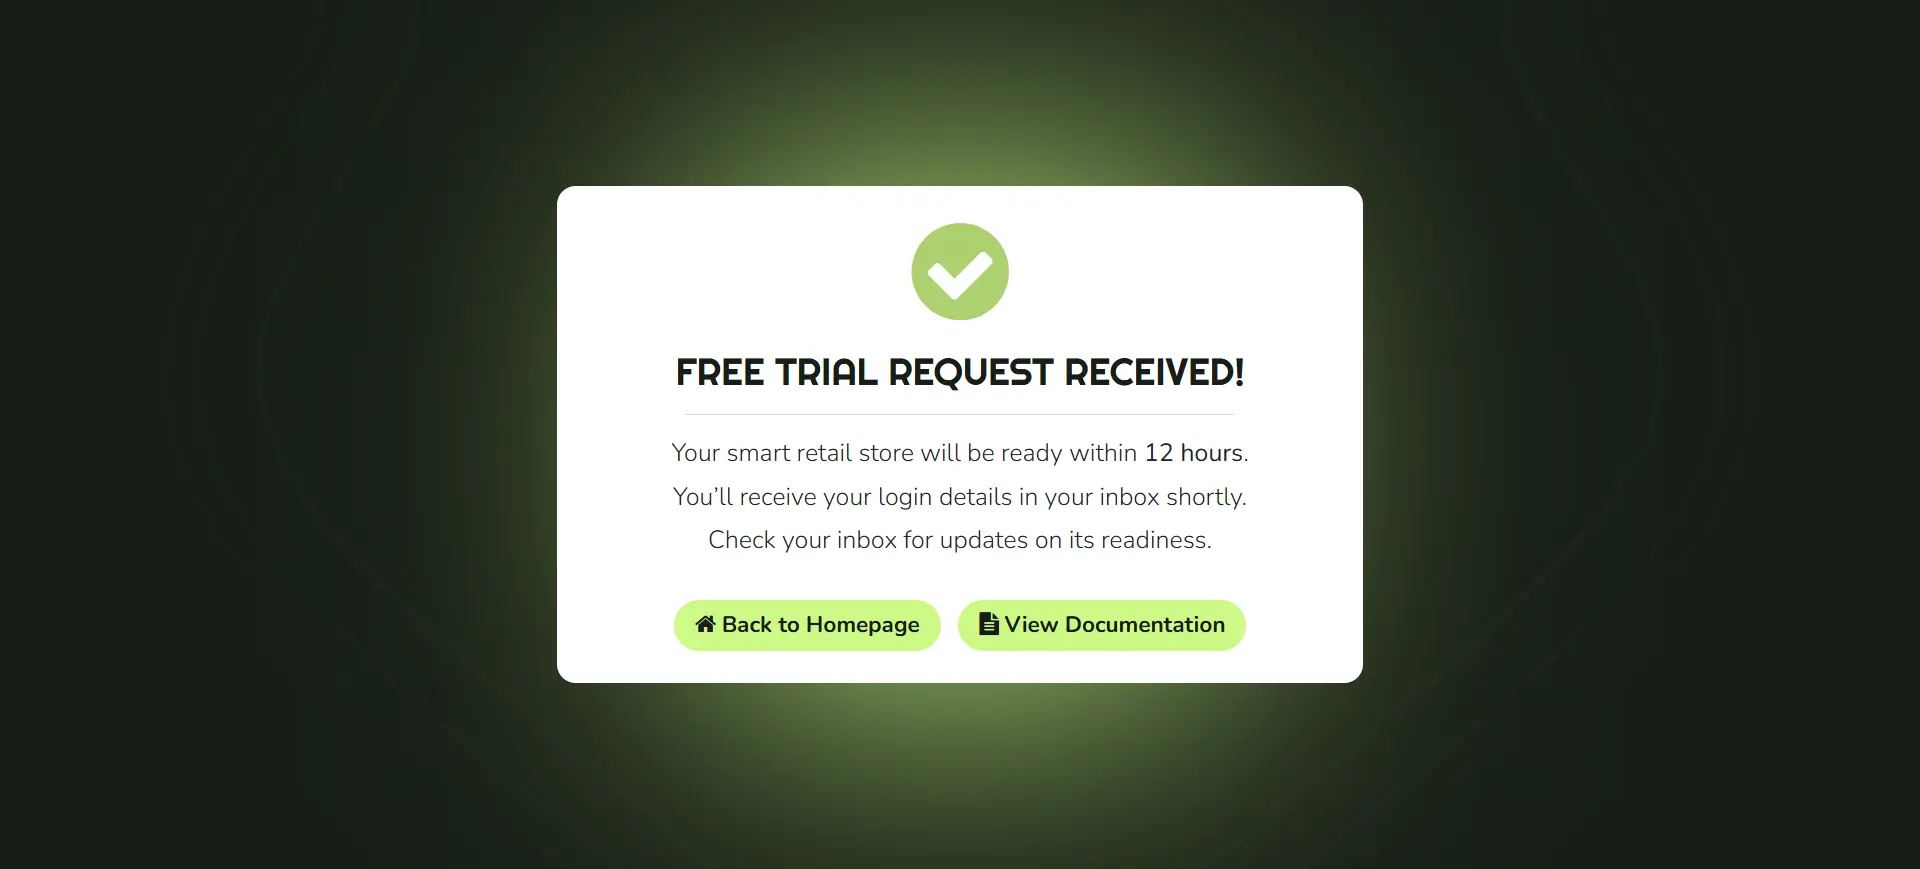
4. Store Details Will Be Emailed Within 12 Hours
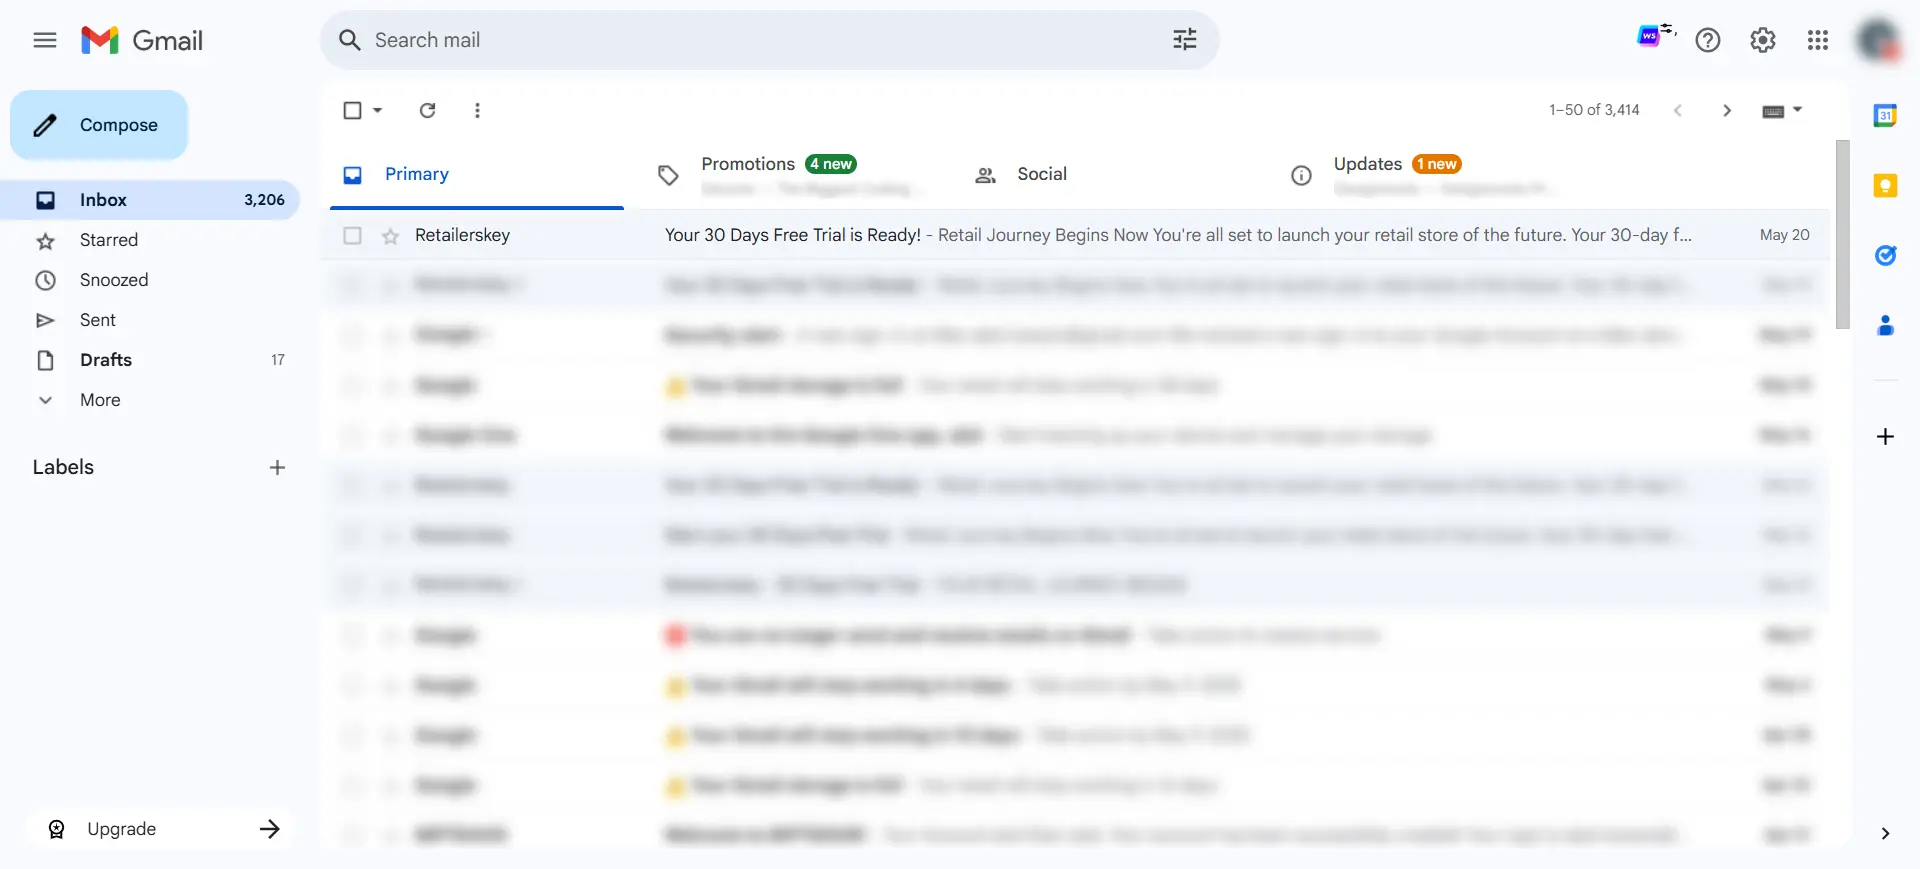
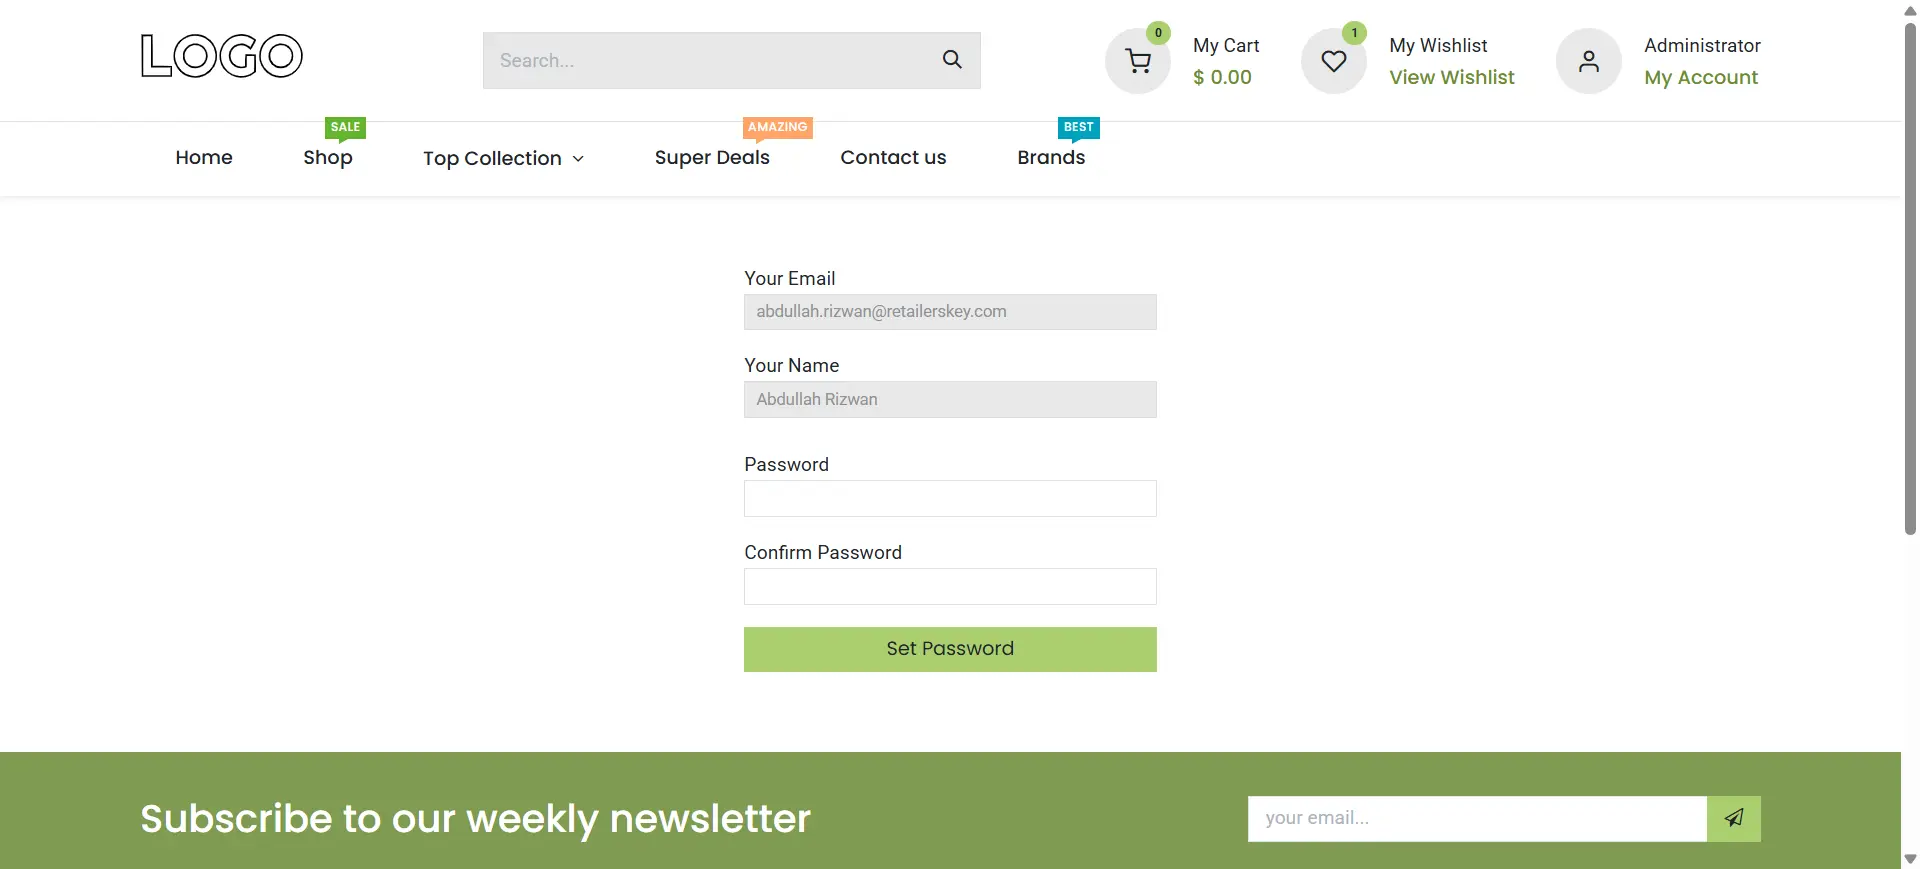
5. Open Your Email to Launch Your Store
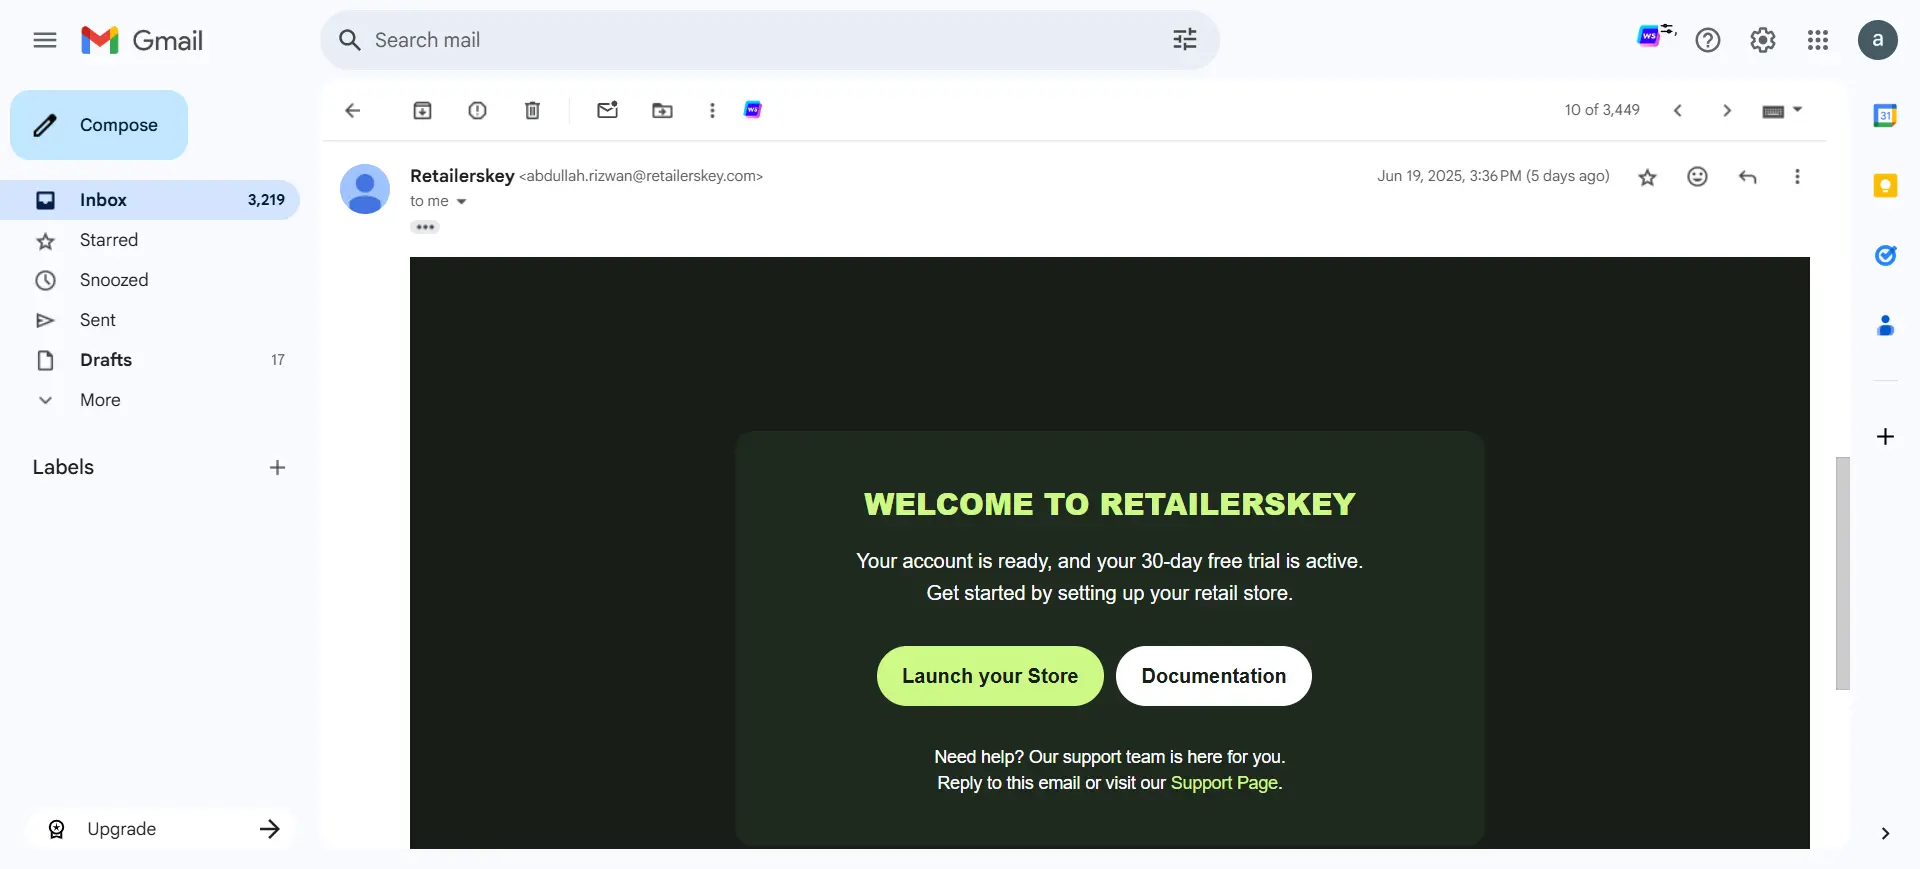
6. Set Your Password and Launch Your Store
7. Proceed to Website Setup Wizard After Securing Your Store

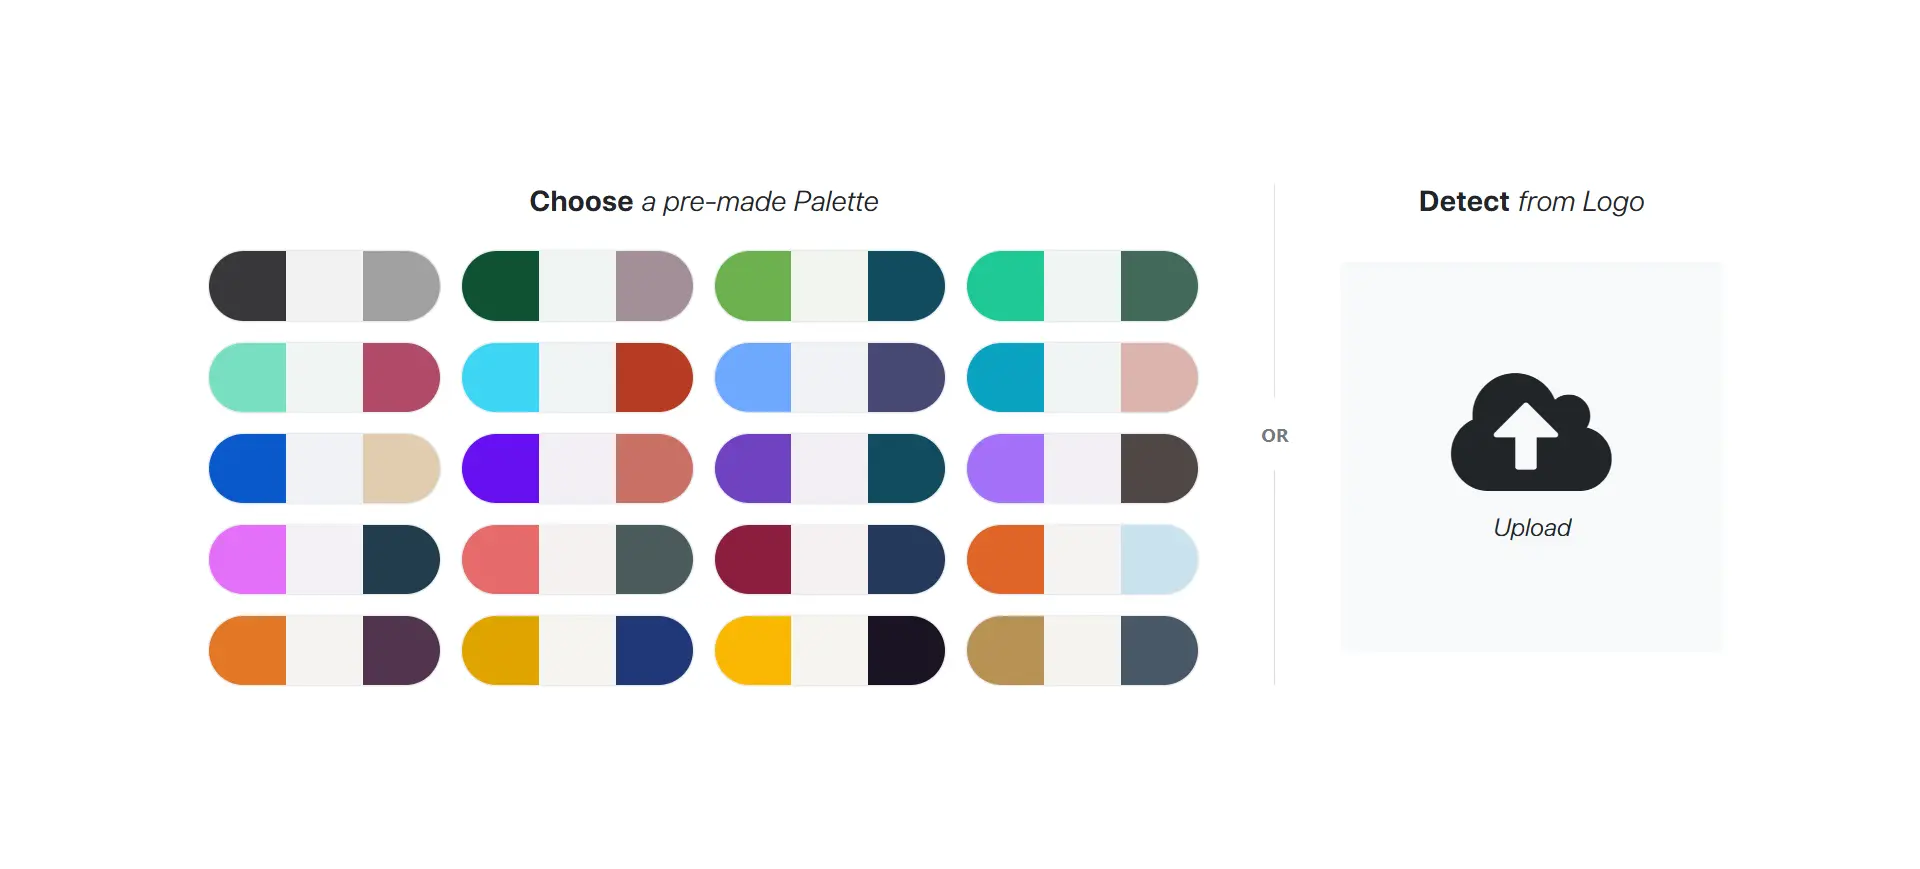
8. Select a Color Theme or Upload Your Logo for Auto-Match
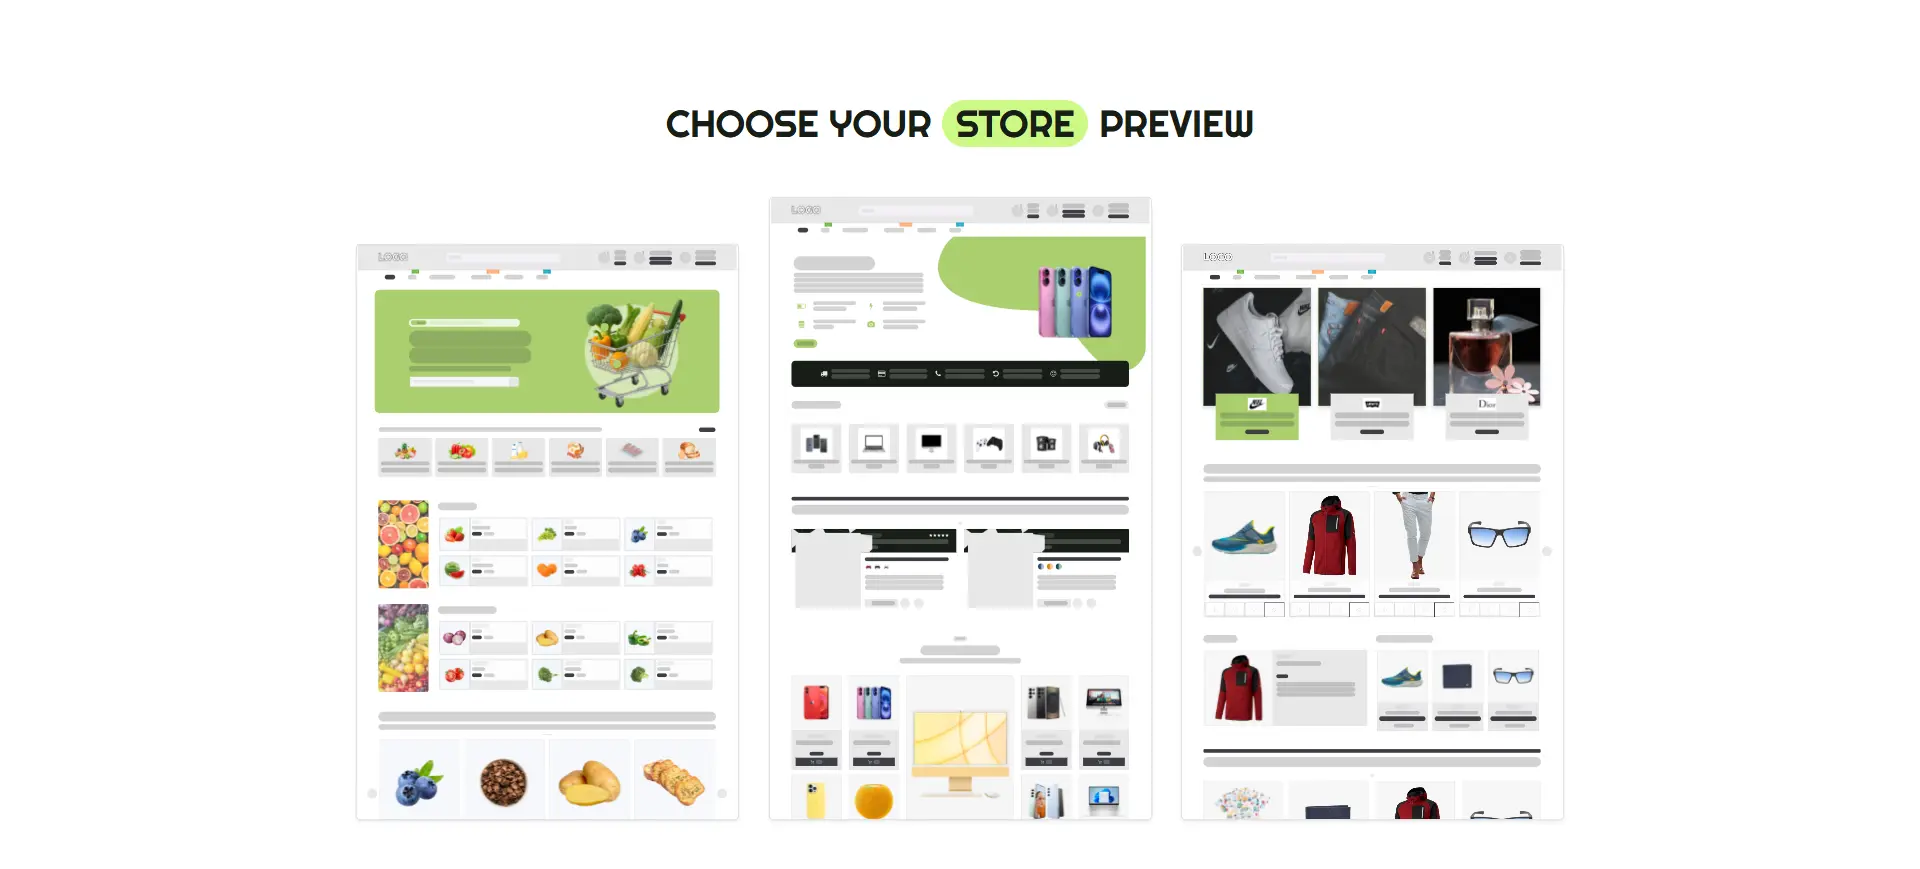
9. Choose Your Website Layout After Setting Colors
Basic Overview
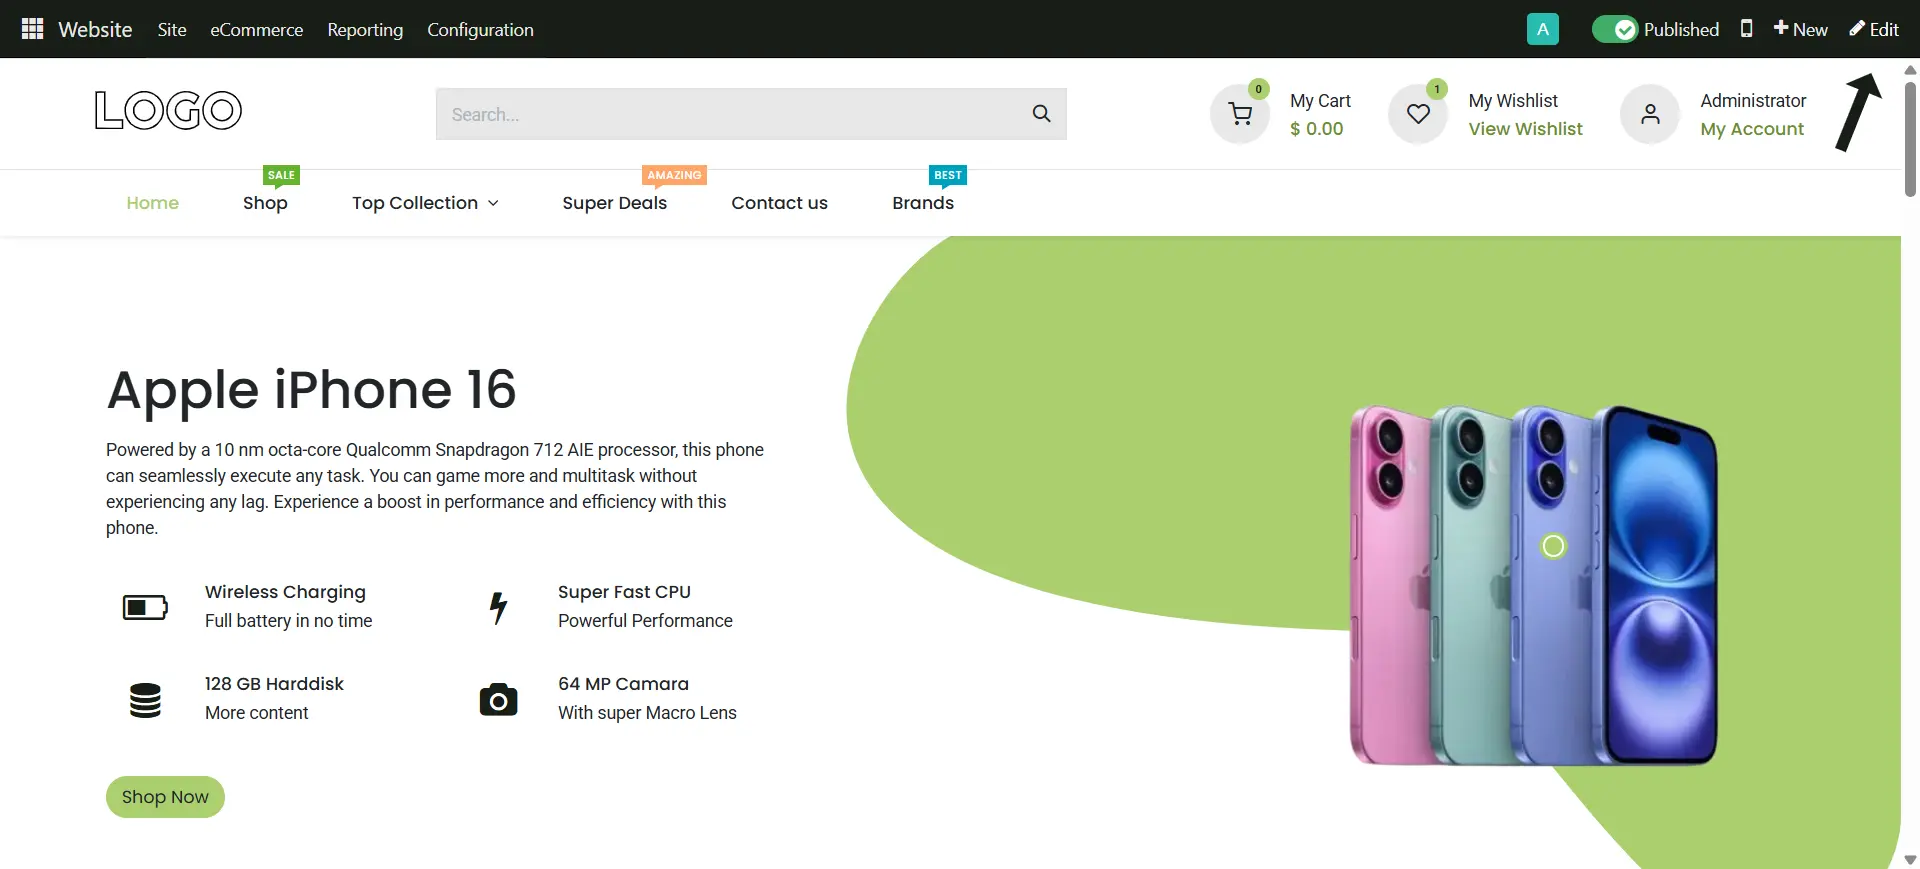
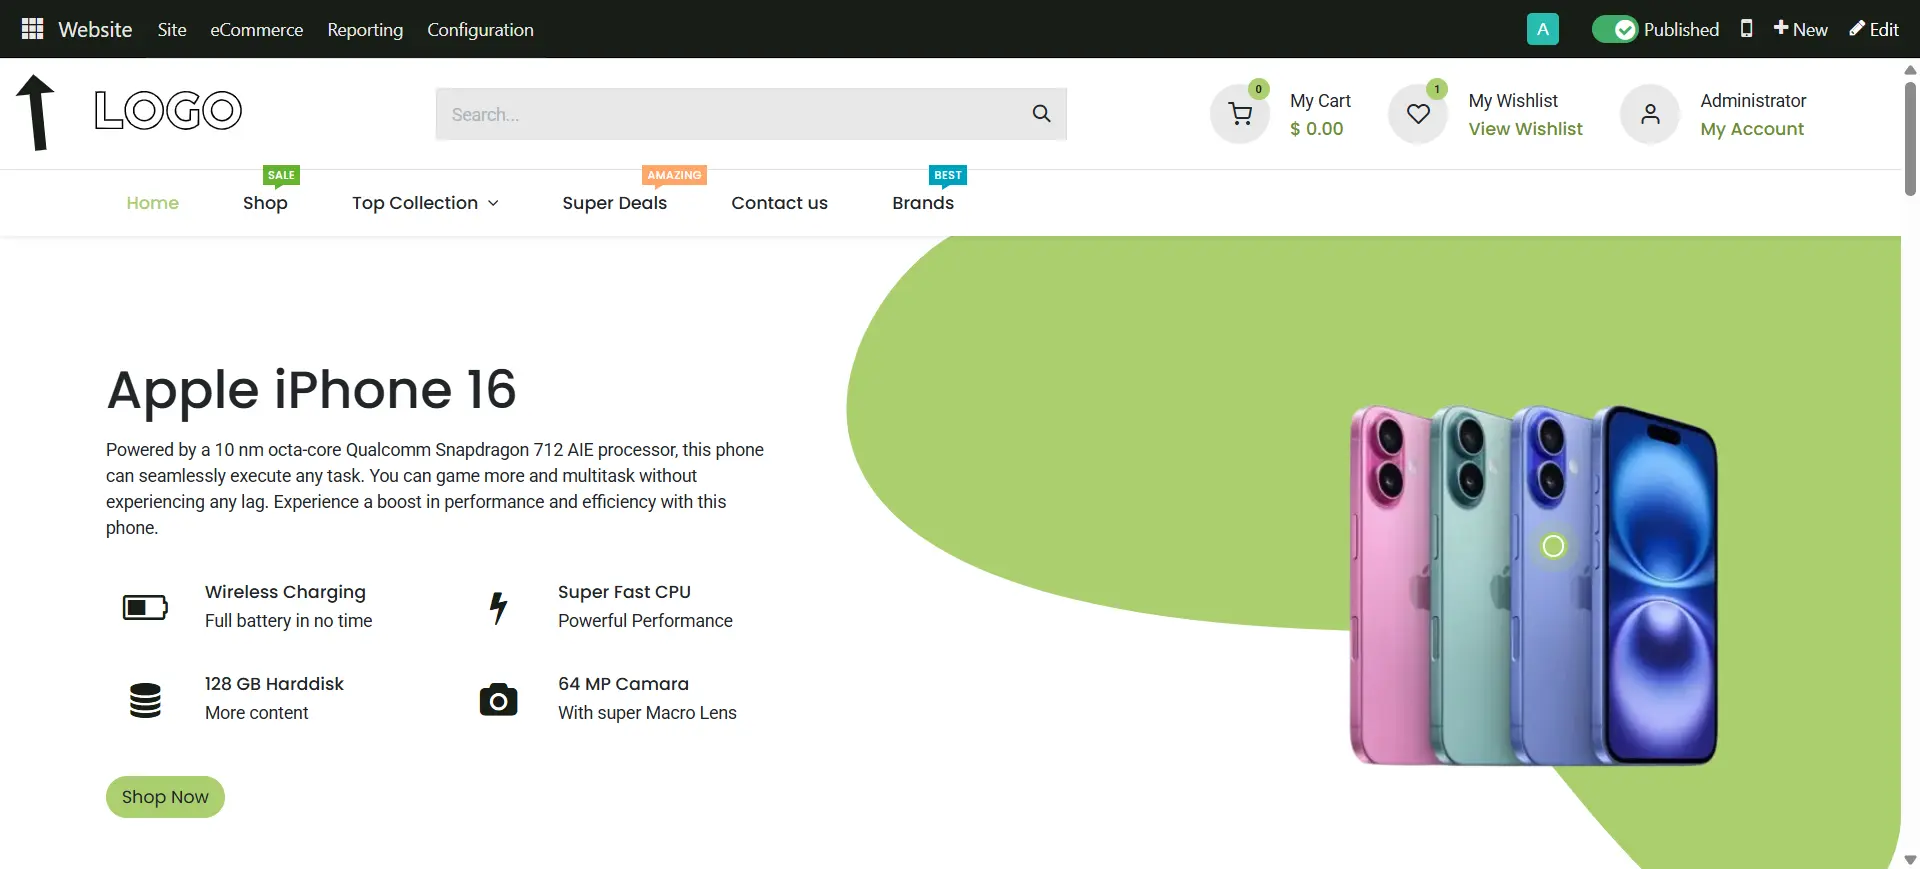
1. Click on Edit Mode to Add or Customize the Layout
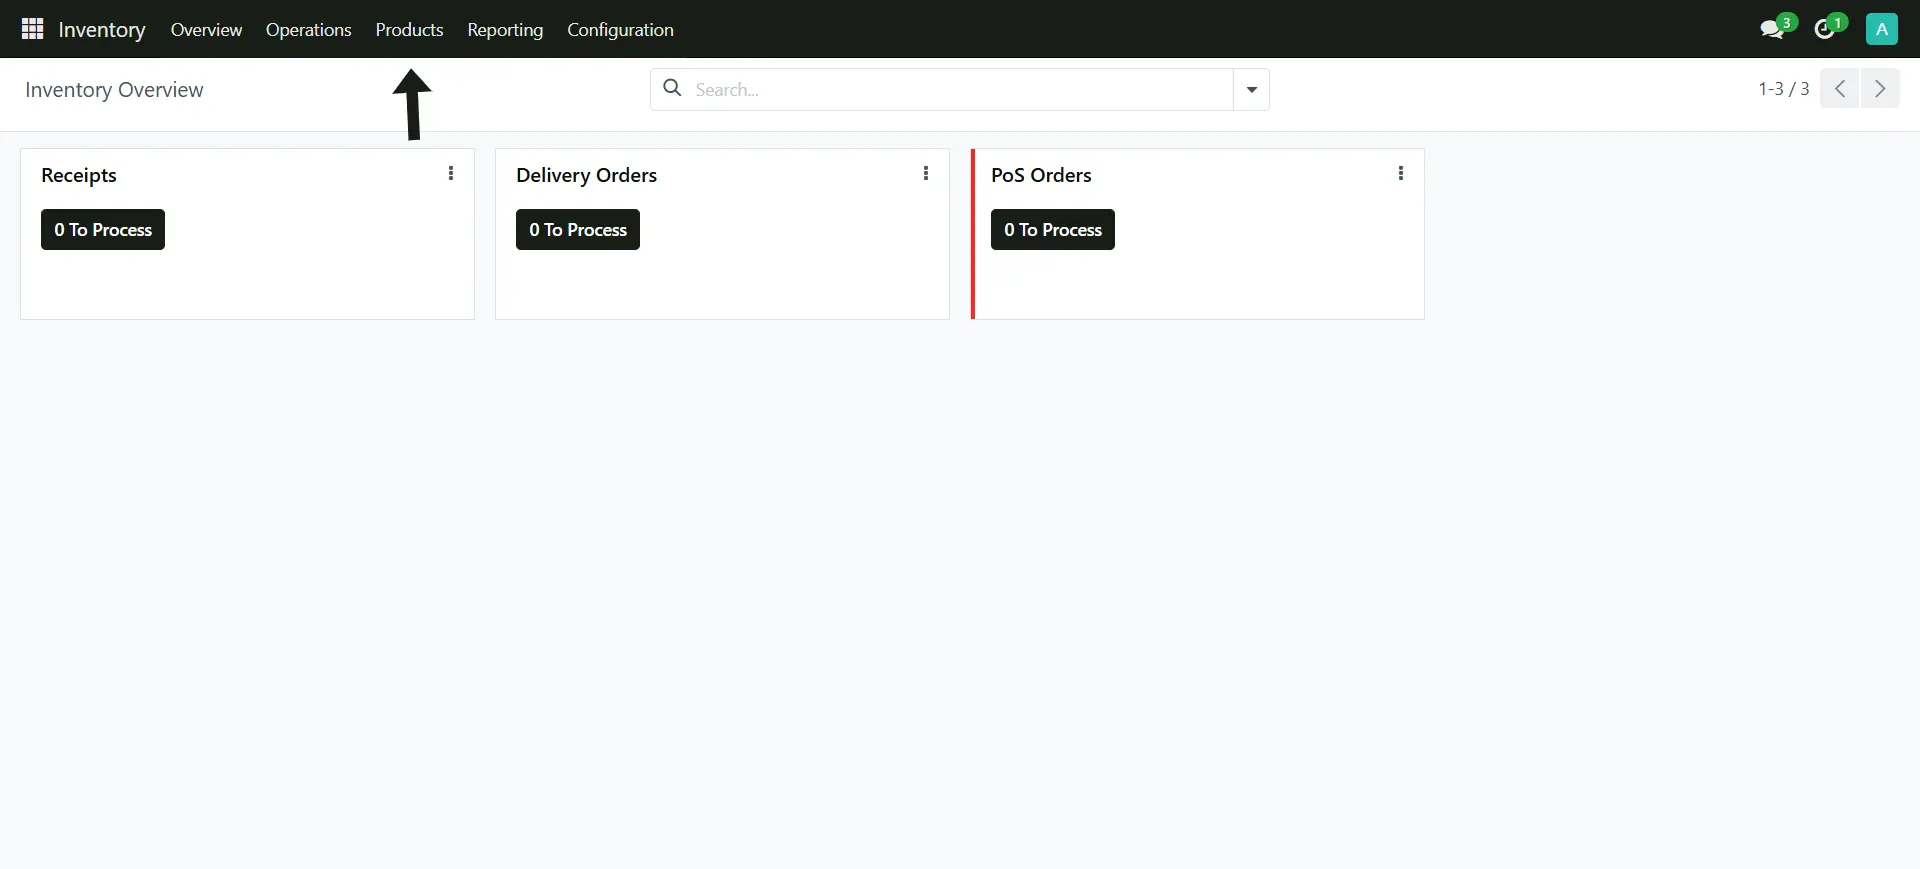
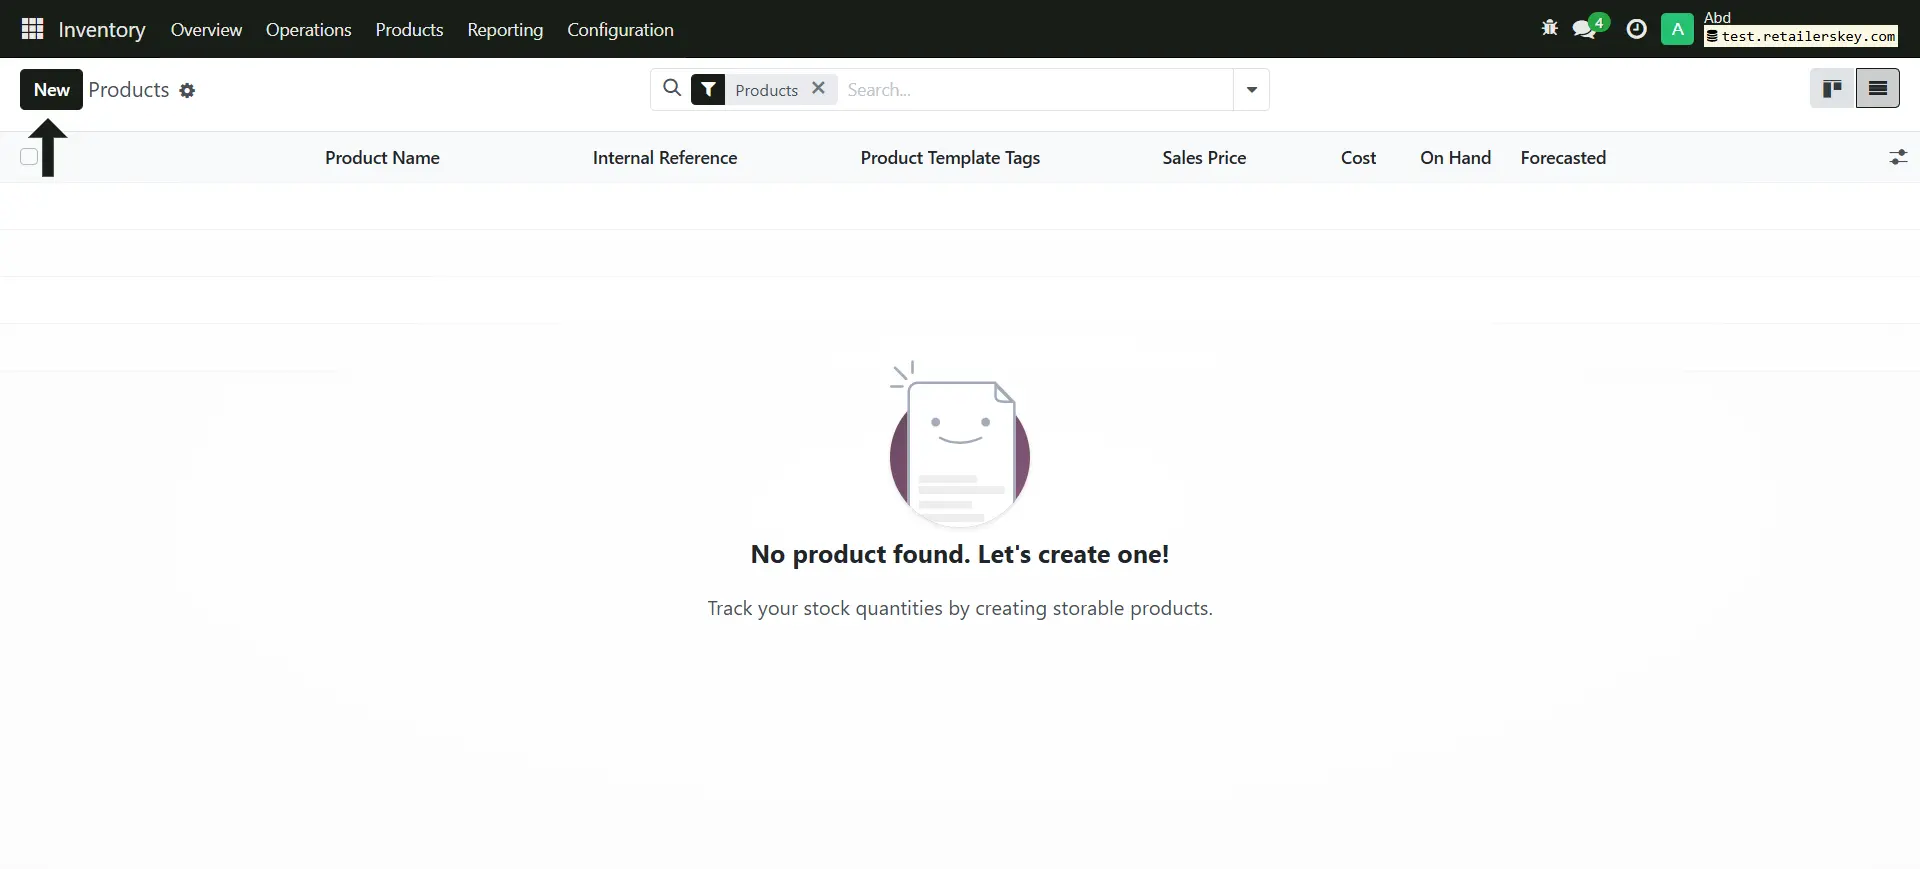
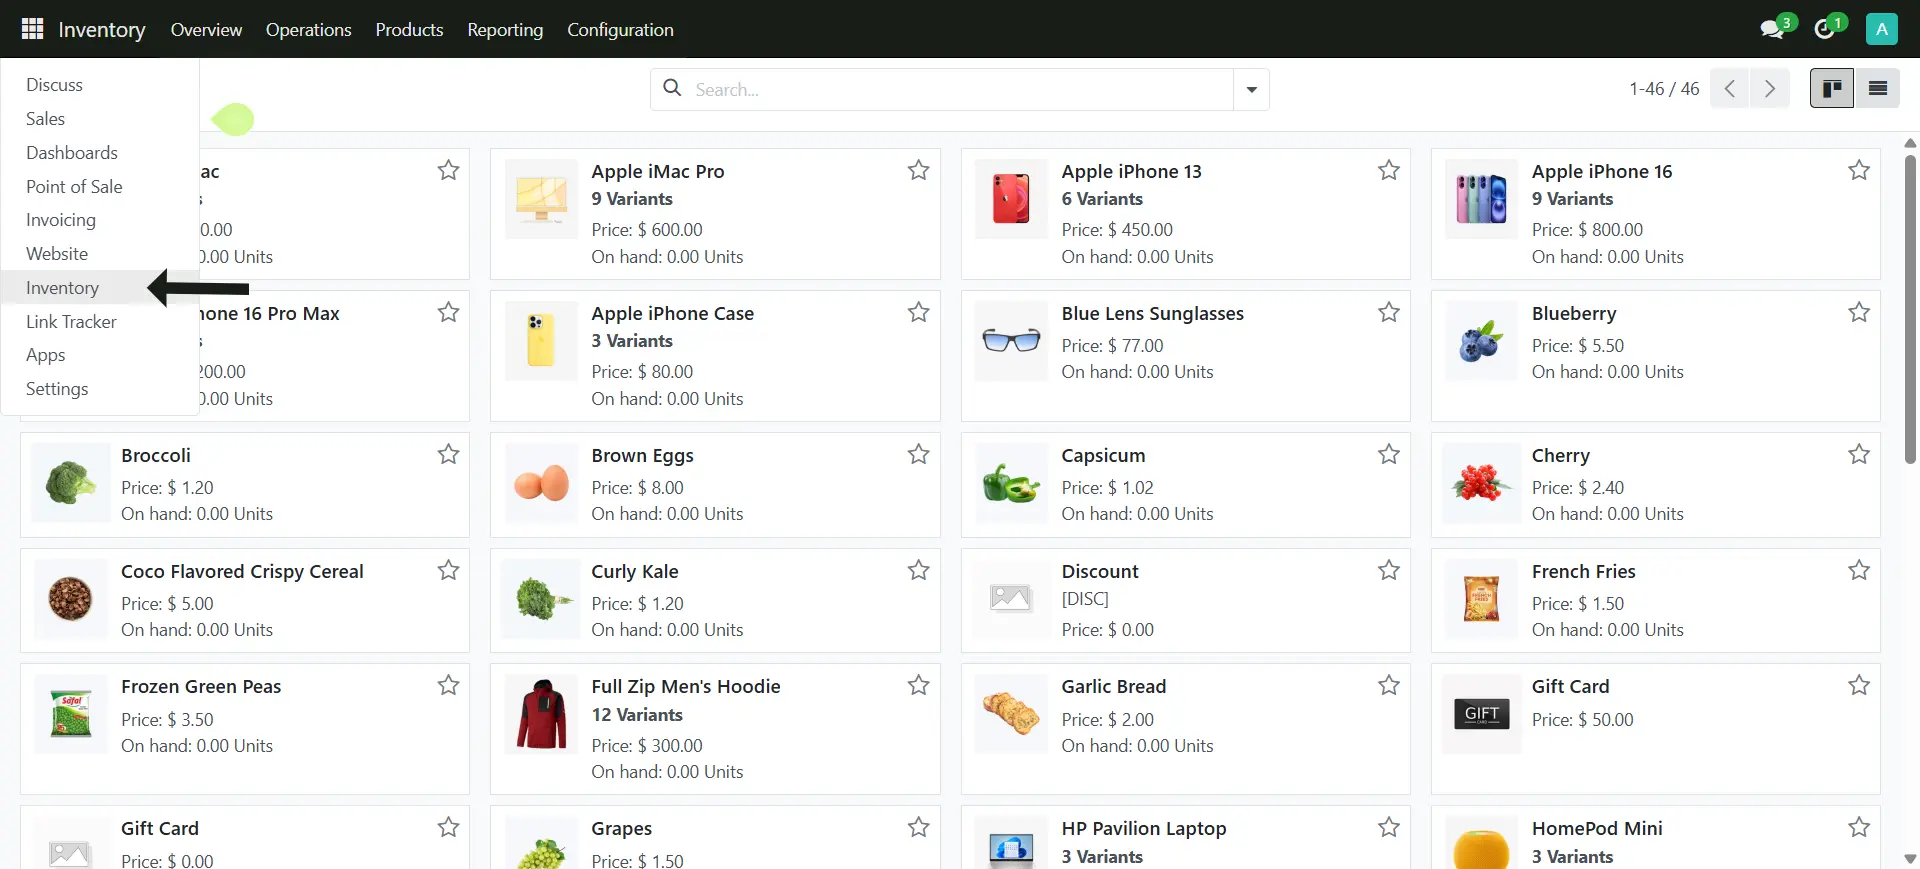
2. Click on the Menu > Inventory
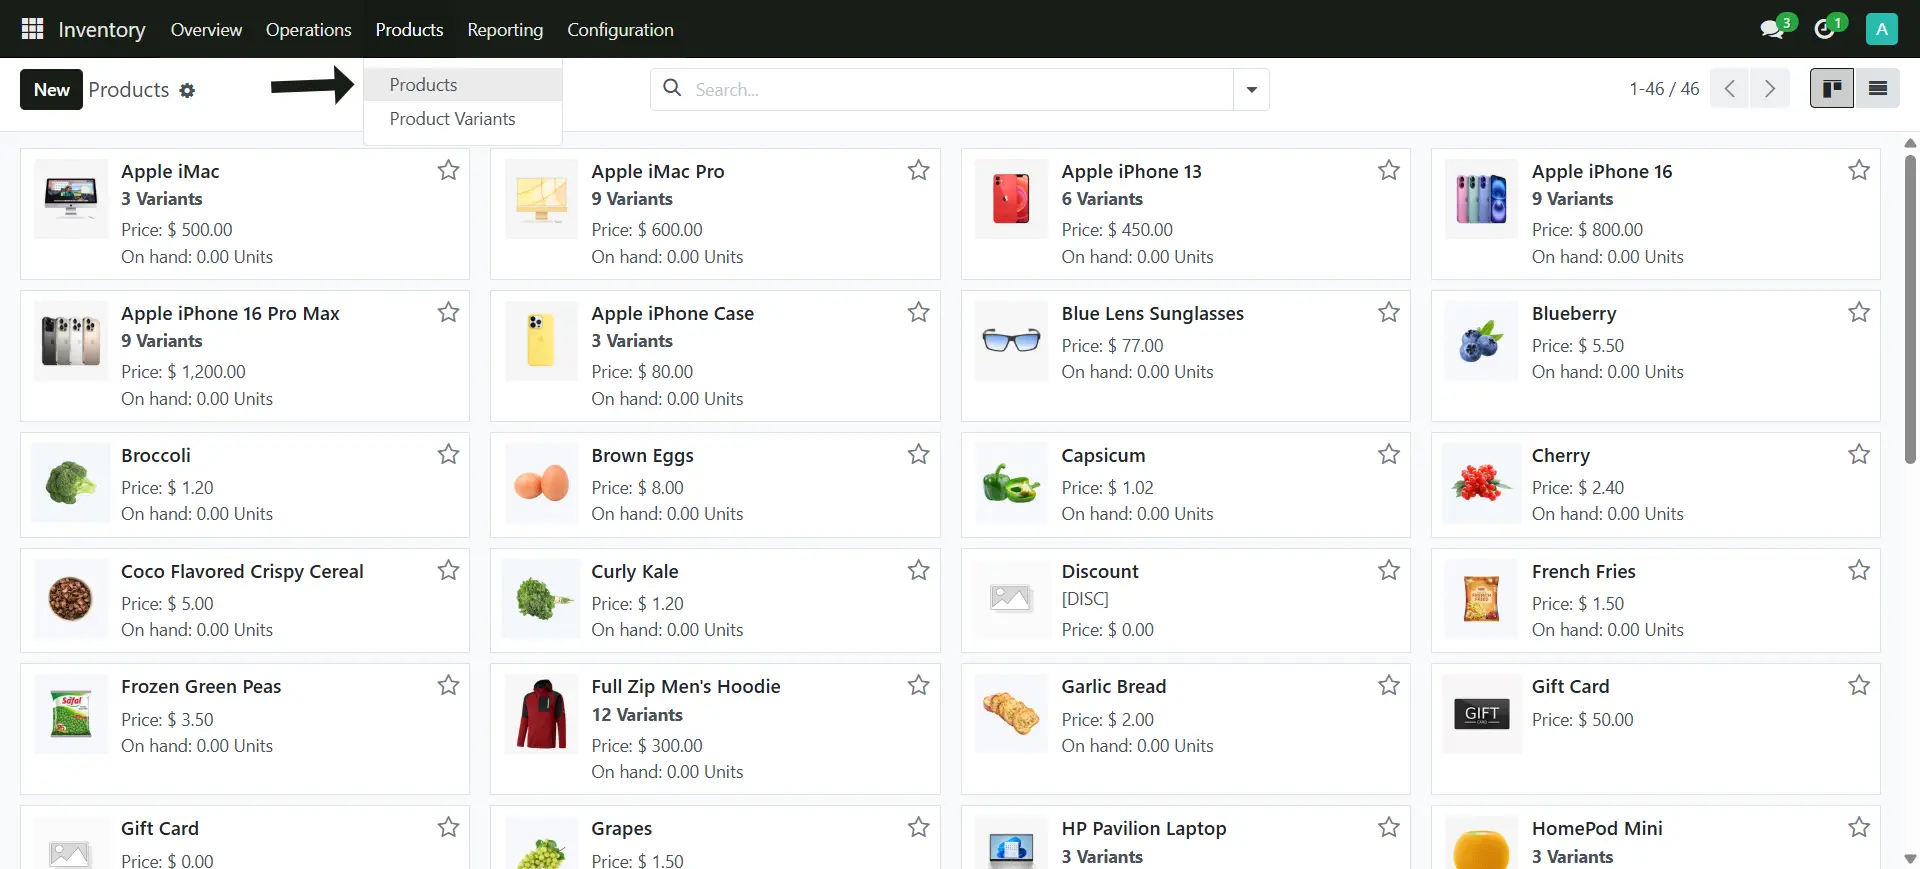
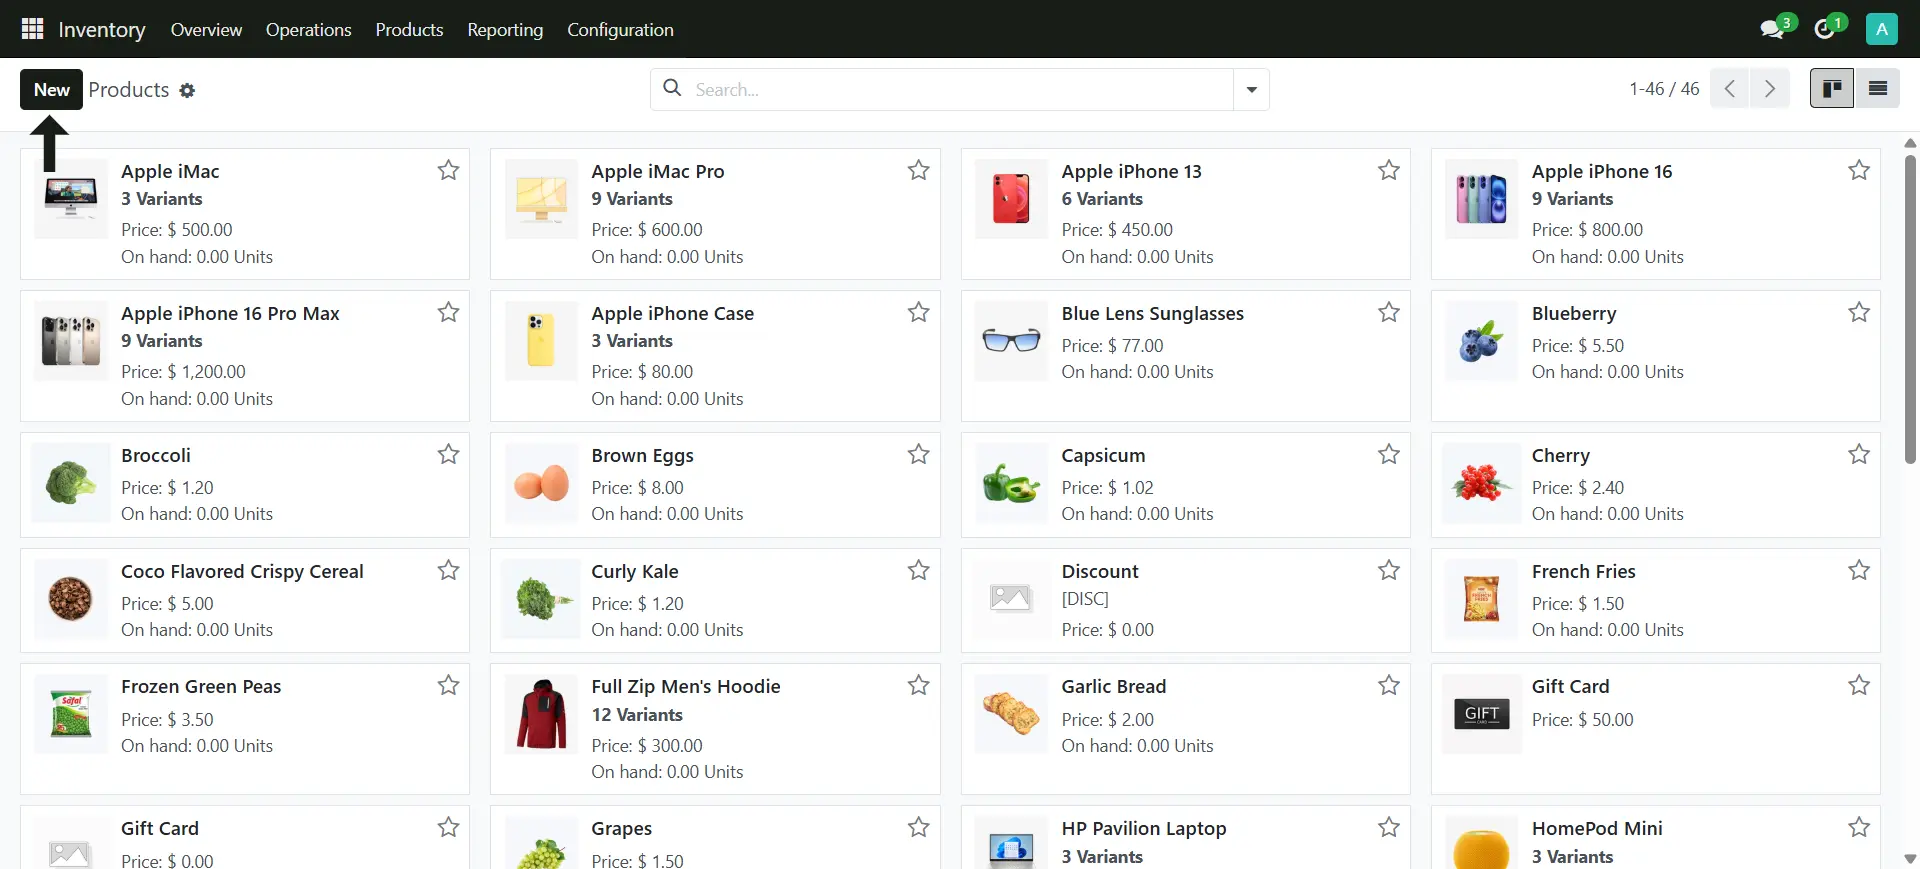
3. Click on the Products
4. Now select the Products to see all the listed products
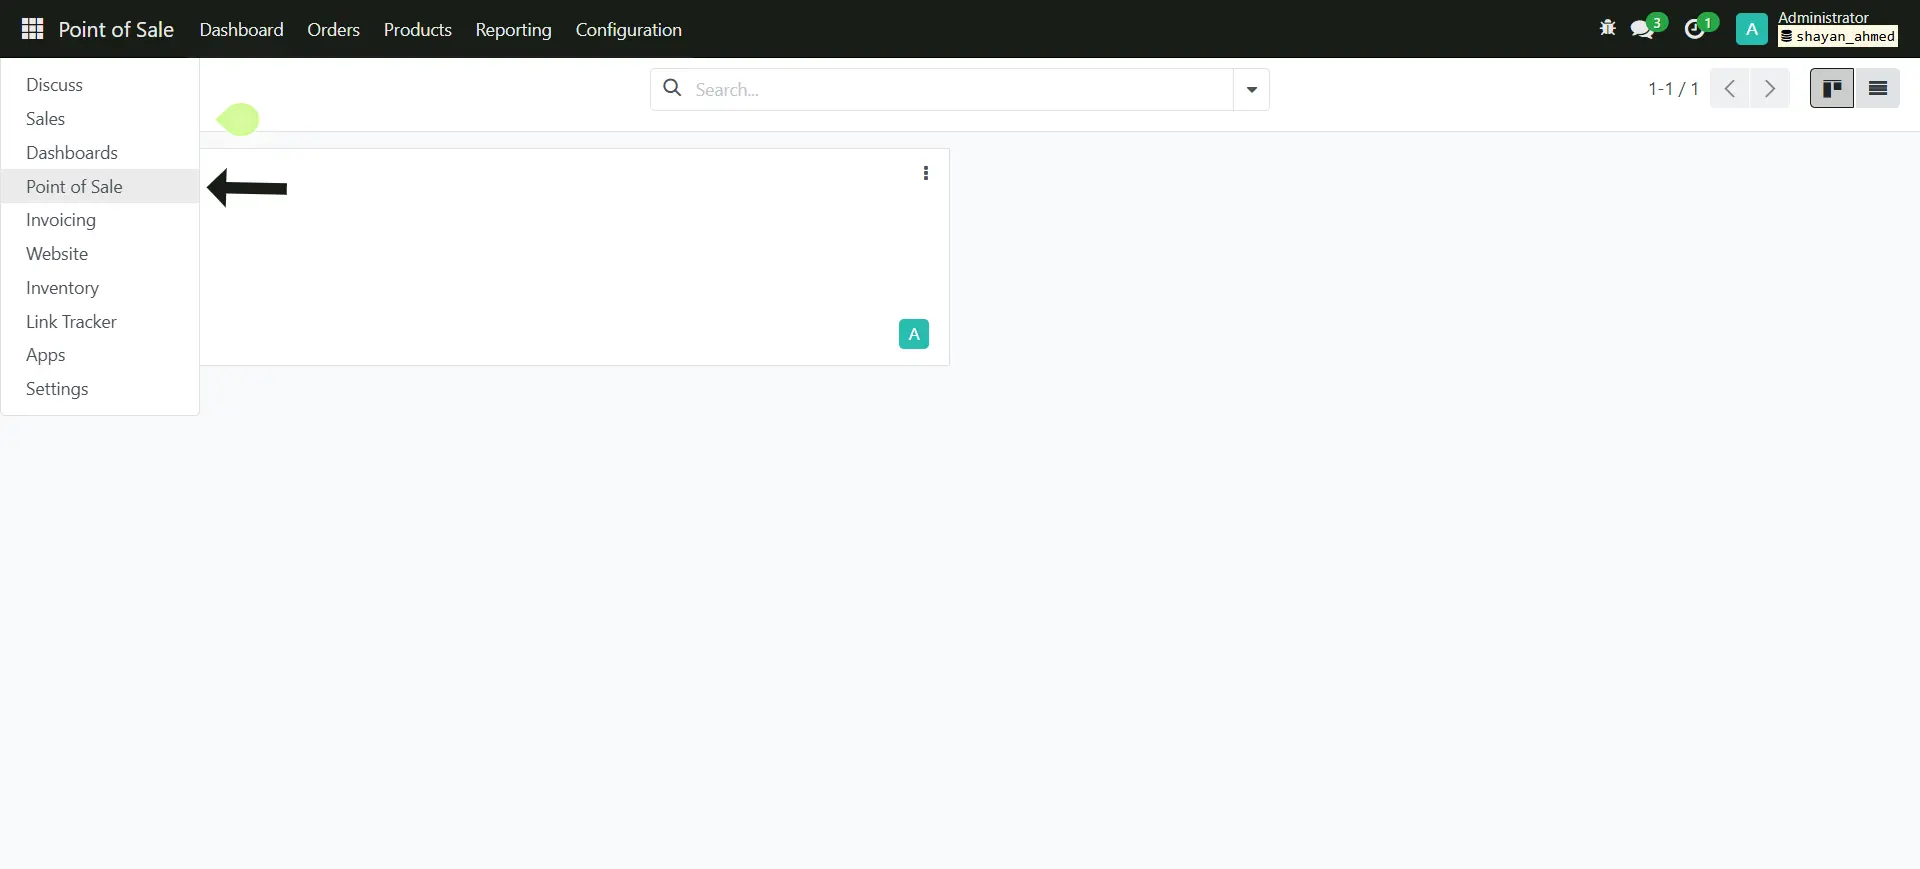
5. Click on the main icon on the Menu > Point of Sale
6. Click on the button to Start the Point of Sale (PoS) Session
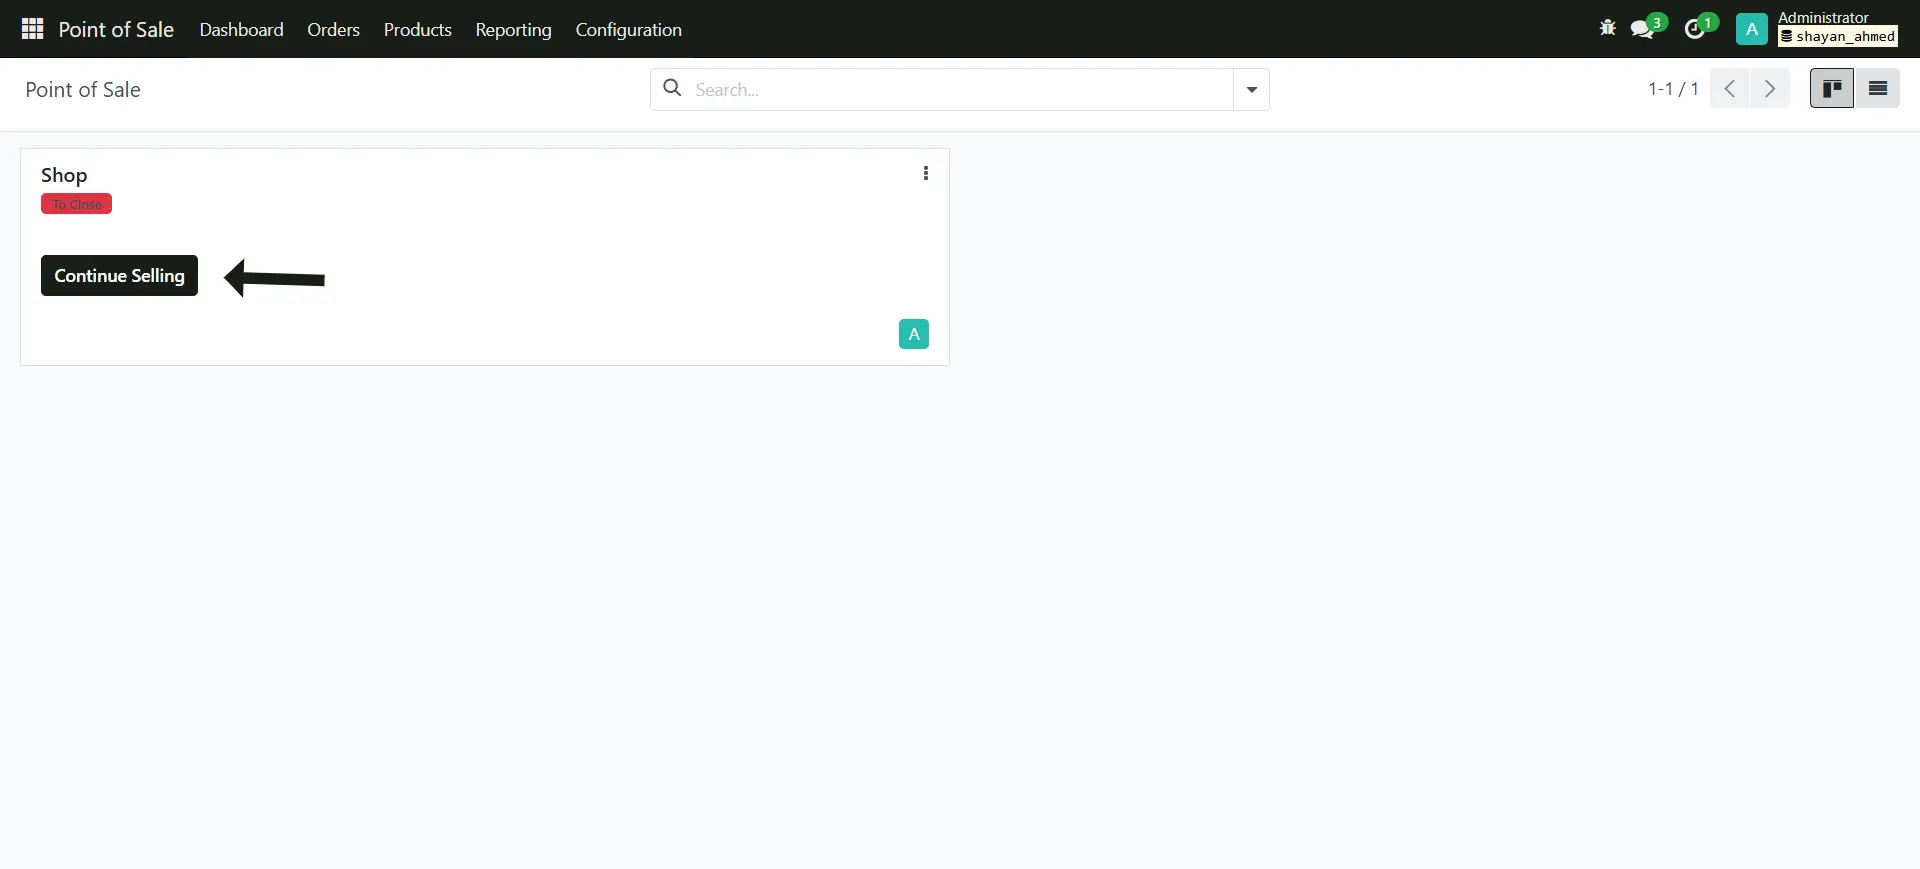
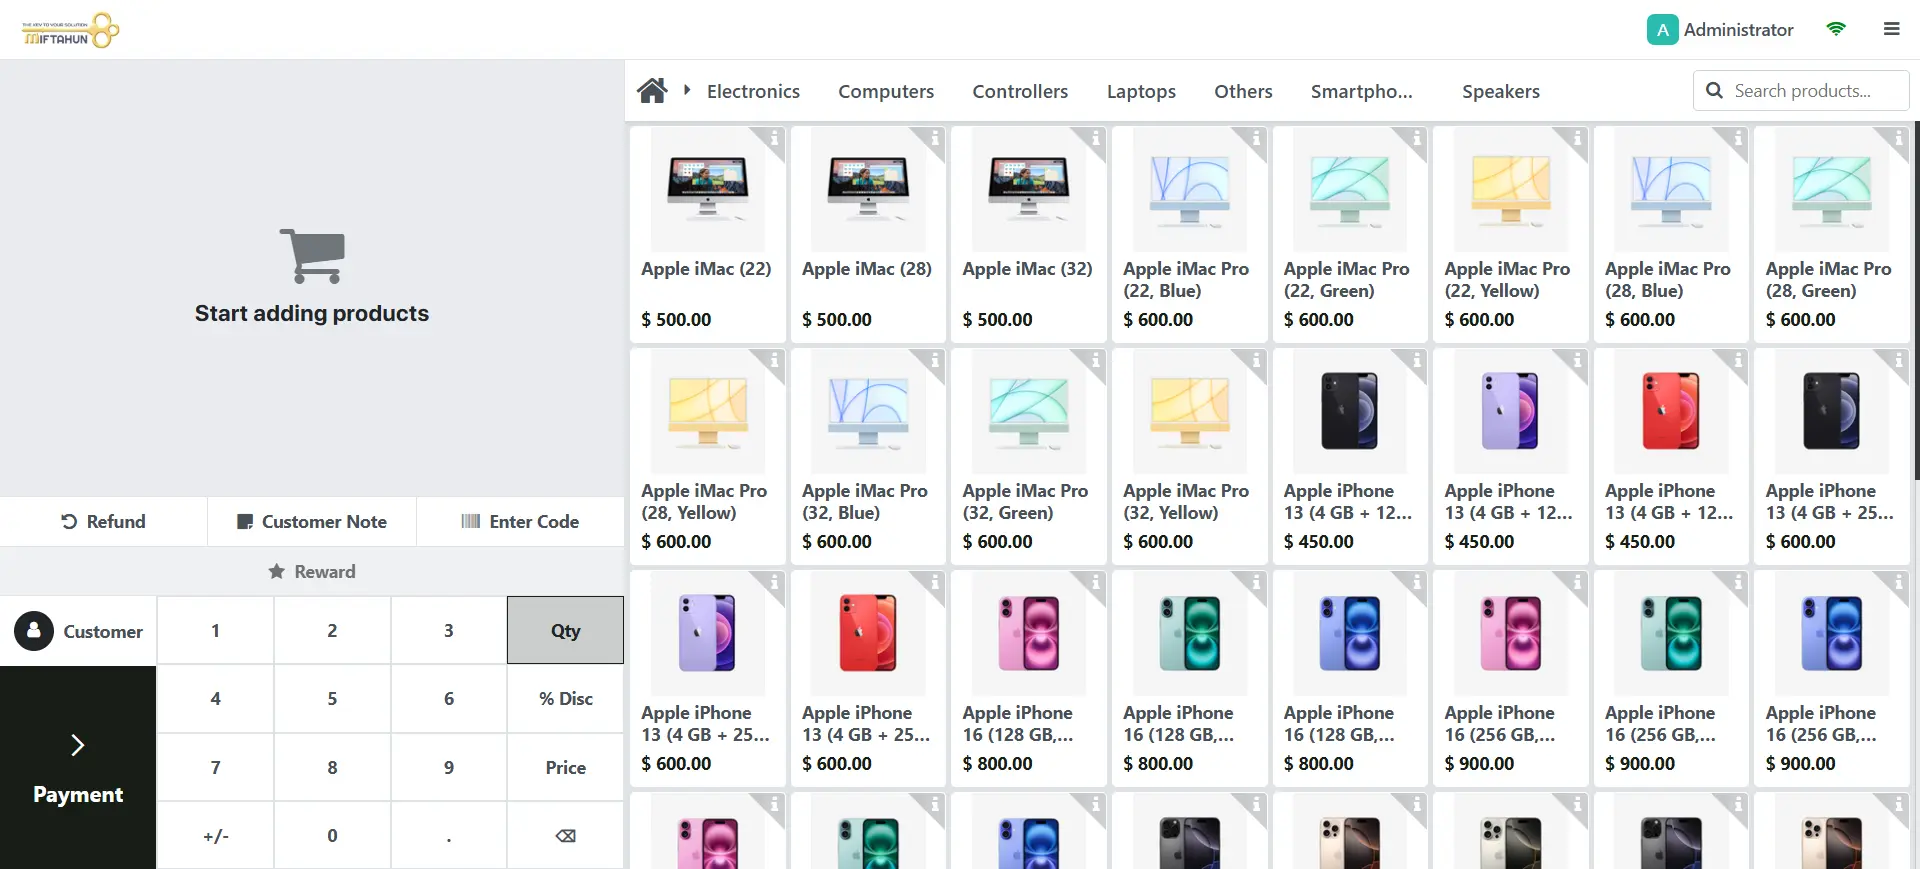
7. This is the Point of Sale Layout
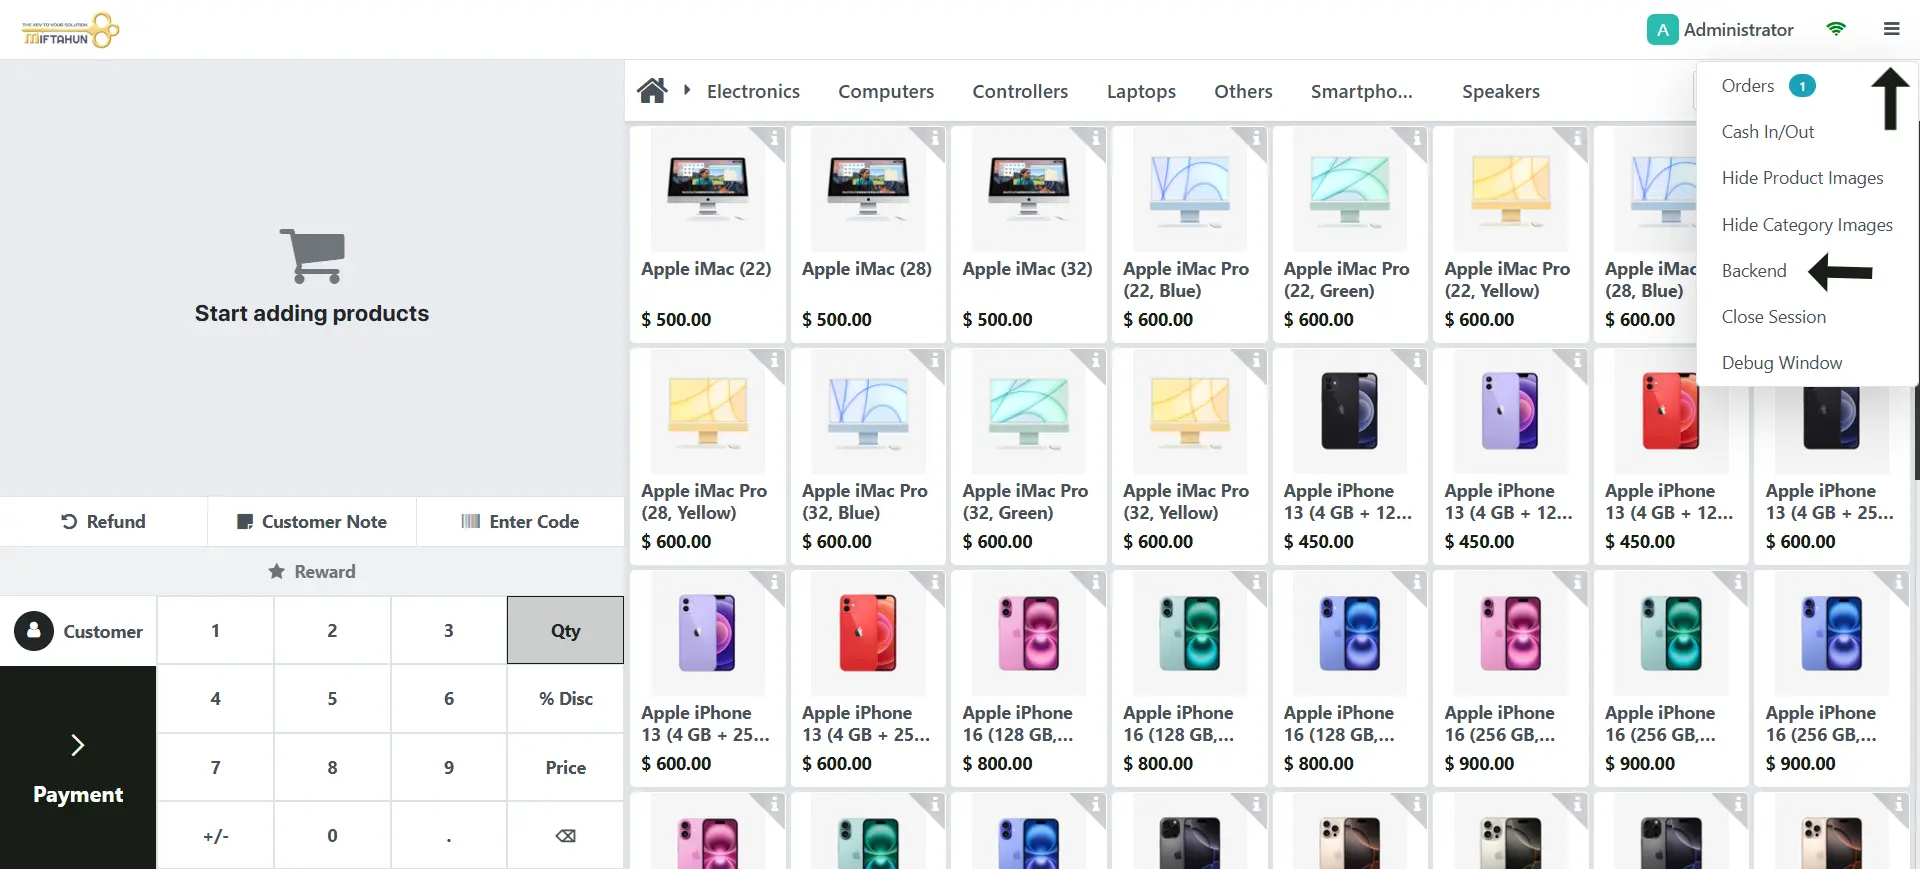
8. Now you can click on the Menu Icon > Backend
This way the Session is still Active, to Close the session go to Menu > Close Session
Clean Start
1. Go to Inventory > Products
2. Click on the List Icon to select all the Products

3. Click on the Action Button > Delete

4. Now you can click on the New Button to Start Add your Products
Product Management
Adding a Product
1. Go to Inventory > Products
2. Click on the New Button to Start
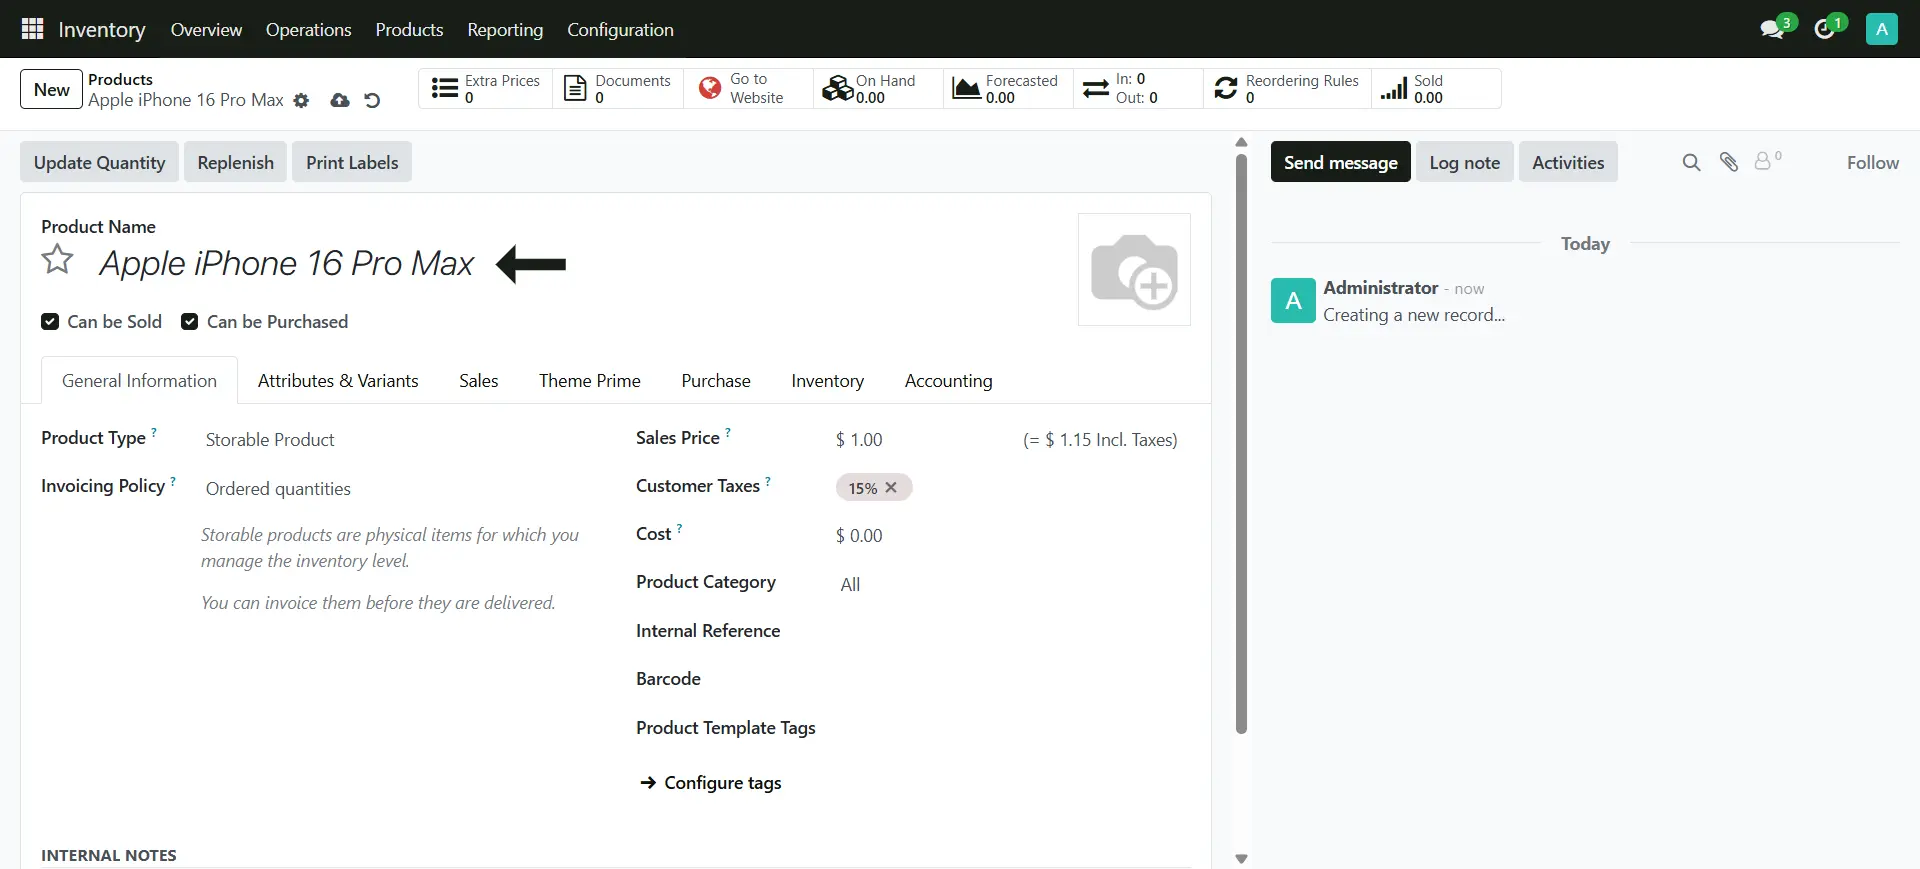
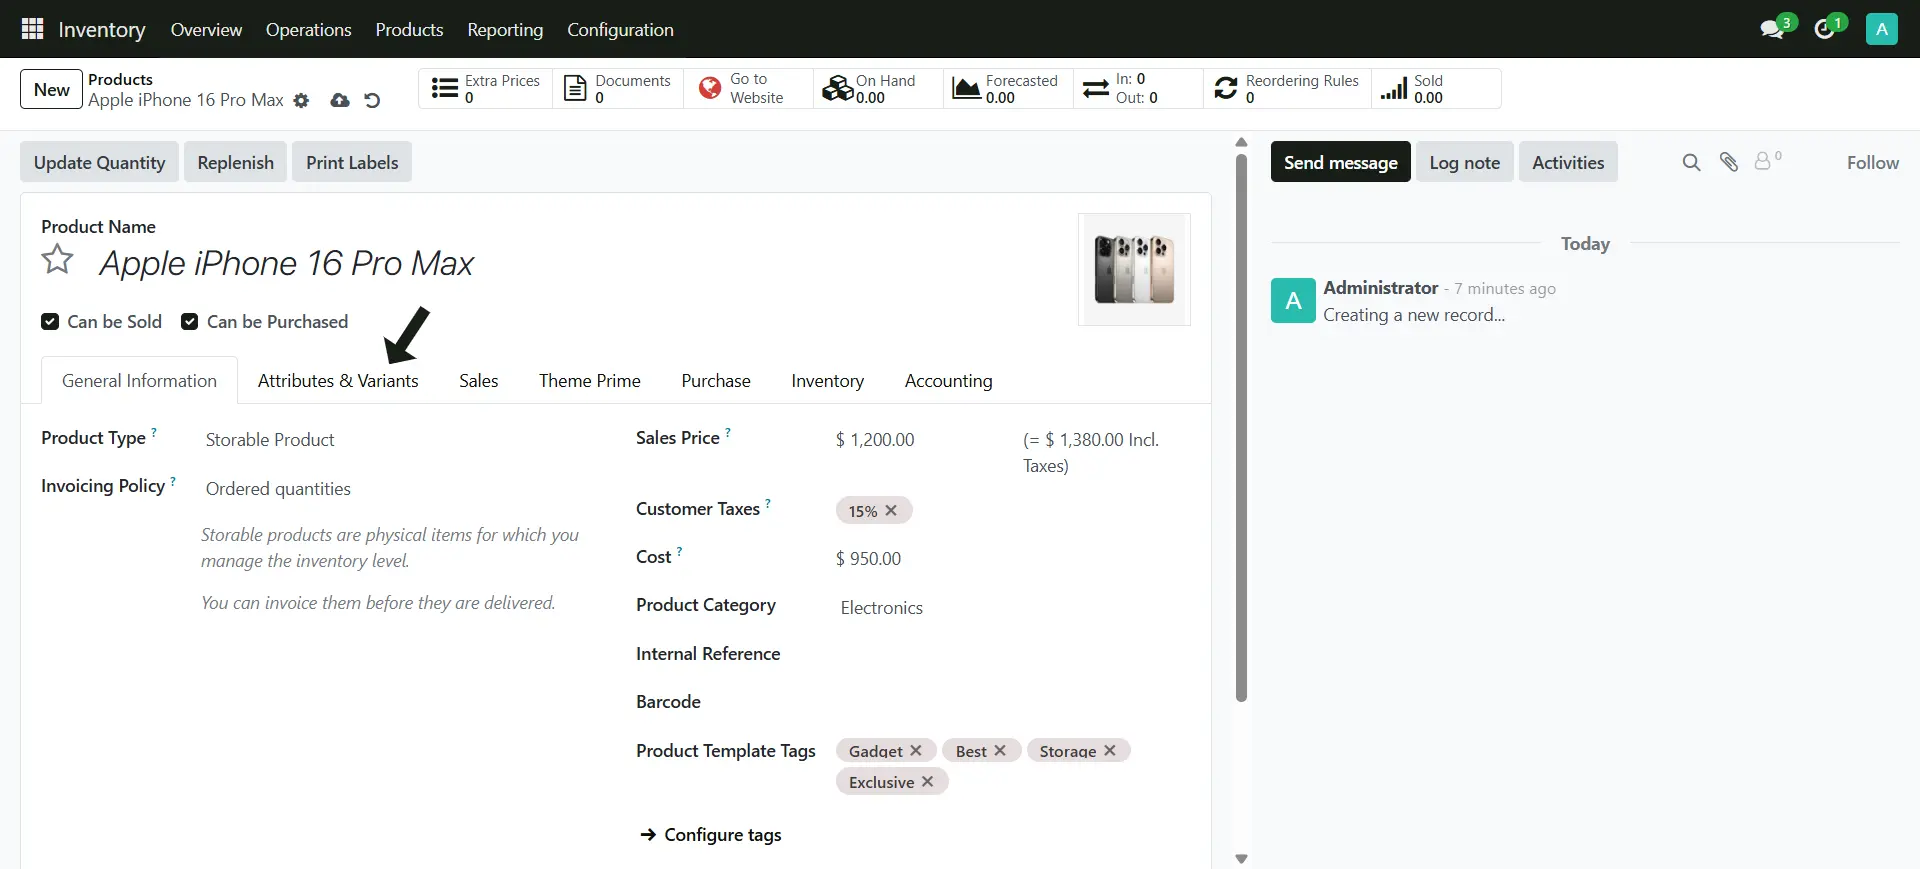
General Information Tab
3. Add your Product Name or Title
4. Add the Product Main Image
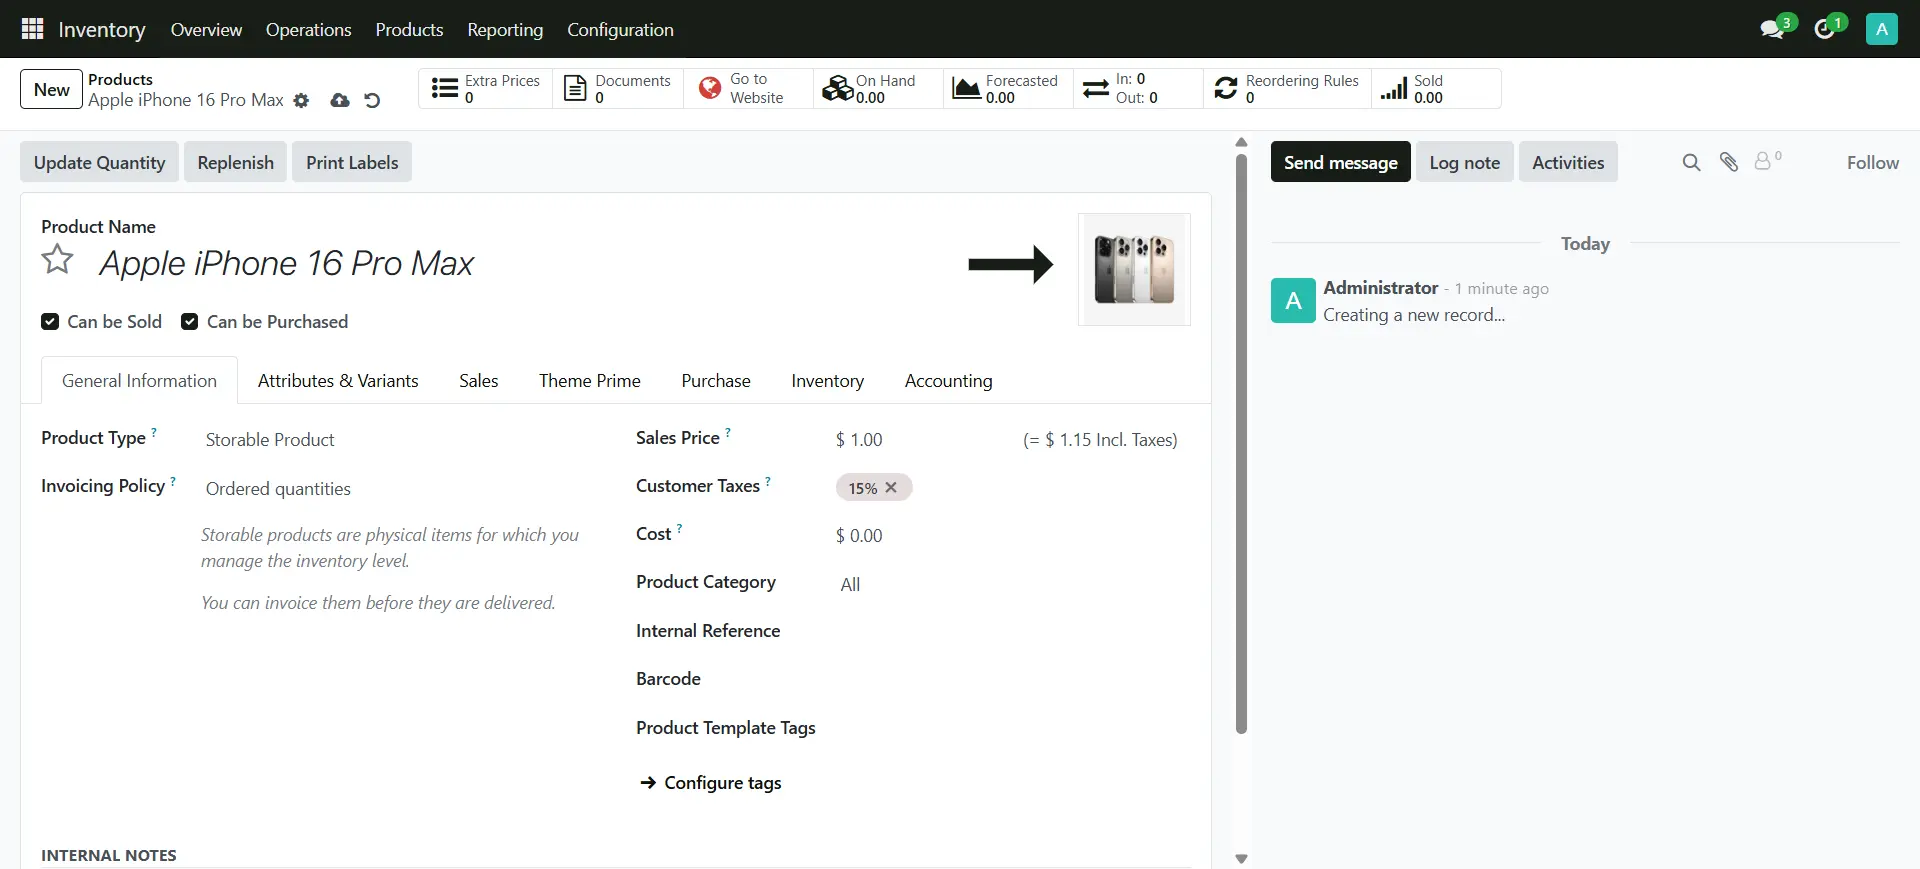
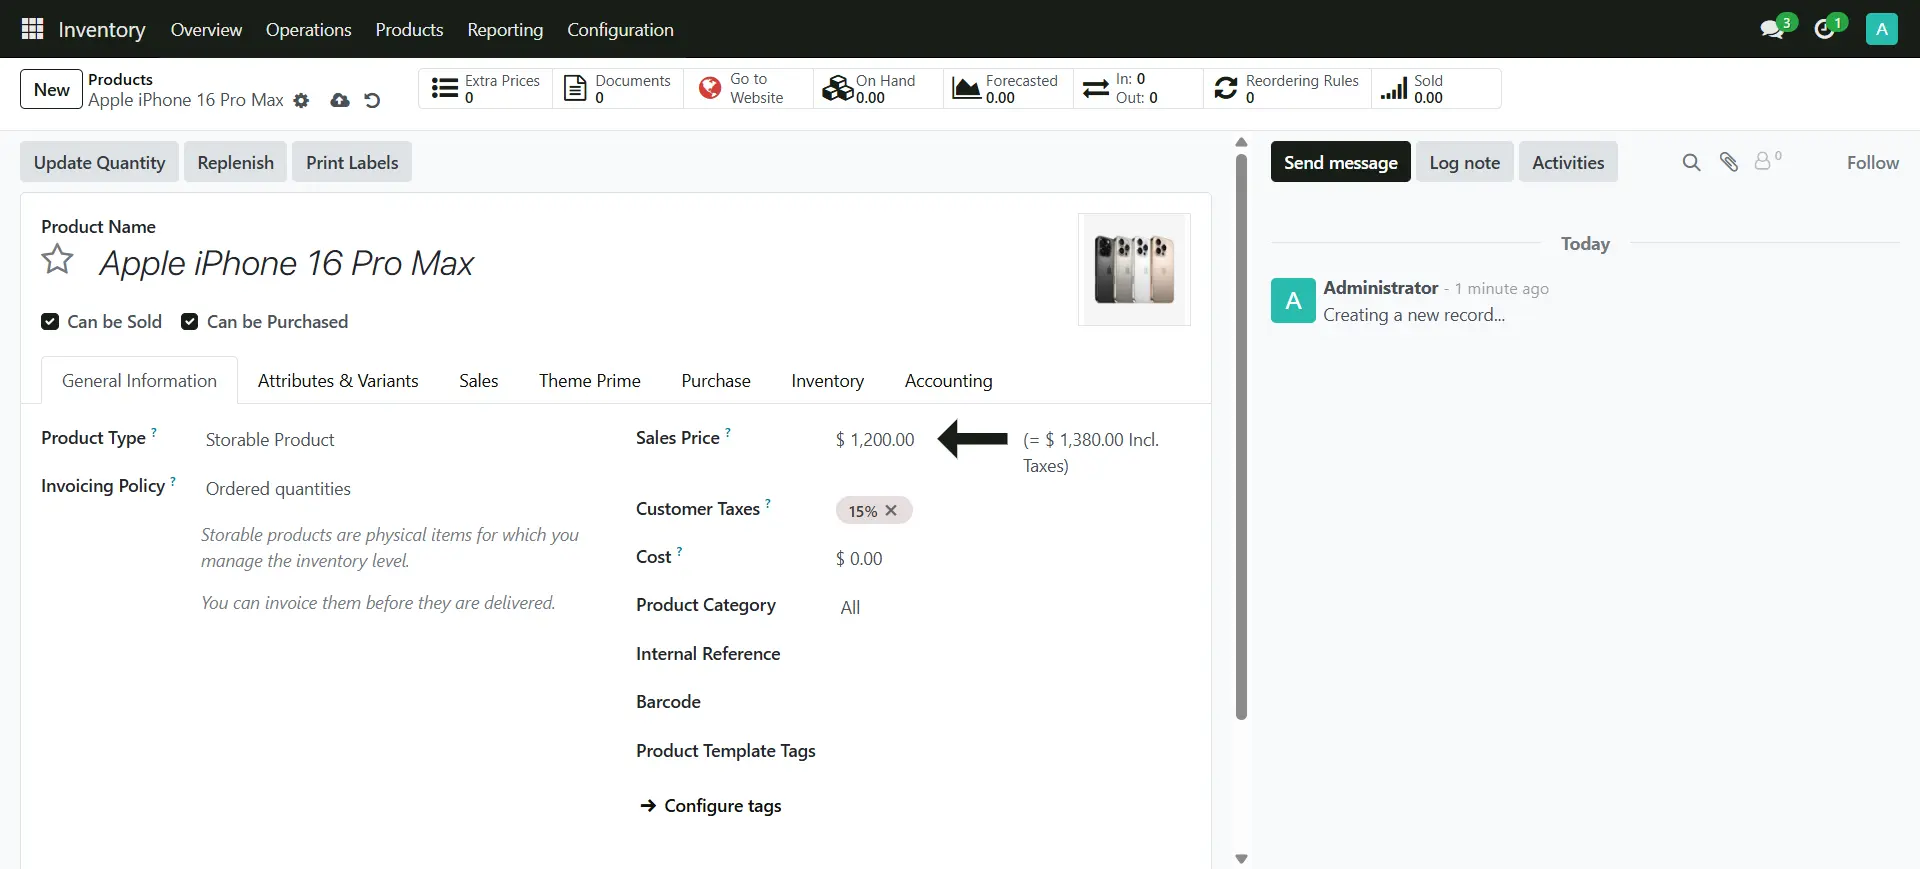
5. Set the Sale Price of the Product
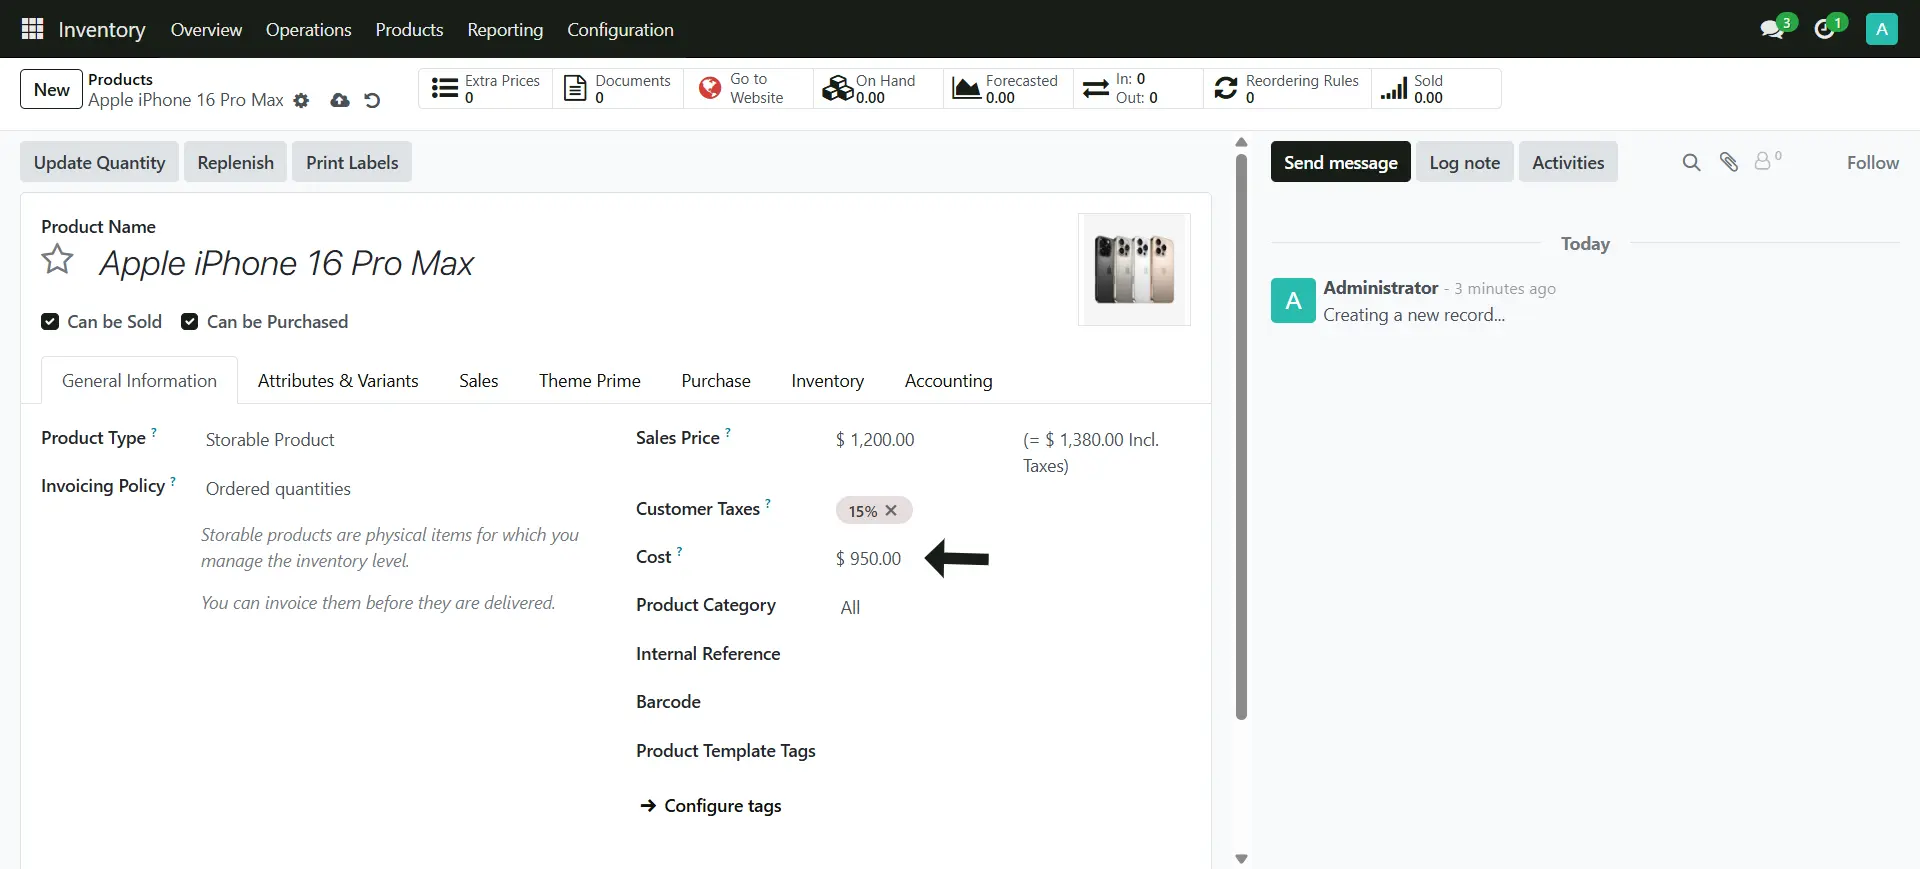
6. Add the Product Cost
7. Add the Inventory Category to Sort out the Inventory (Optional)
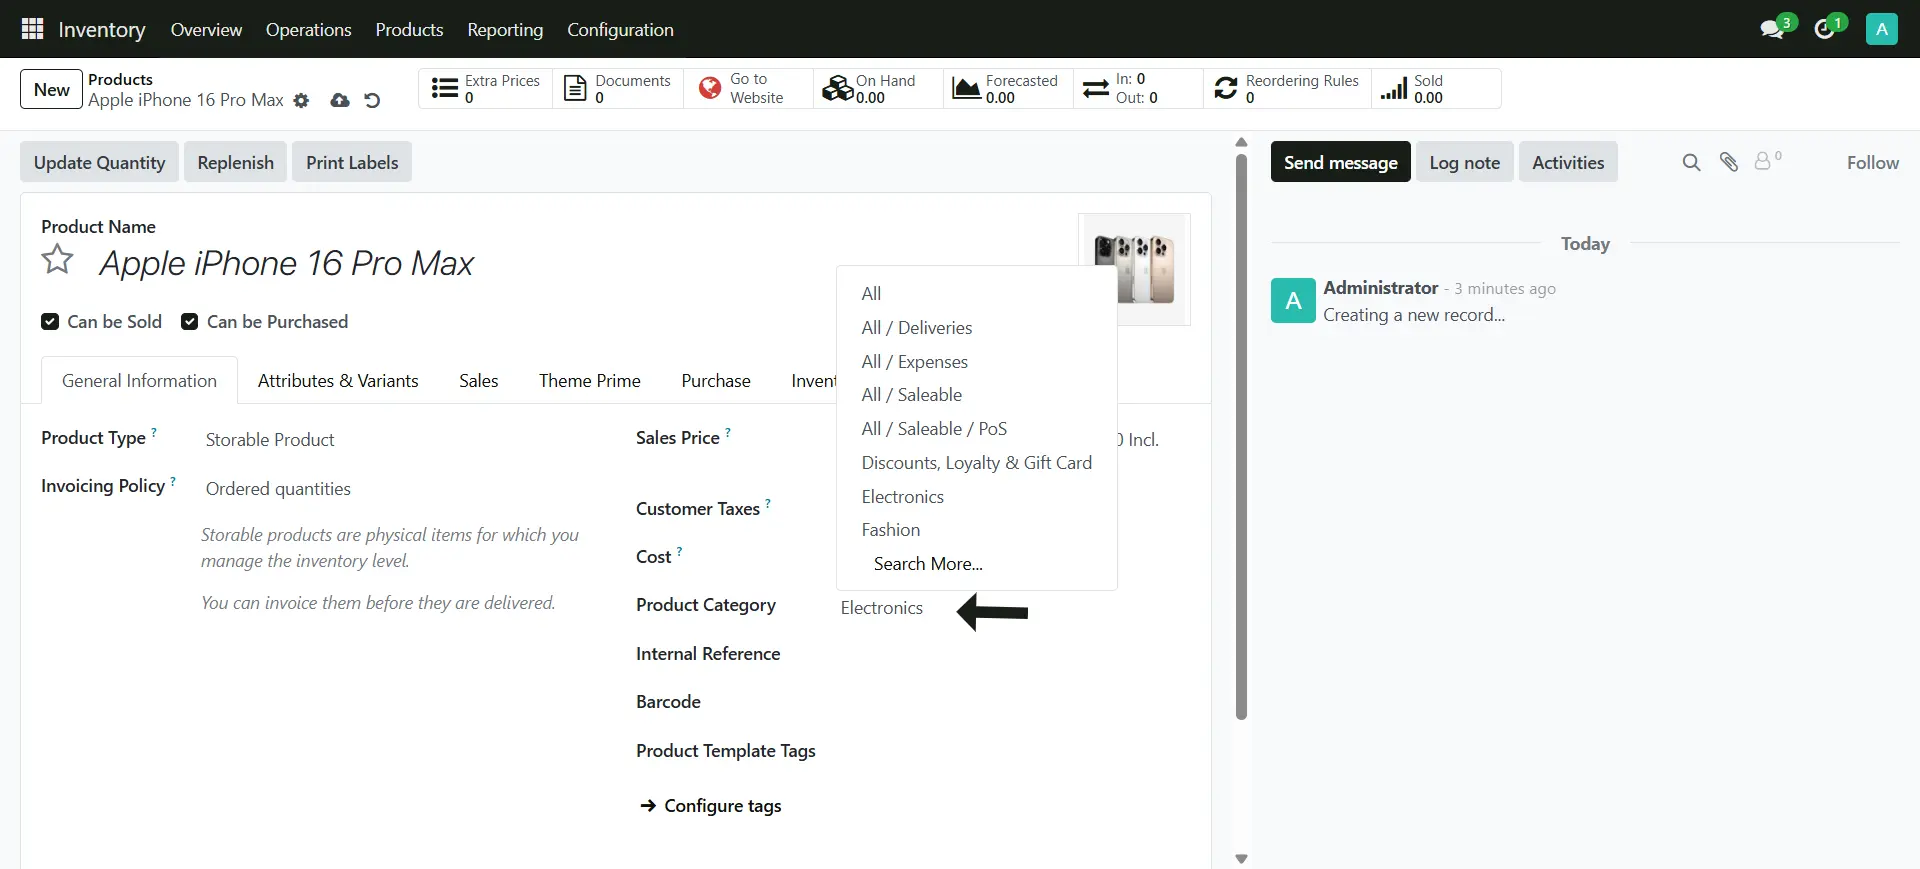
8. This is the how your inventory sort out, Inventory > Products

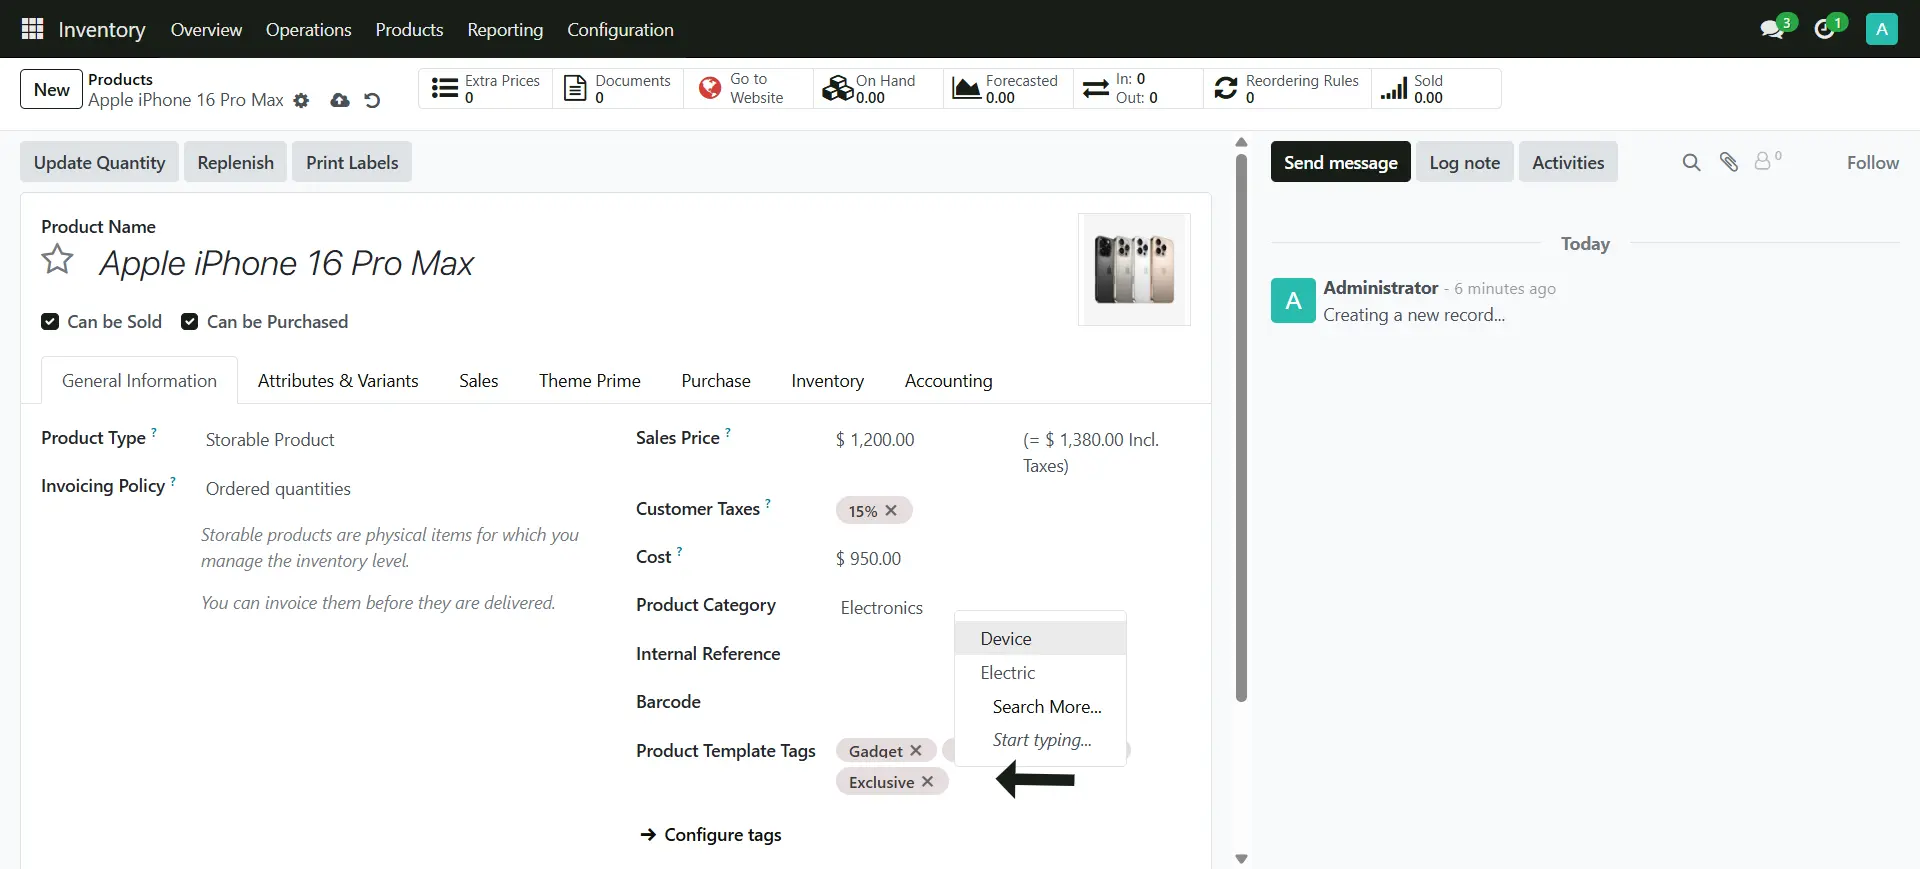
9. Setup the Tags (Optional)
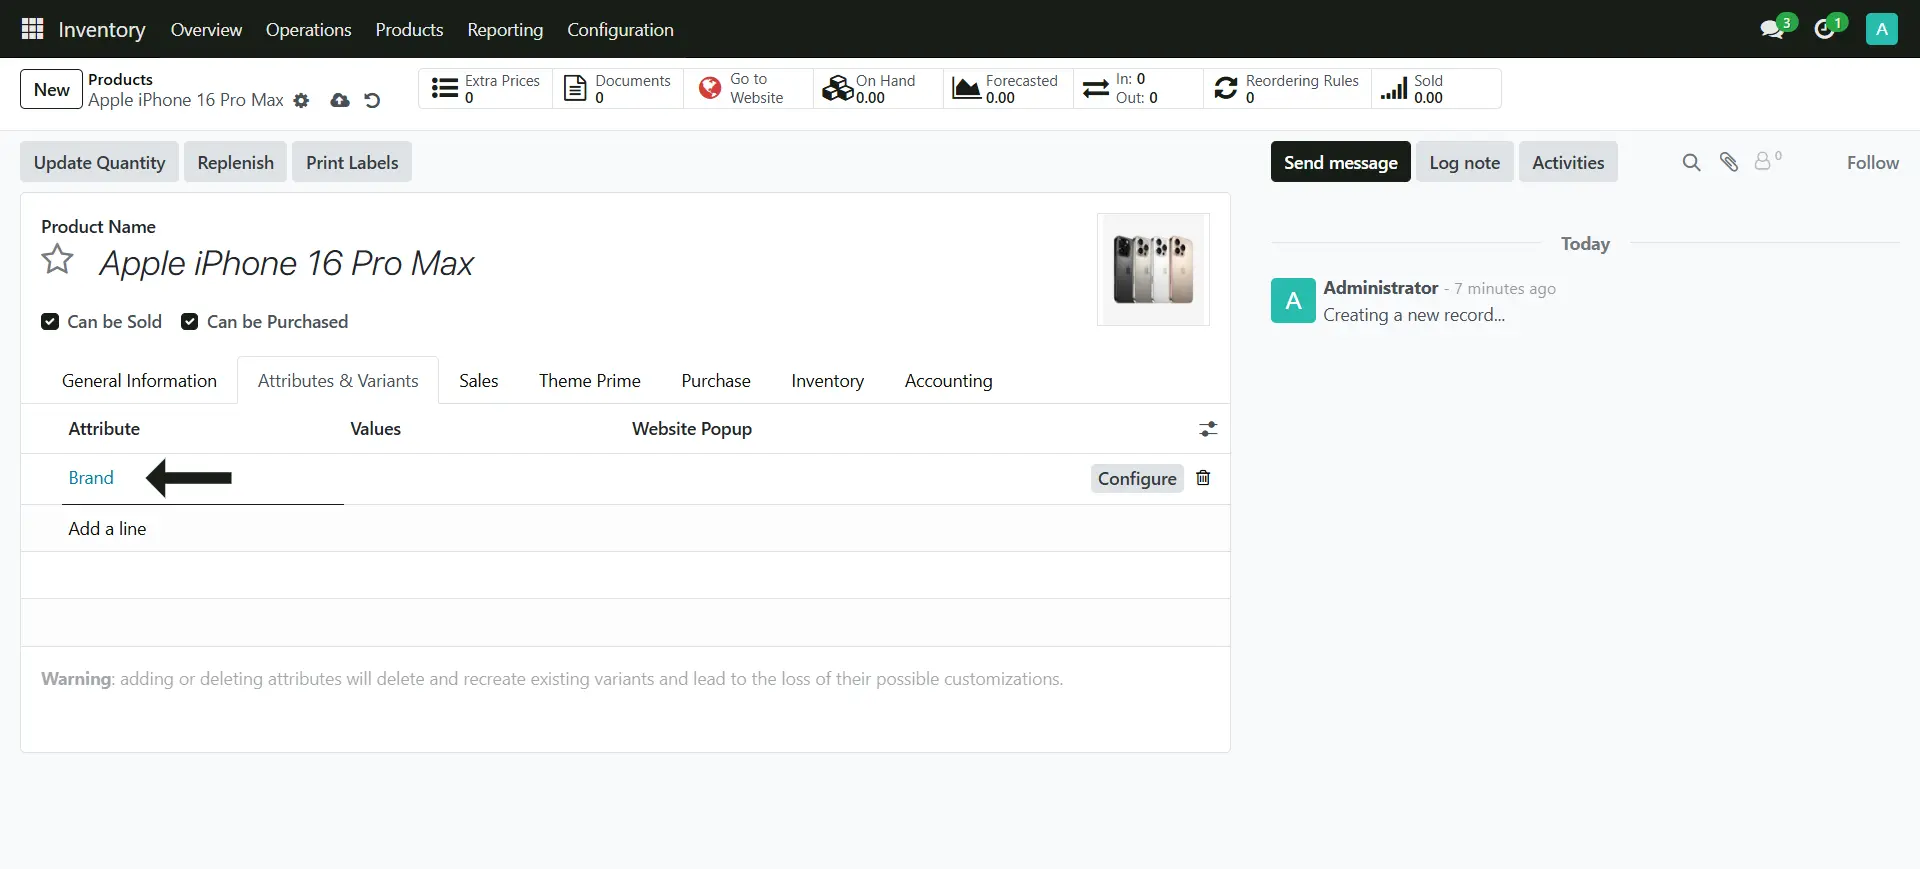
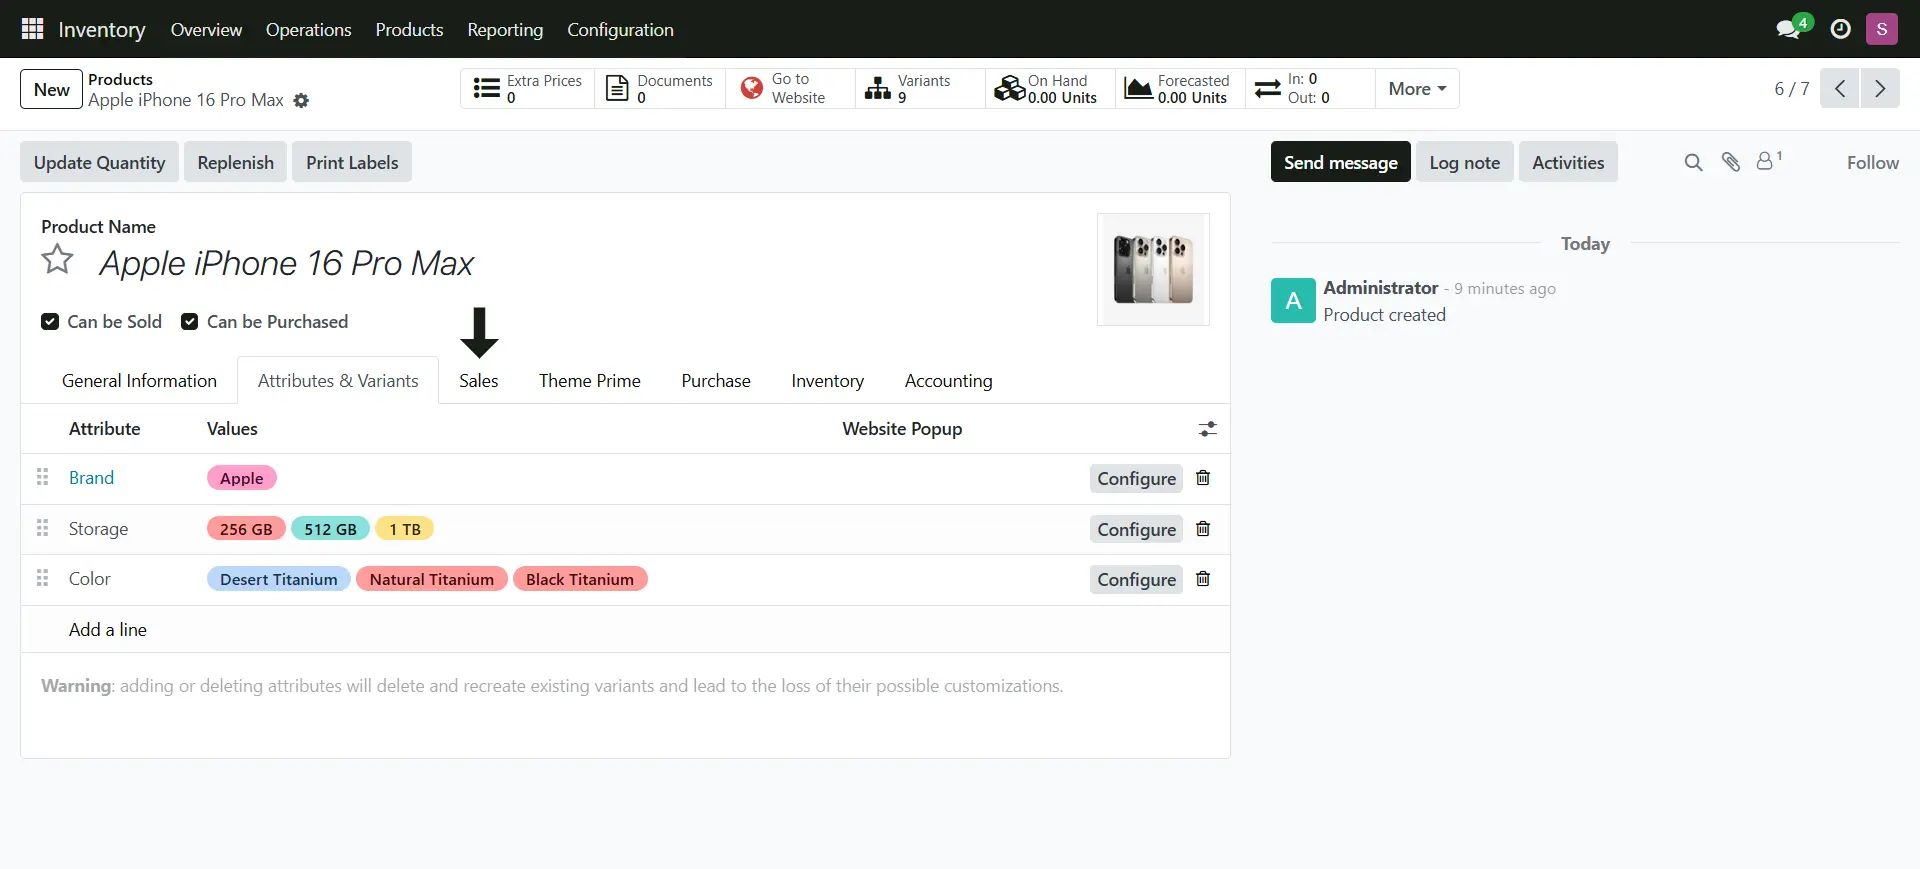
Attributes and Varients Tab
1. Switch the Tab > Attributes & Variants to Start adding the Product Variants
2. Add the Main Title for your Variants
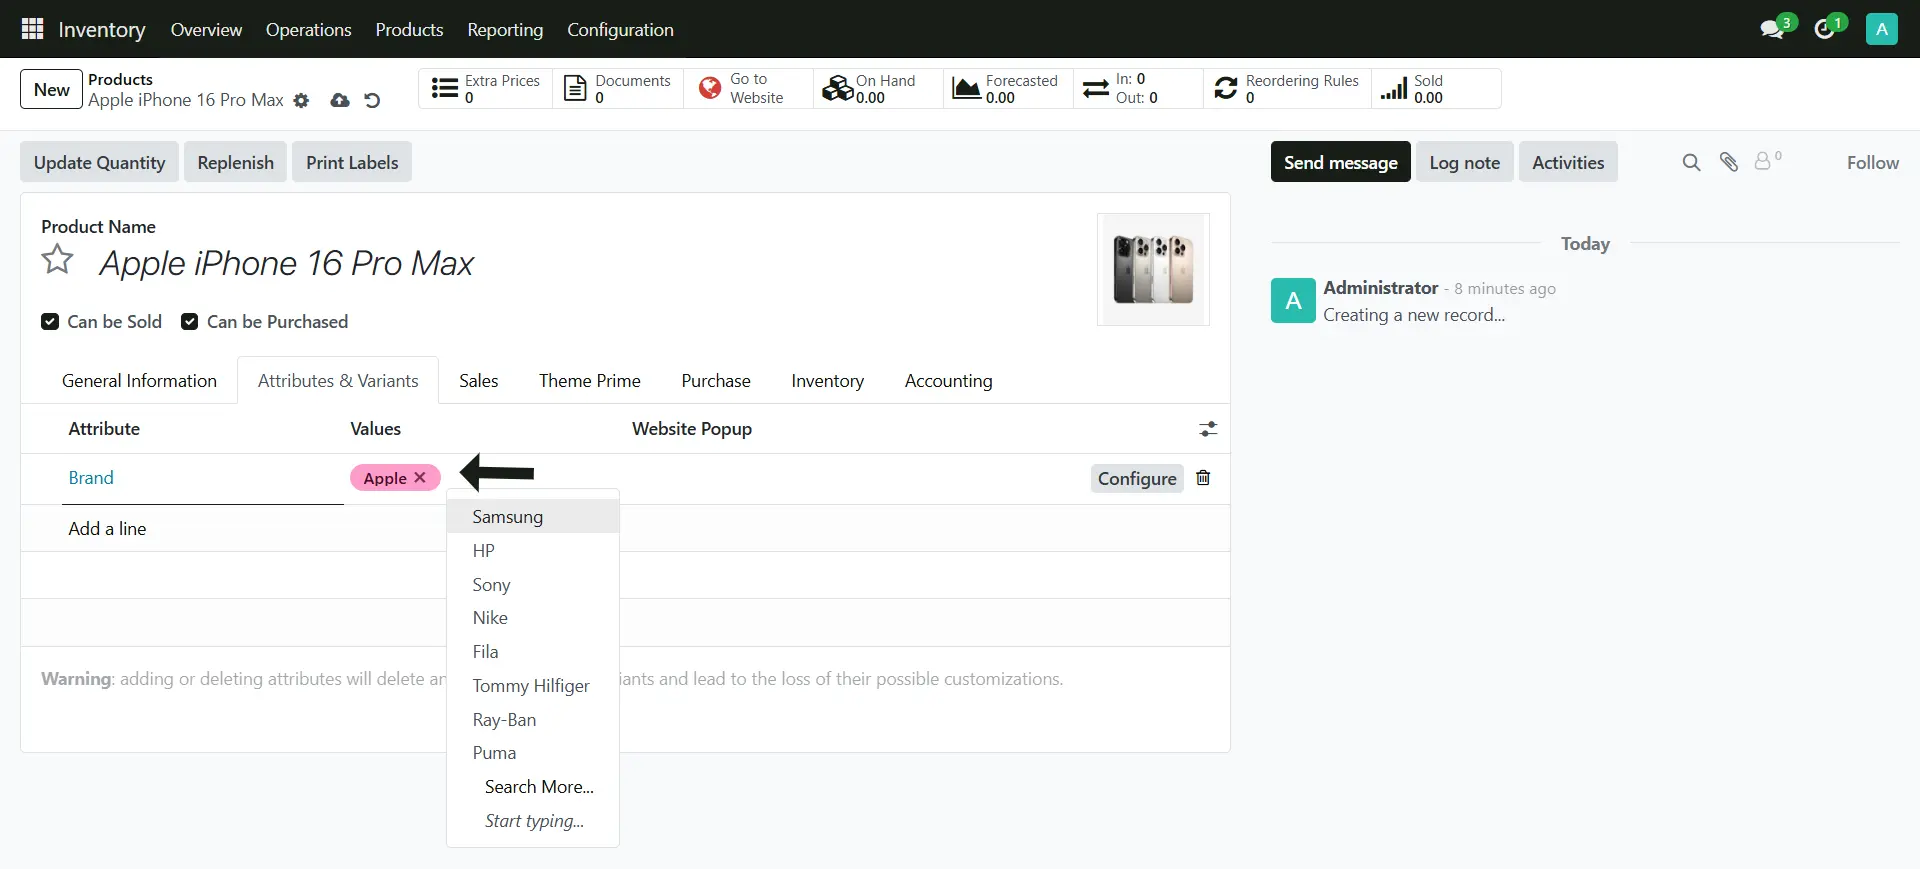
3. This is the Value you want to have inside the Variant Attributes
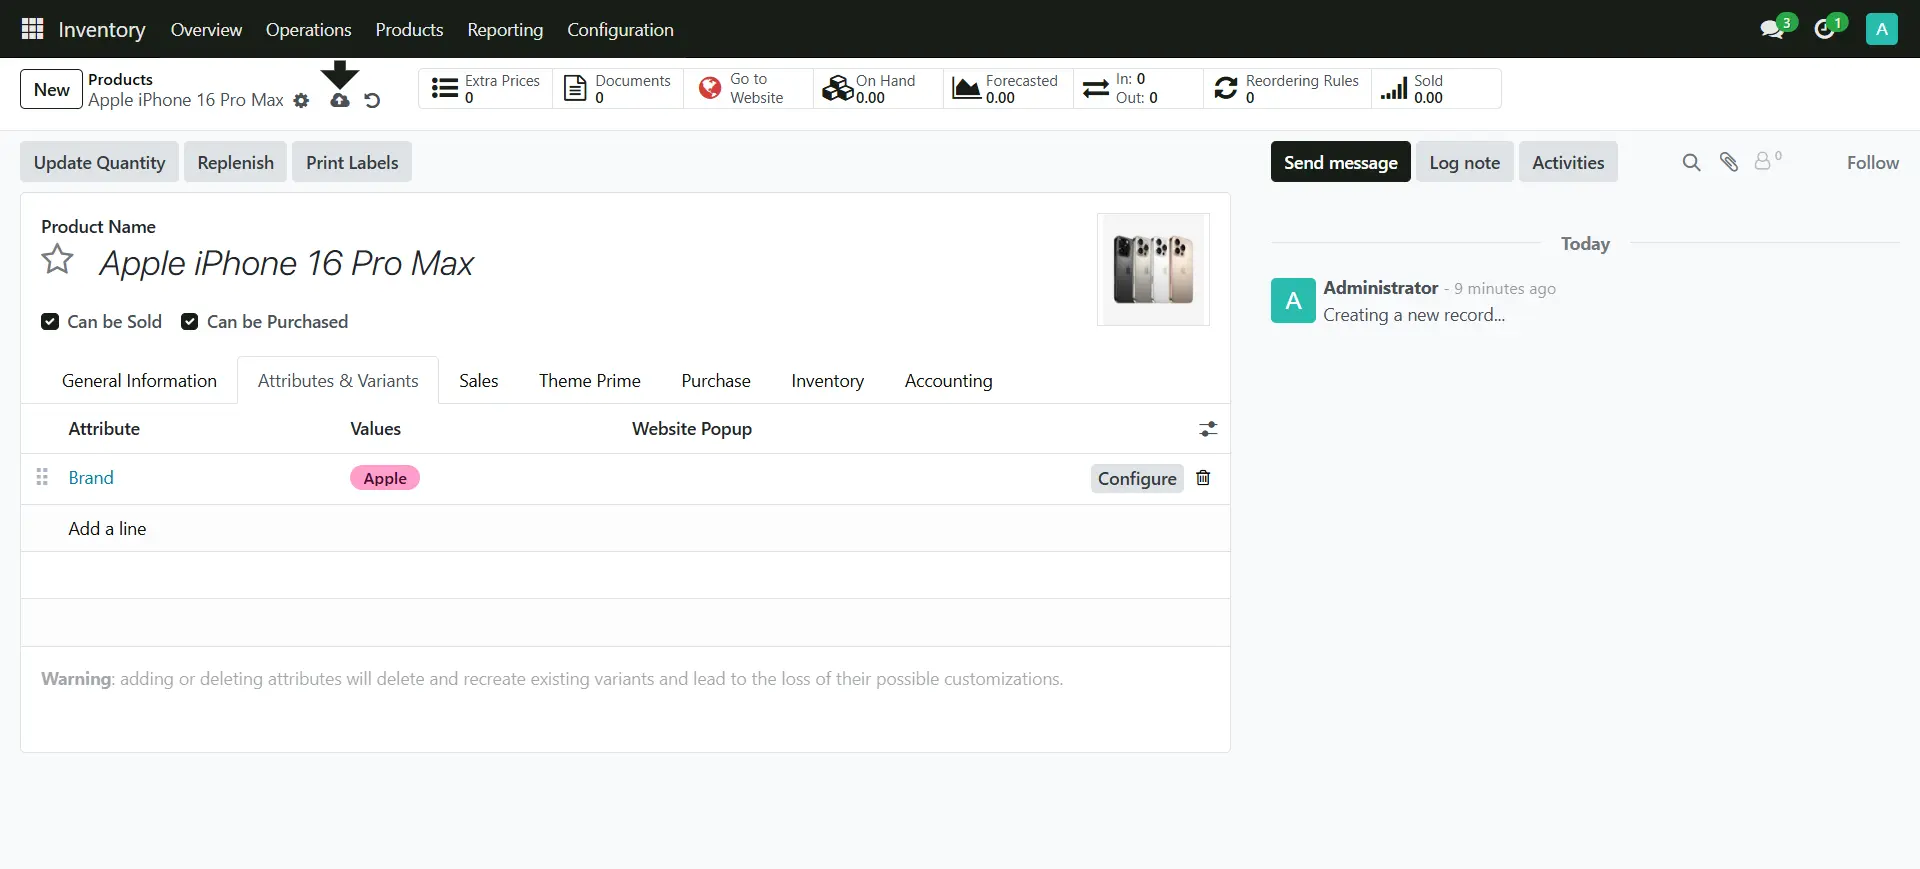
4. Click on the Cloud Icon to Save the Changes
5. The Variant we add is link with the Brands, which is the features of a dedicated page for Brands. Website > Brands
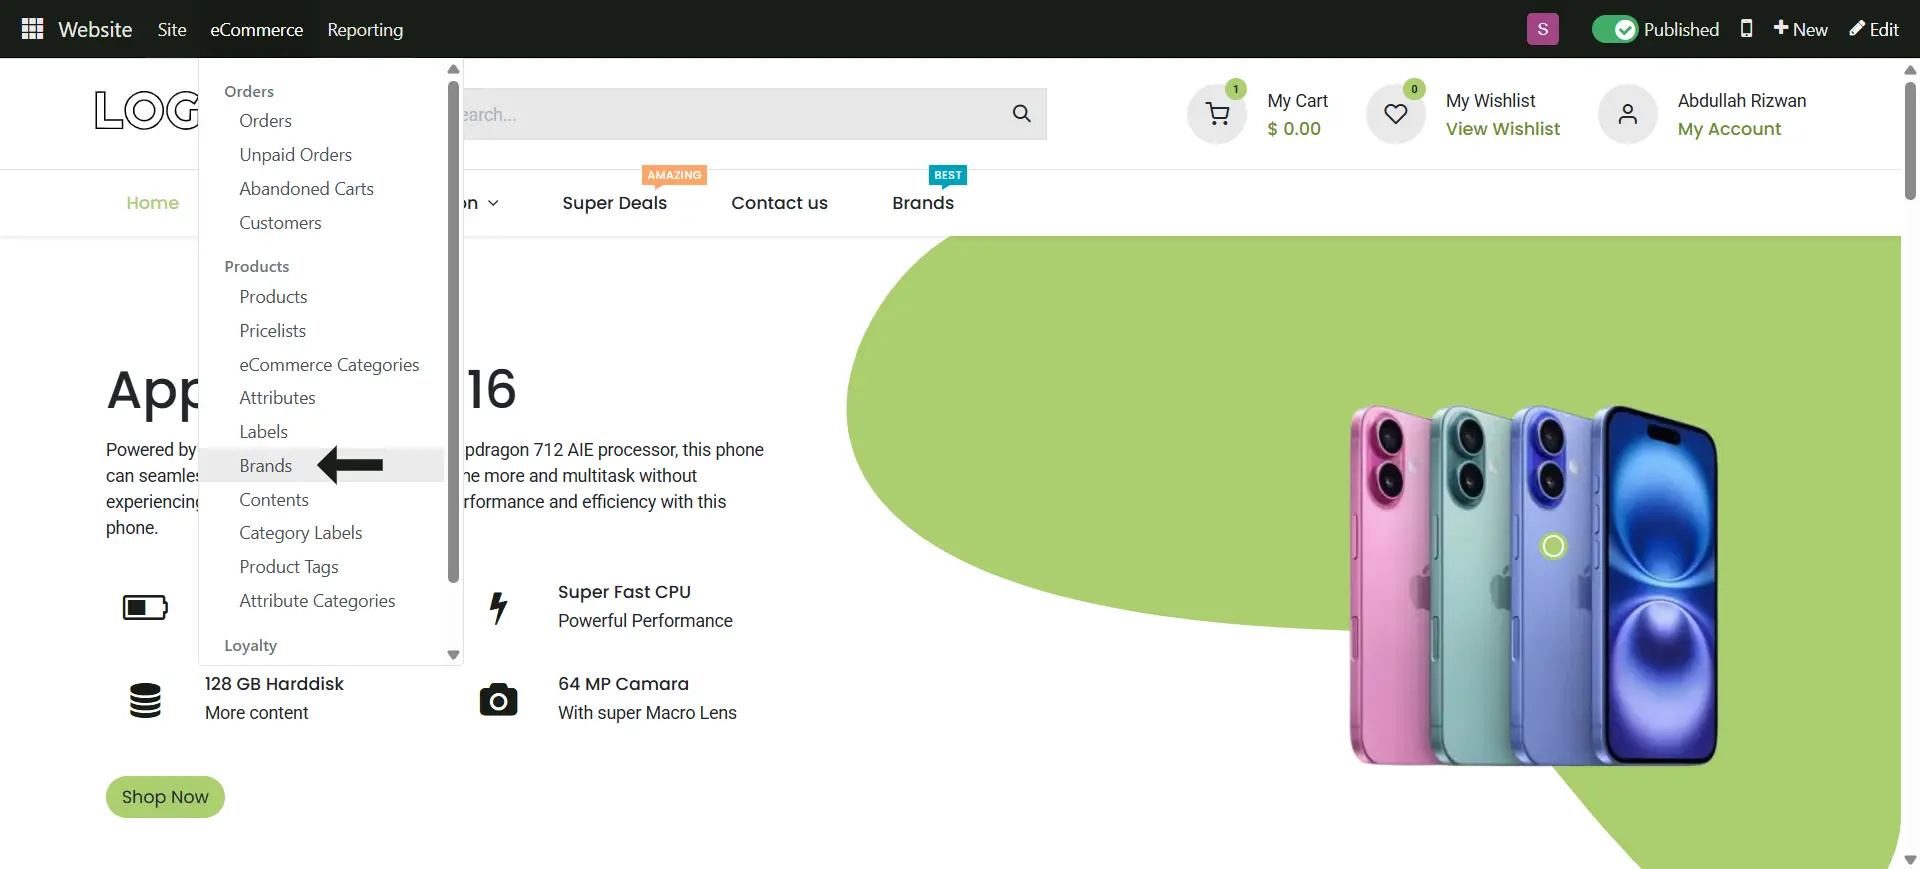
6. Here's the all Brands you can see, you can also add the Values of the Brand
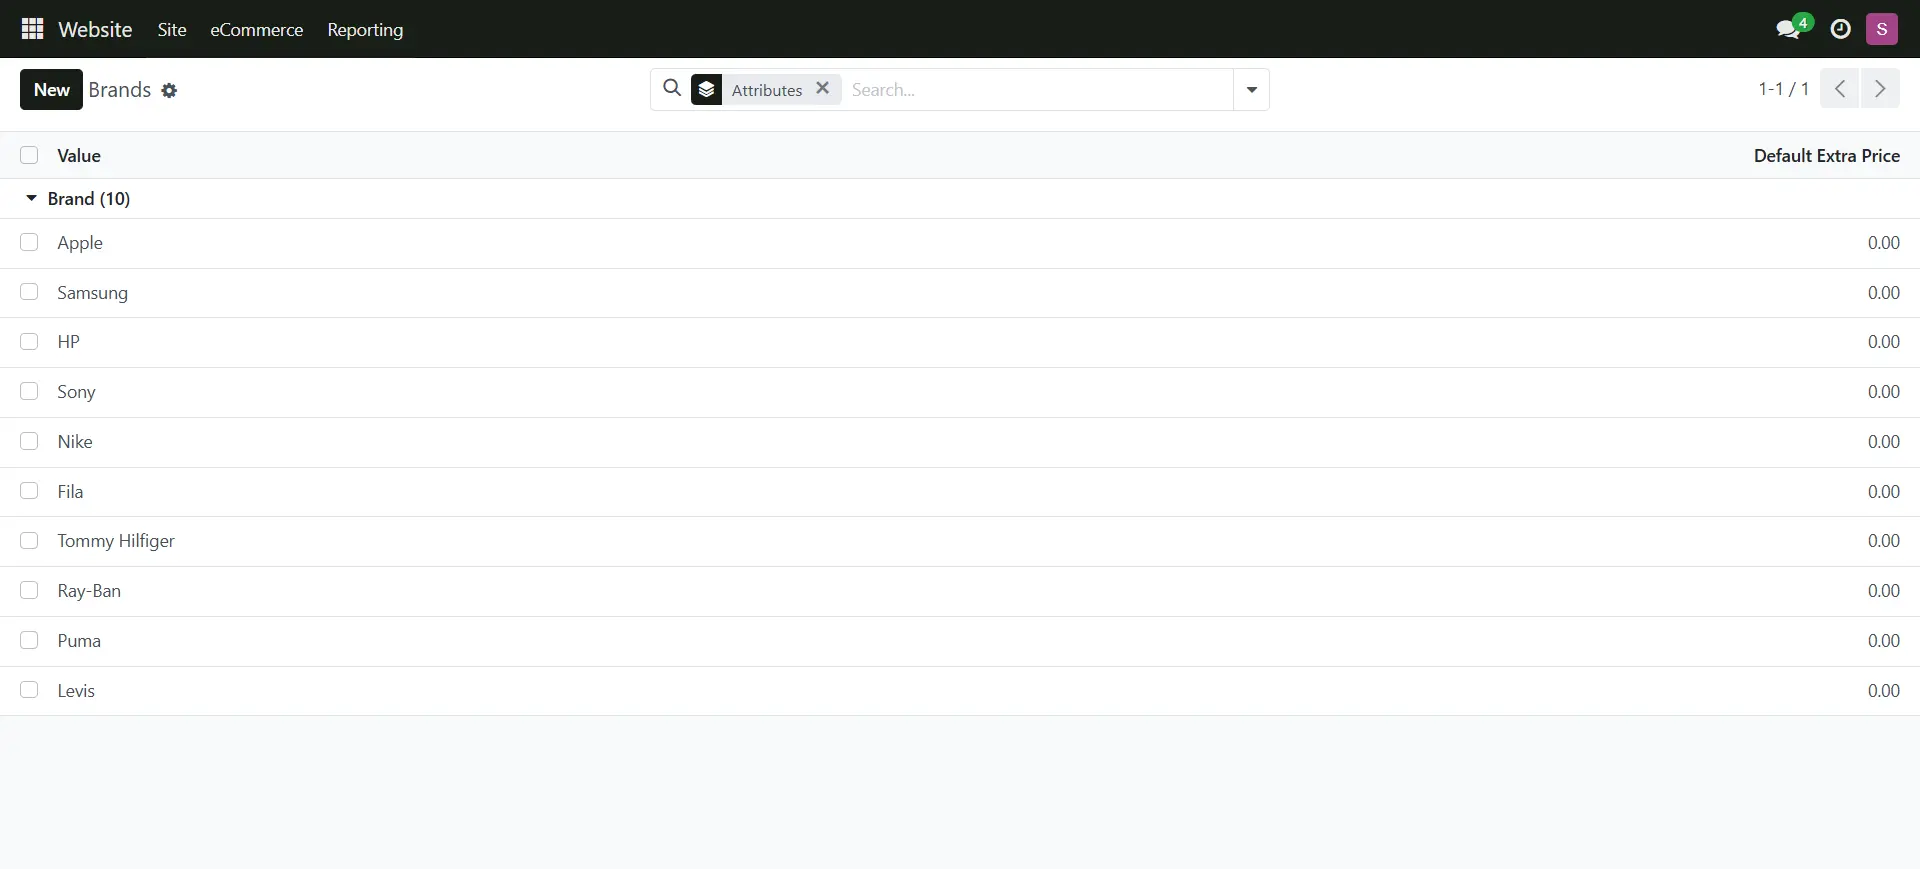
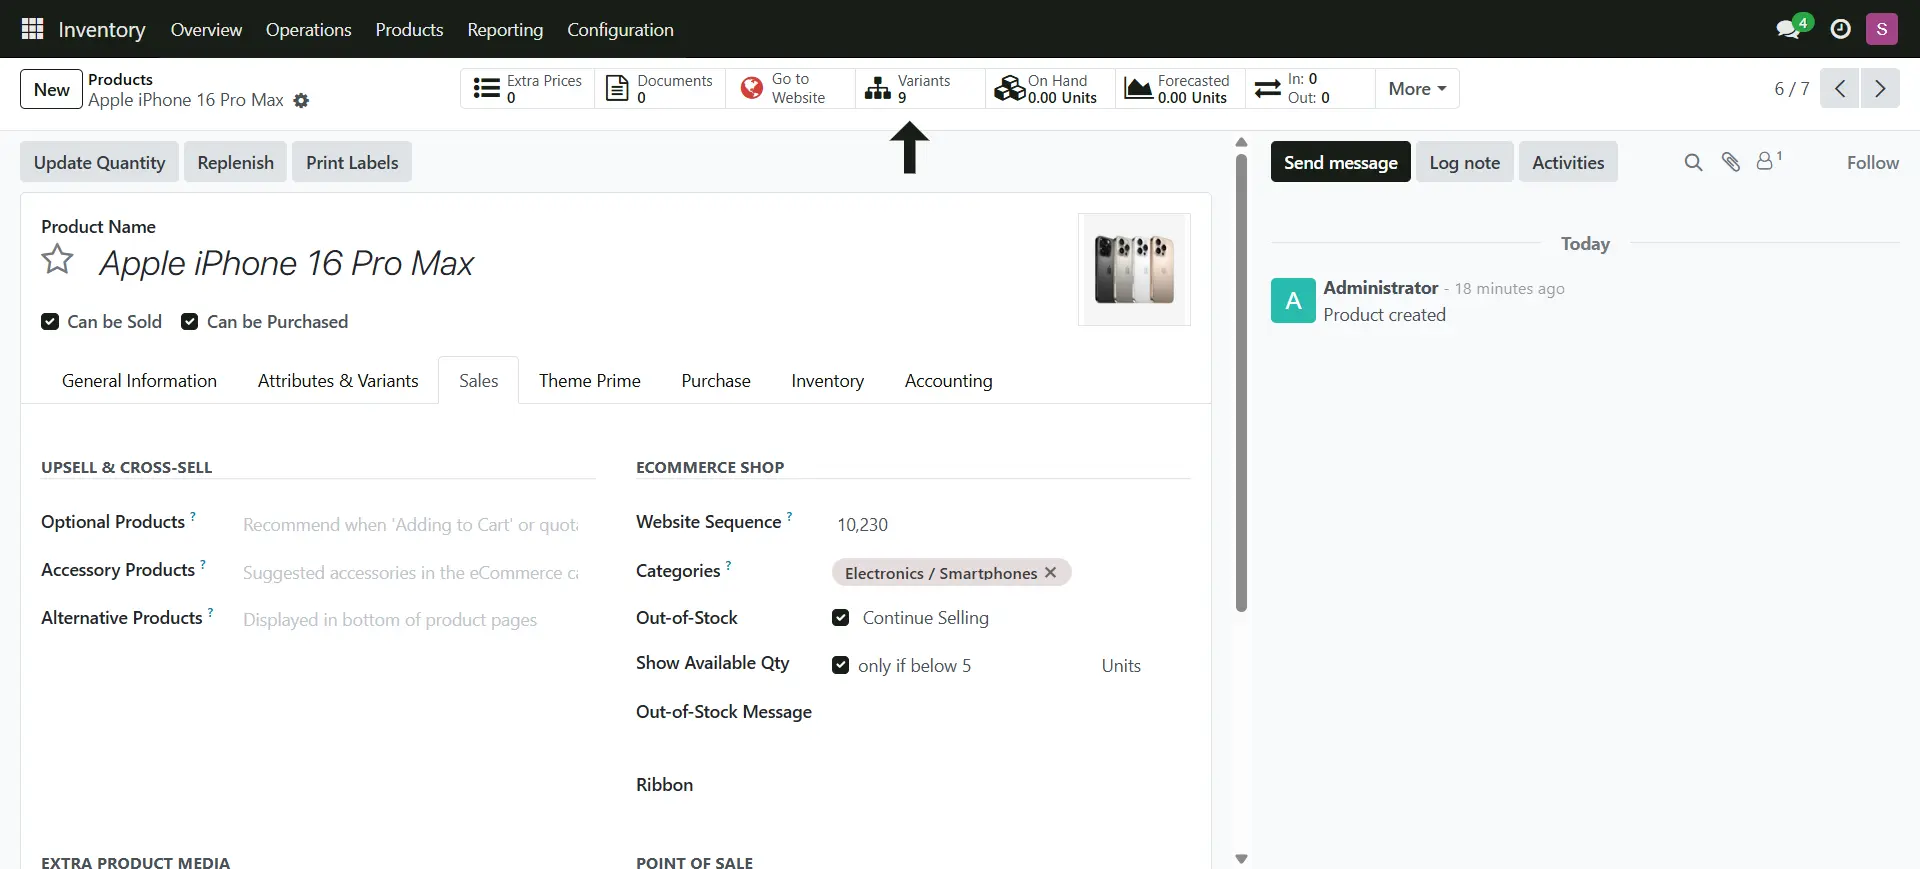
7. Now let's add another product variant, click on the Configuration Button to adjust the Pricing
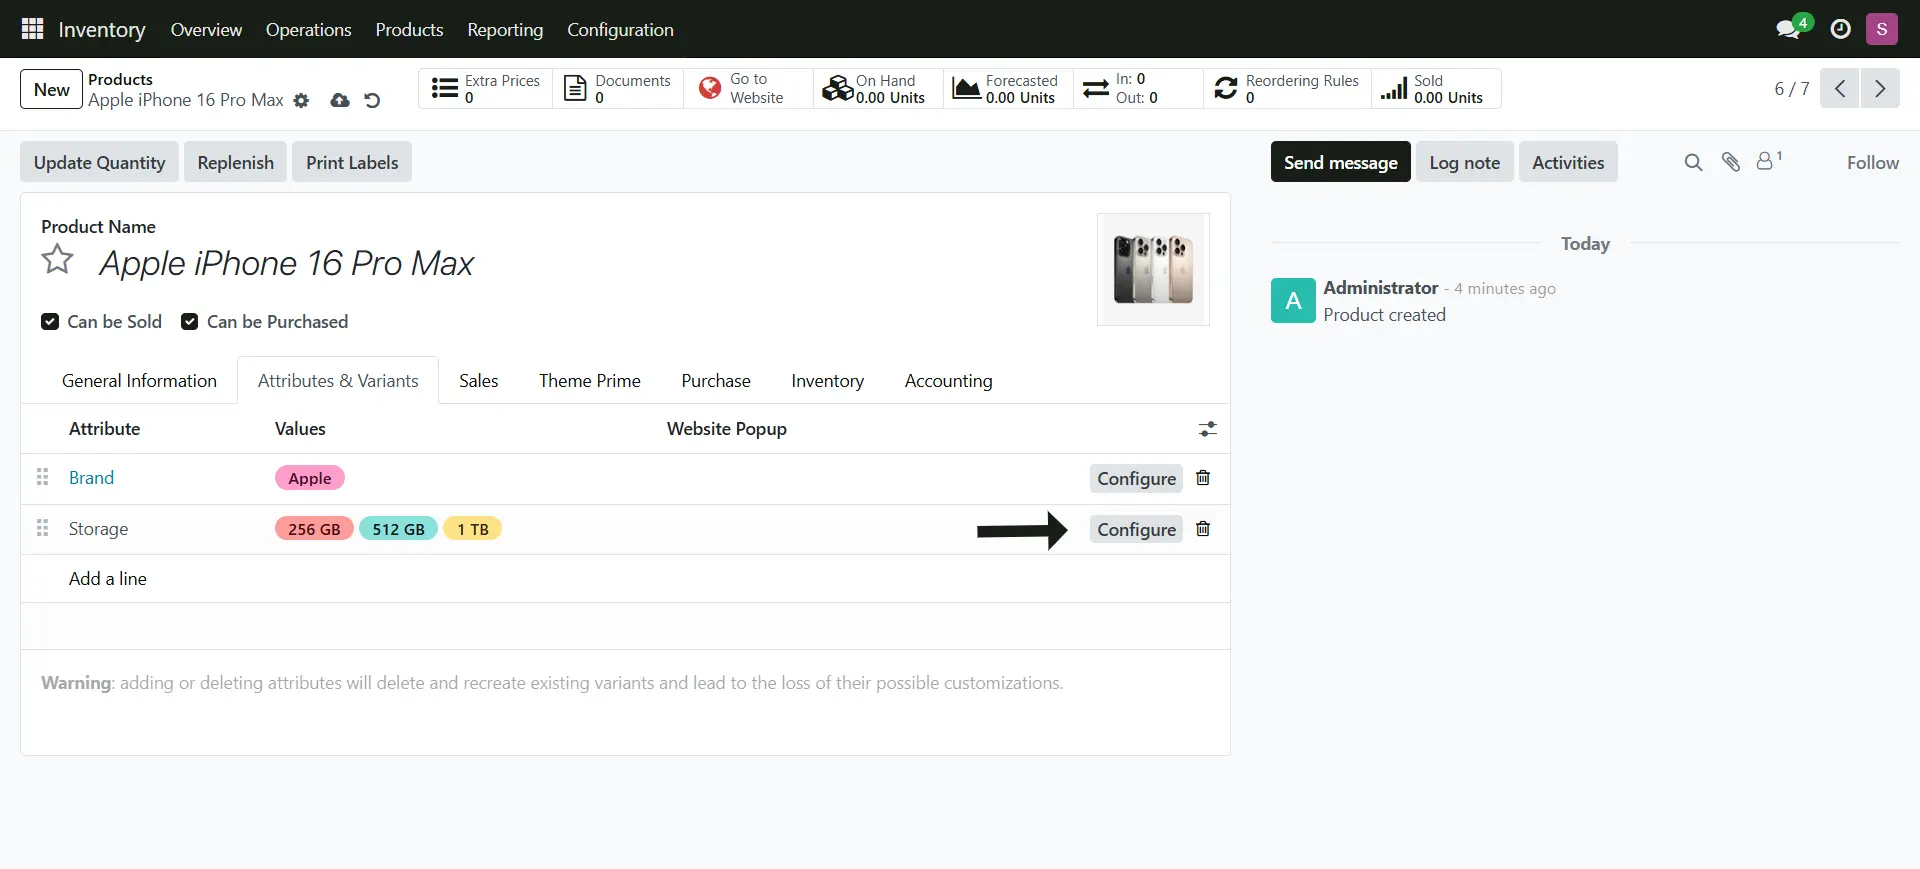
8. Here you can add the extra price for this product
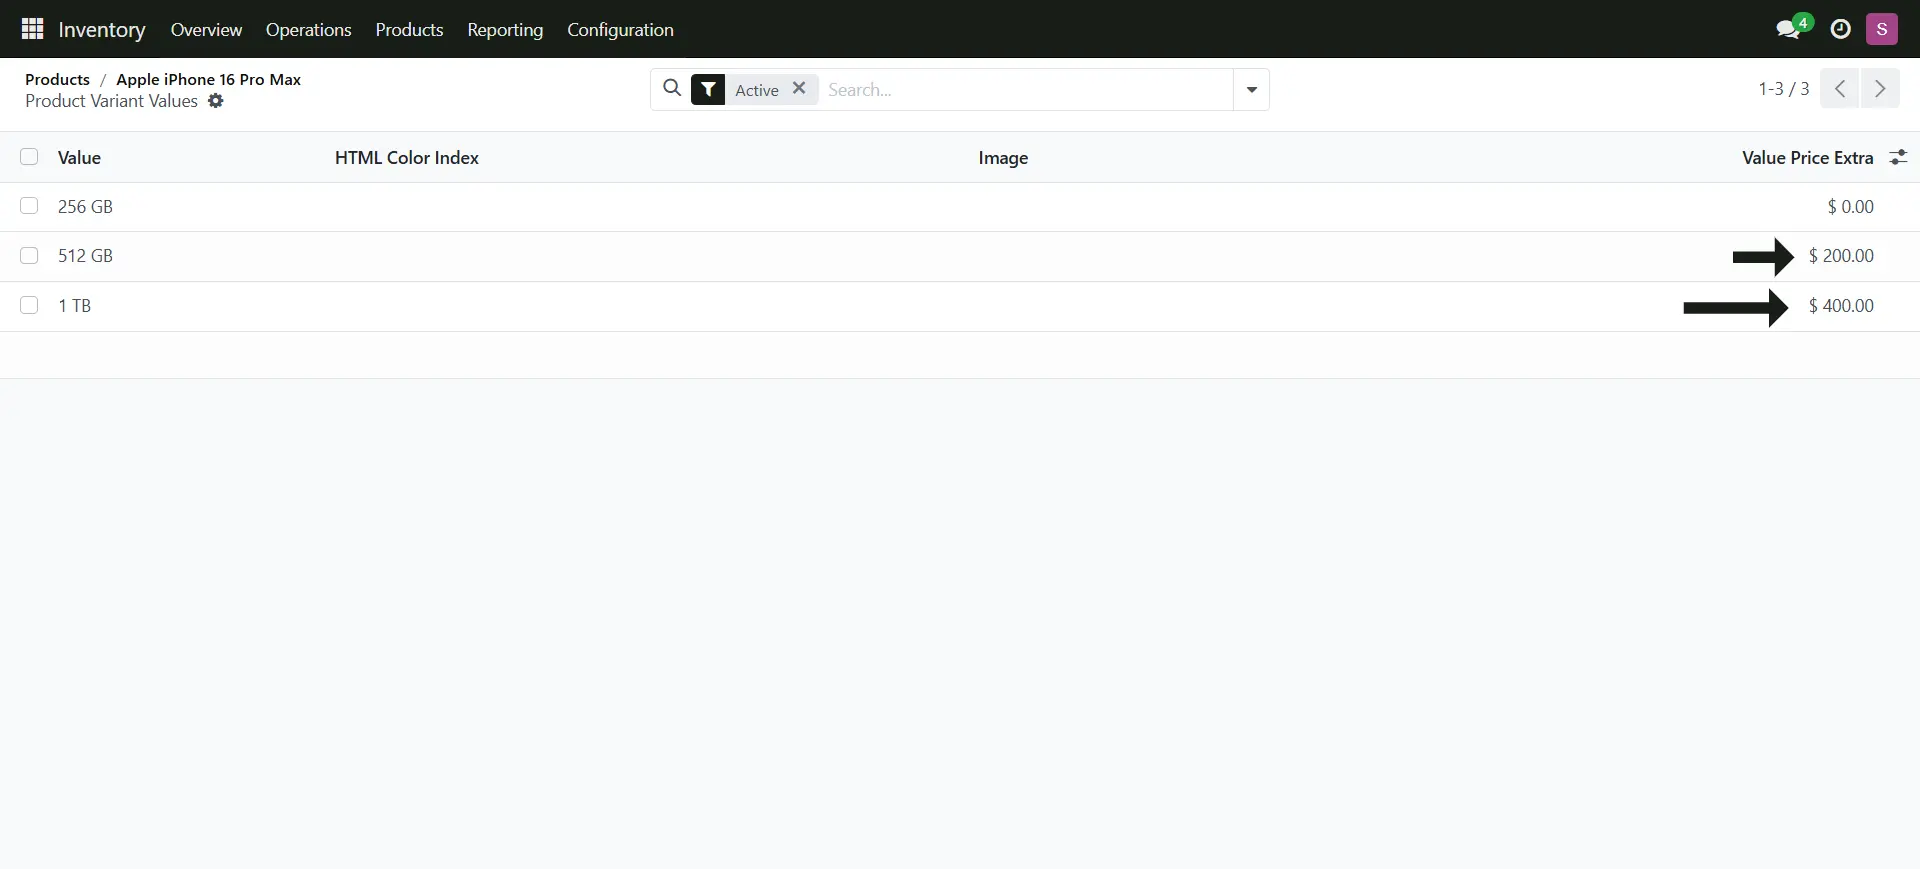
9. In the same way add the Color as a Product Attributes and click on the Configure Button
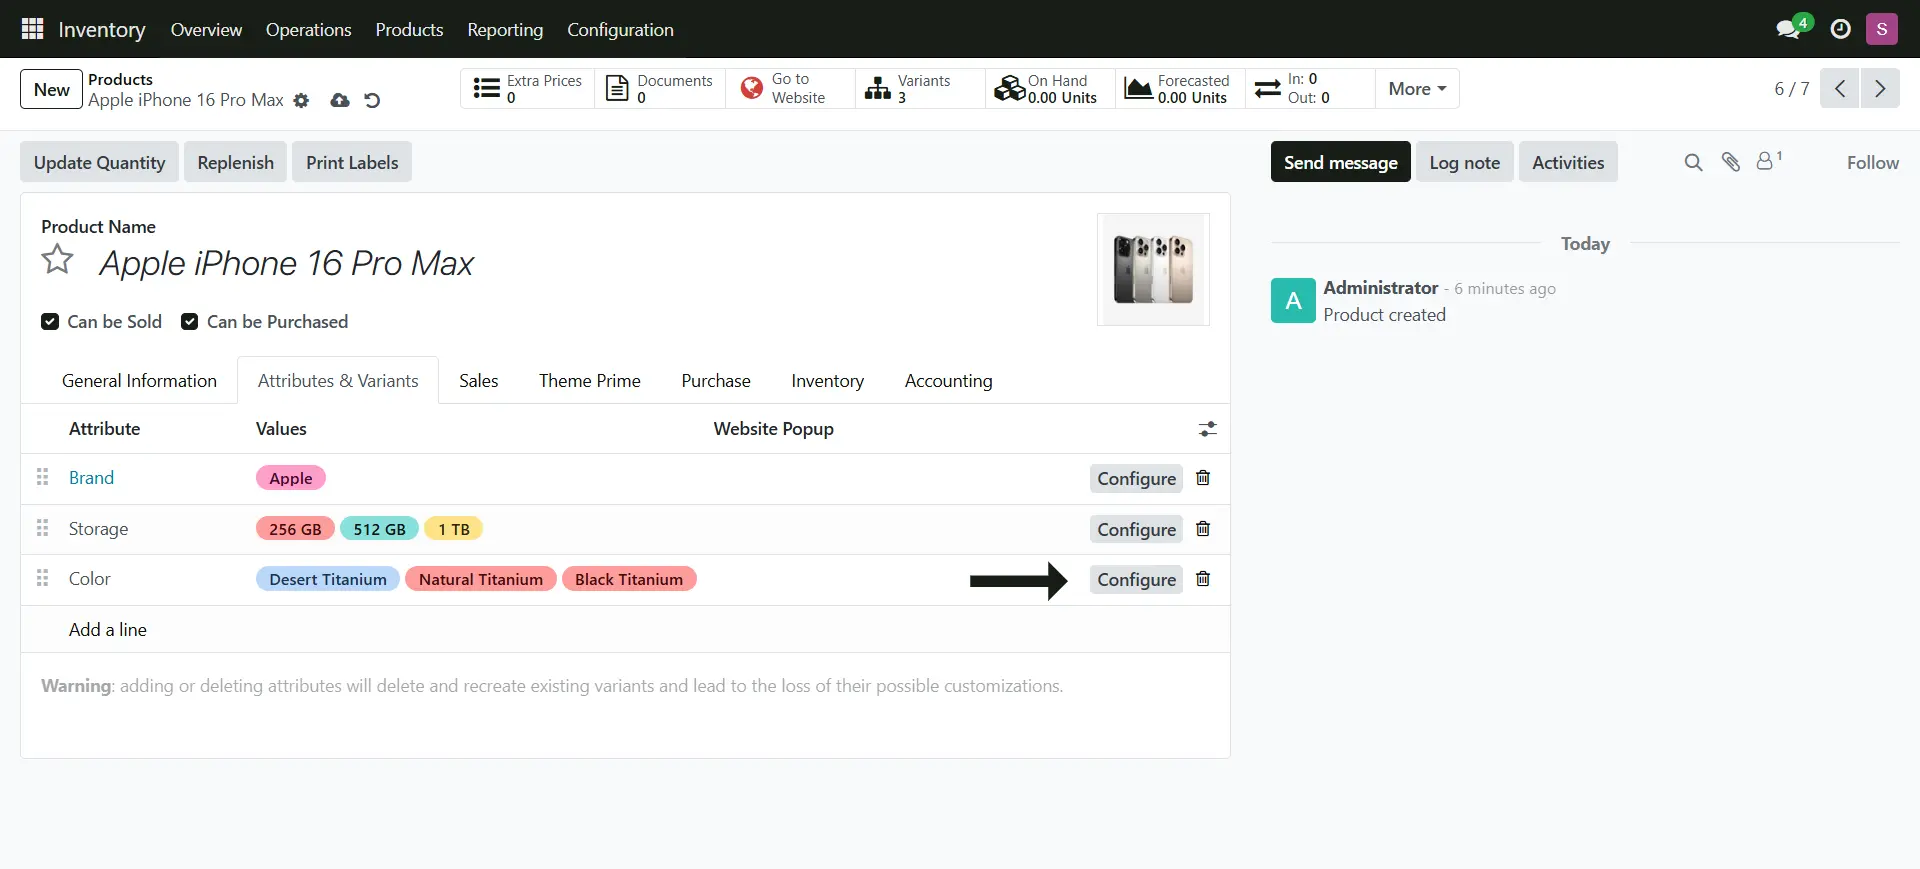
10. Click on the Product Values to Edit
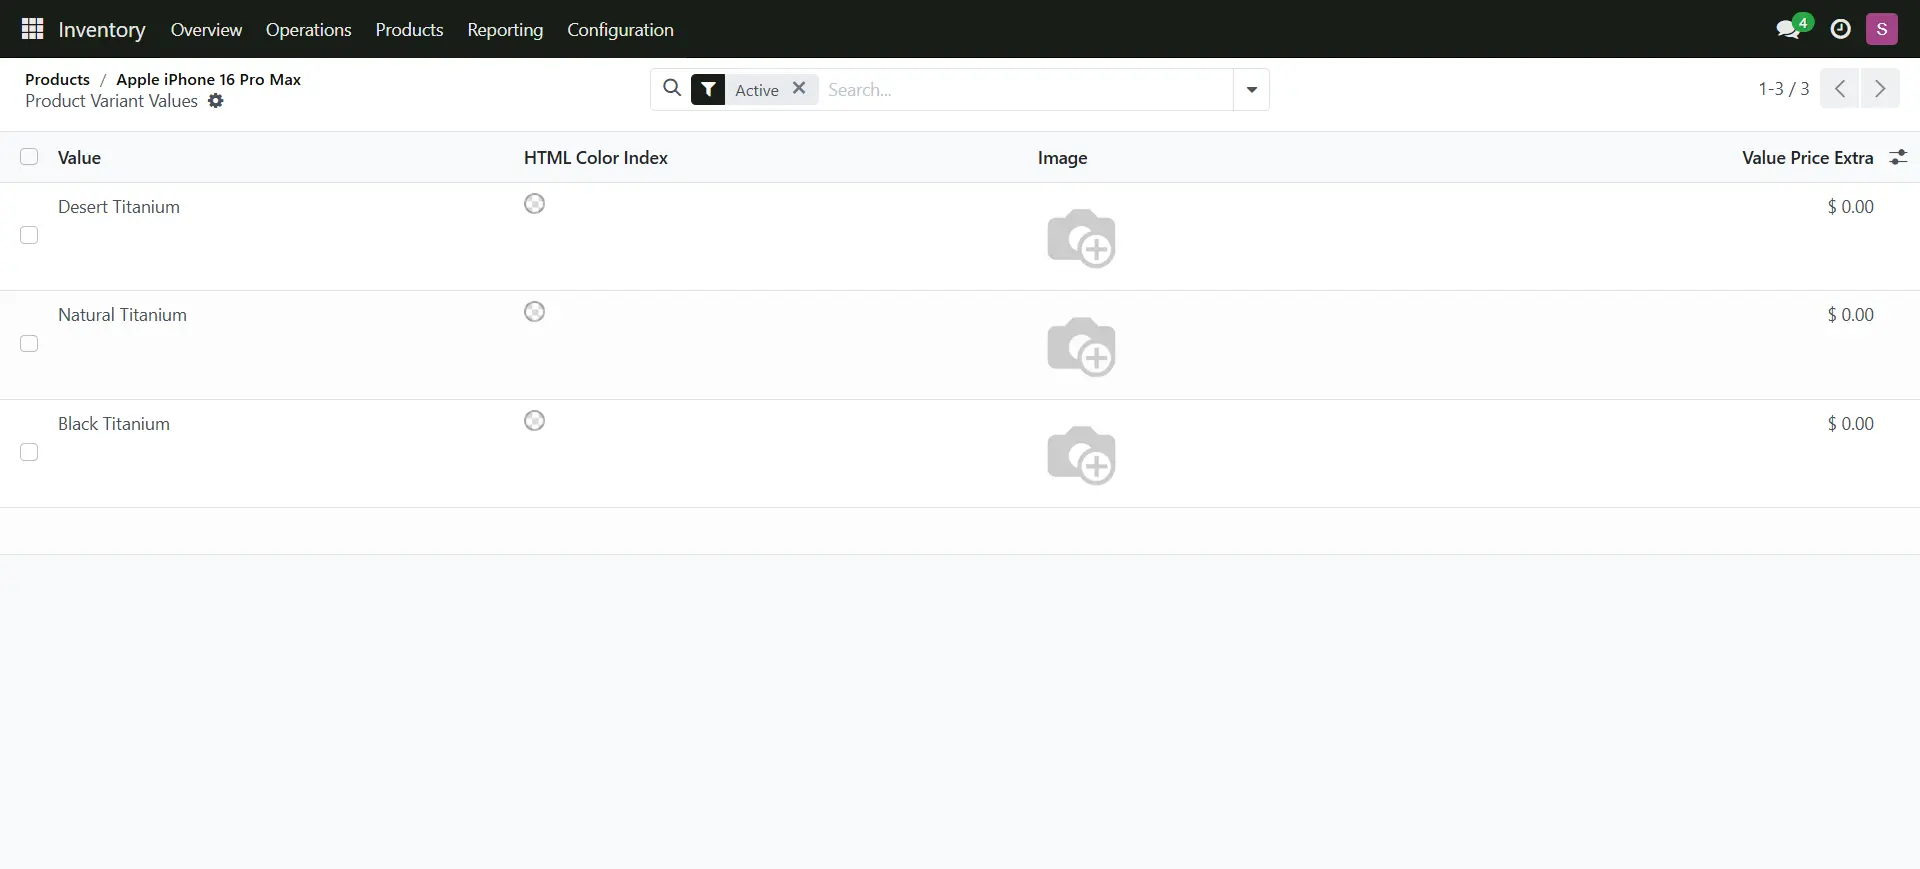
11. Add the product image
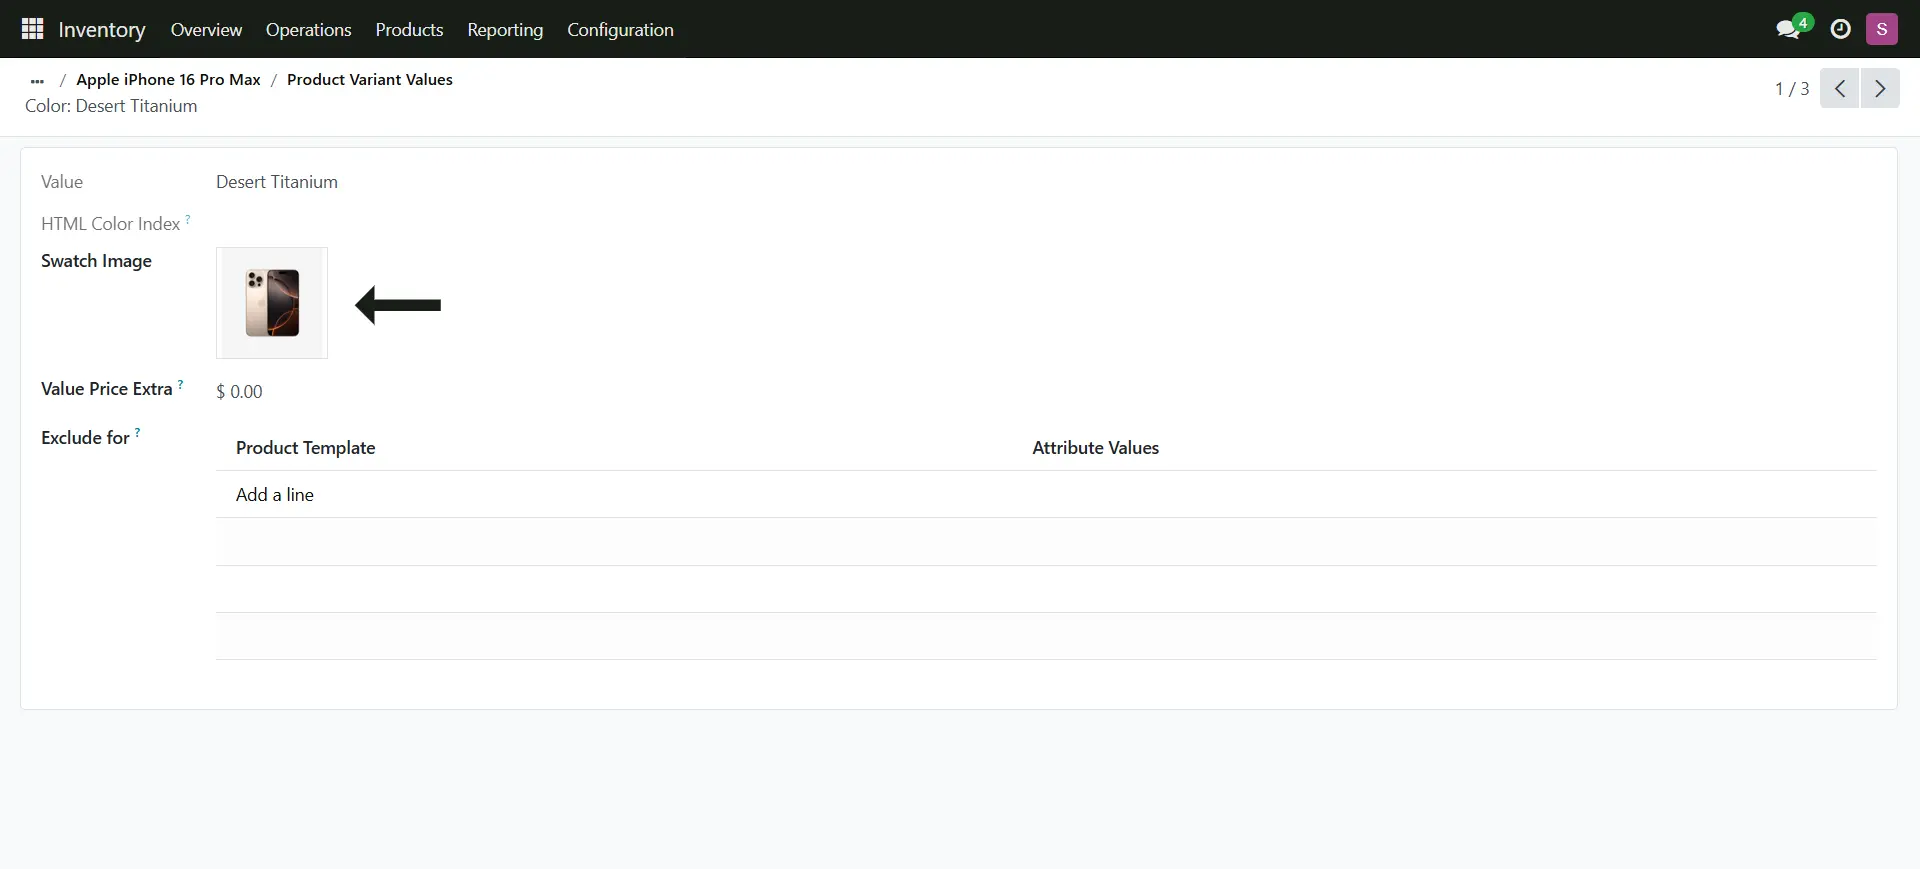
12. This is where it adds the product image, now you can add one by one products image
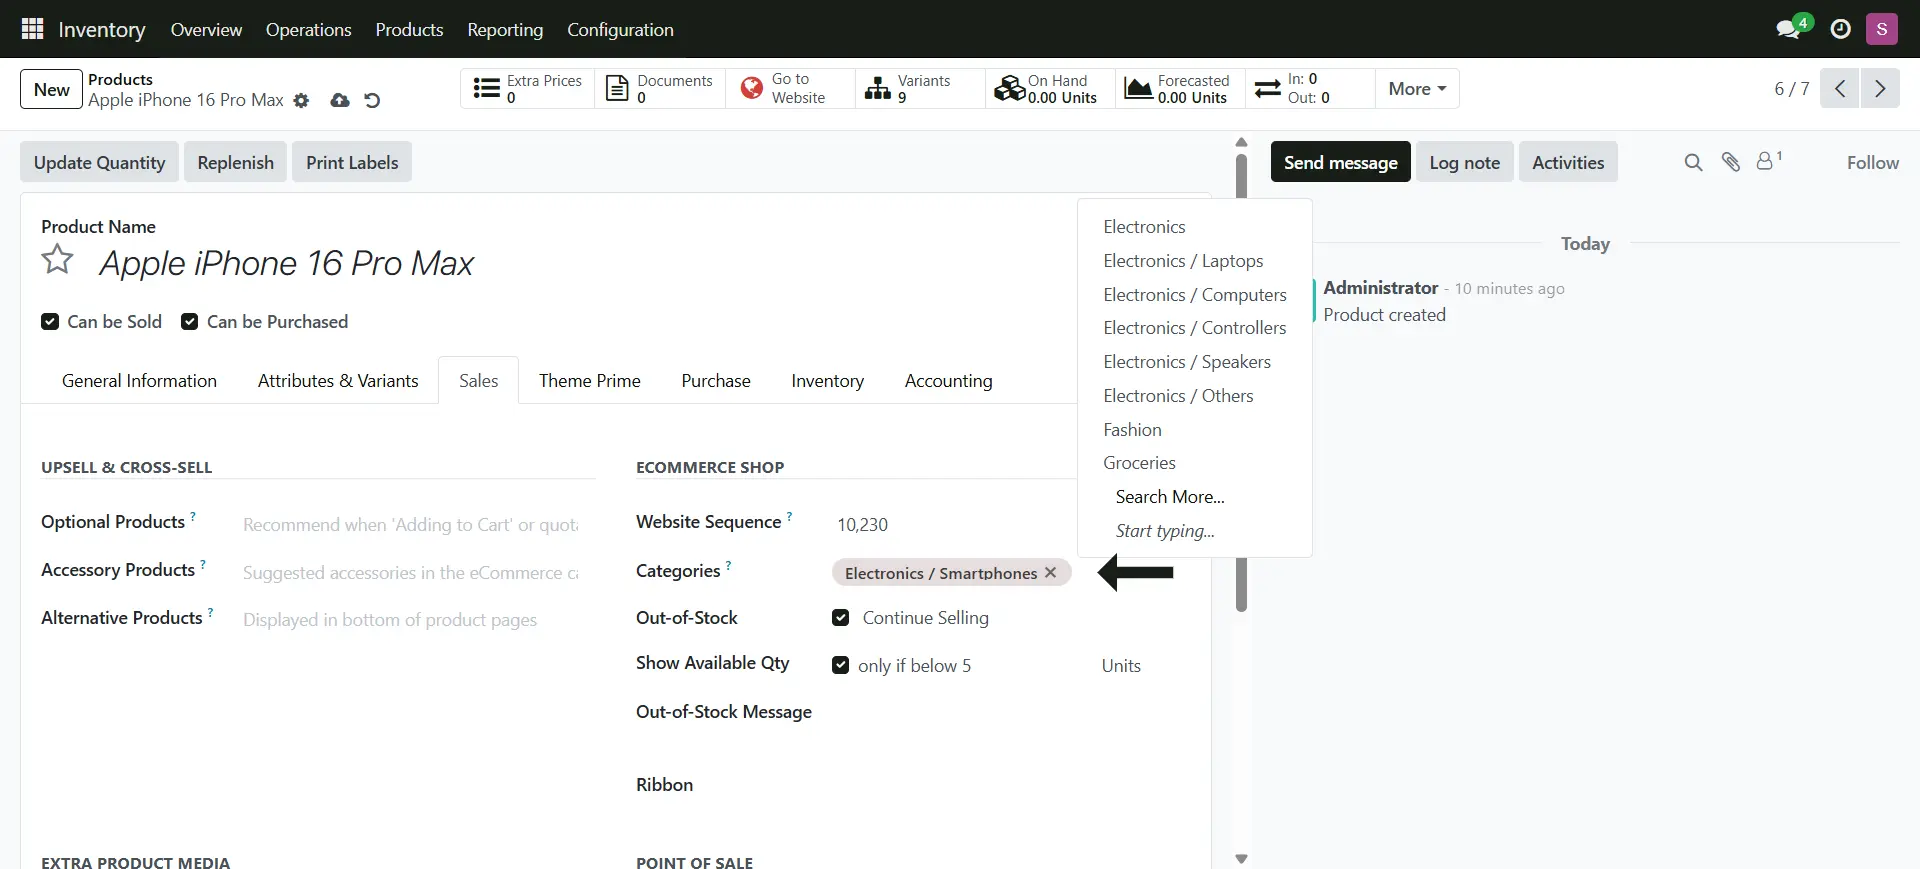
Sales Tab
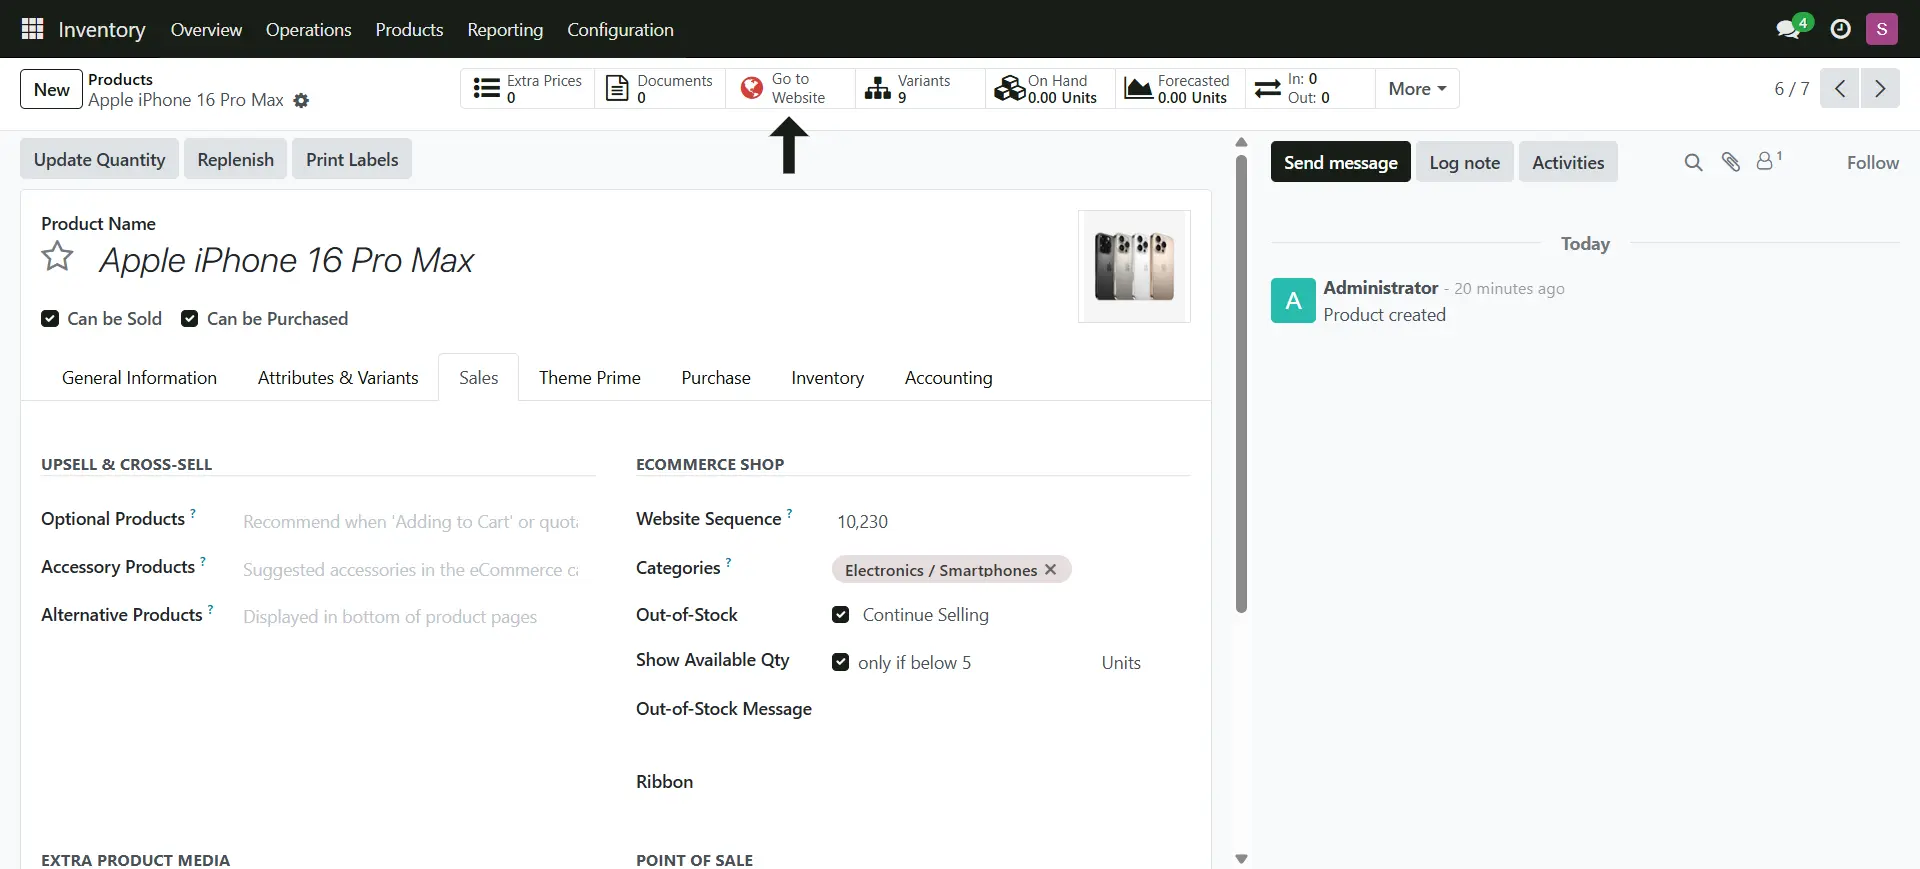
1. Switch the tab > Sales
2. Add the eCommerce Category, this is for the online store
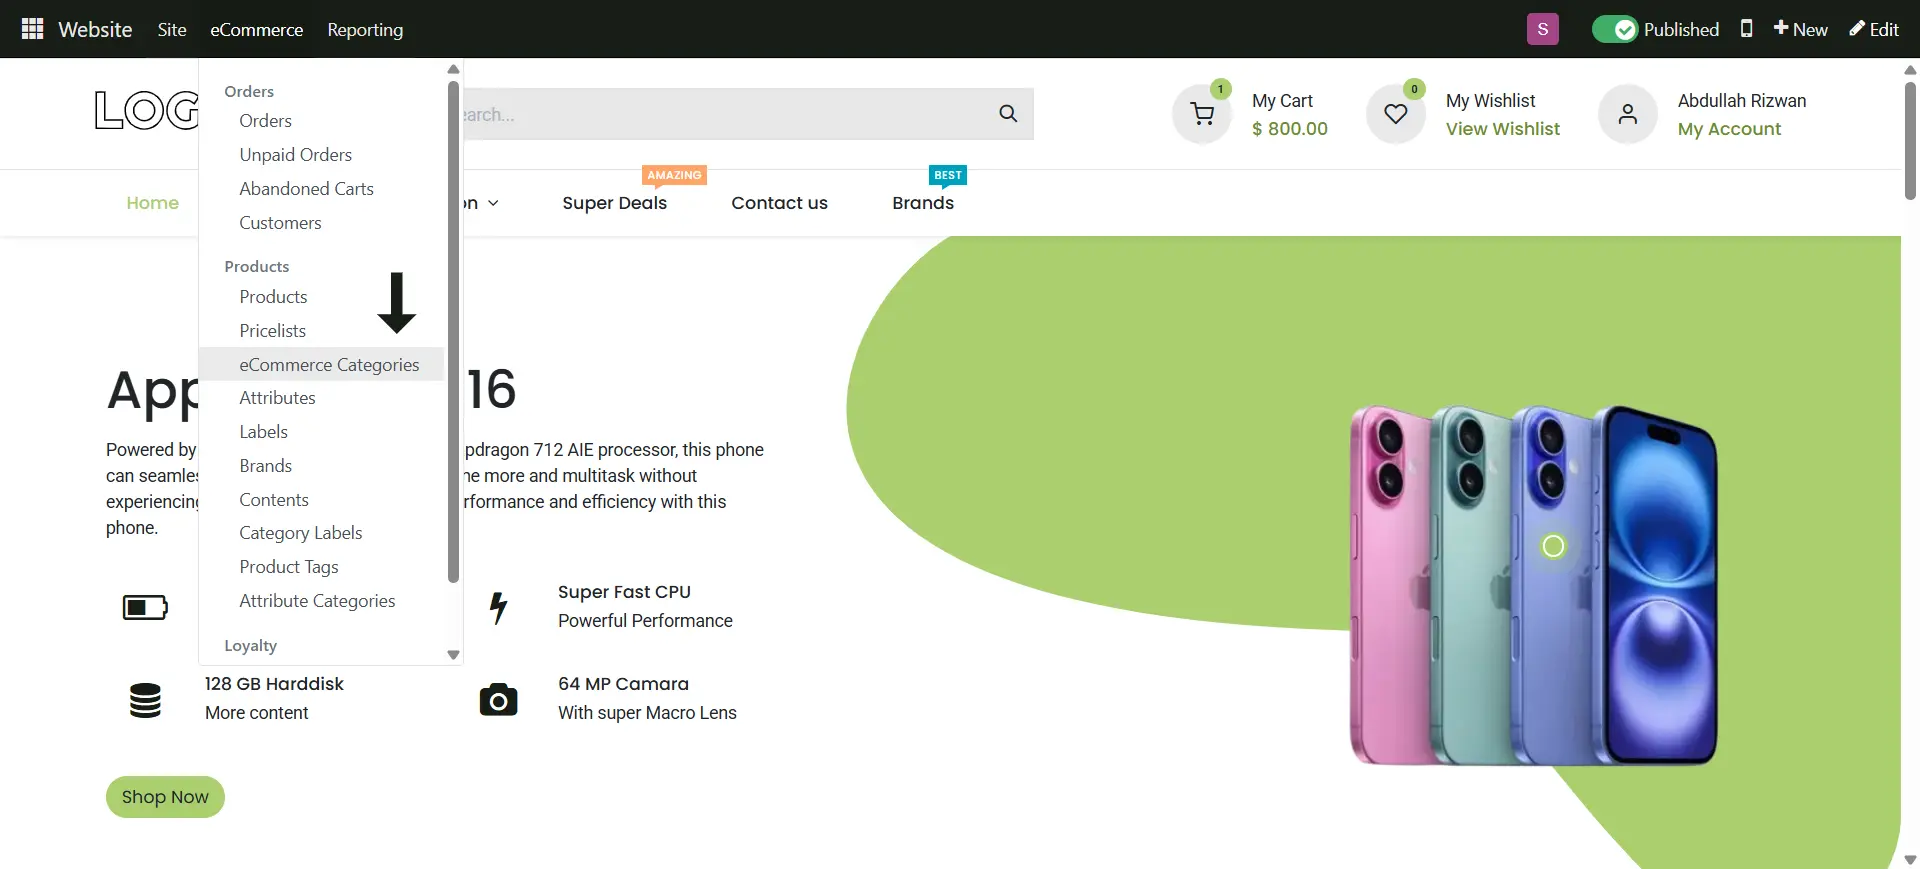
Creating eCommerce Categories
1. You can also create the category from Website > eCommerce Menu > eCommerce Categories
2. Name the Category you want
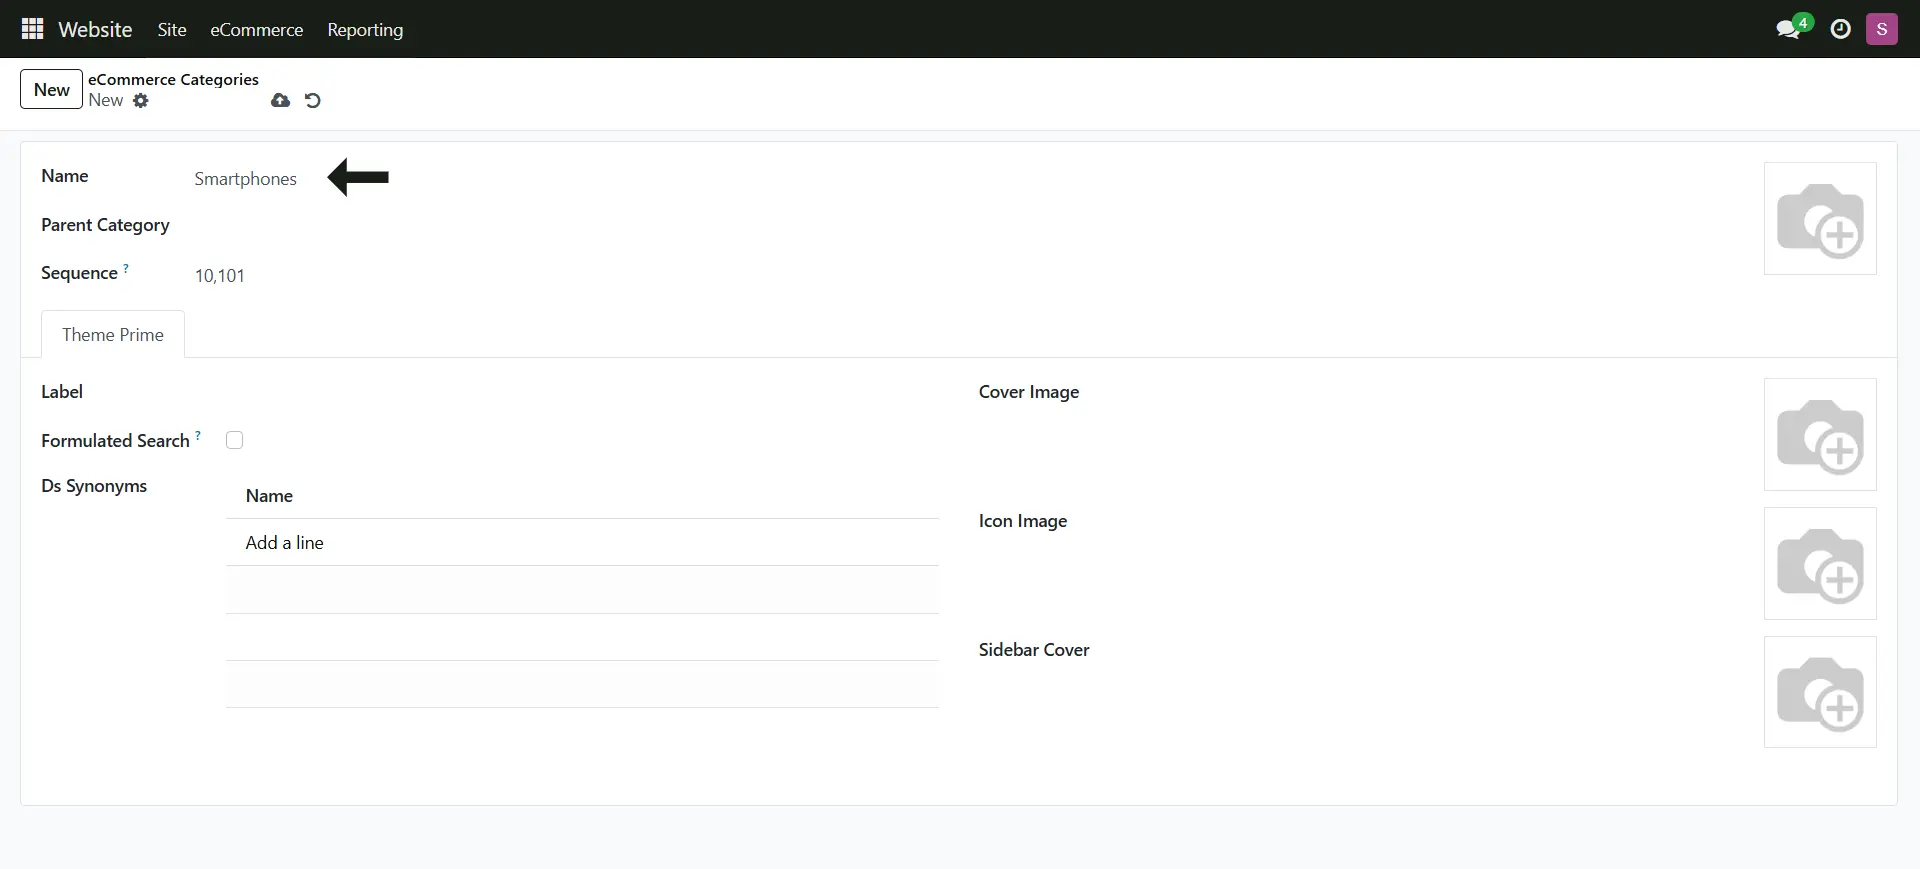
3. Add the Parent Category to make it in structured way
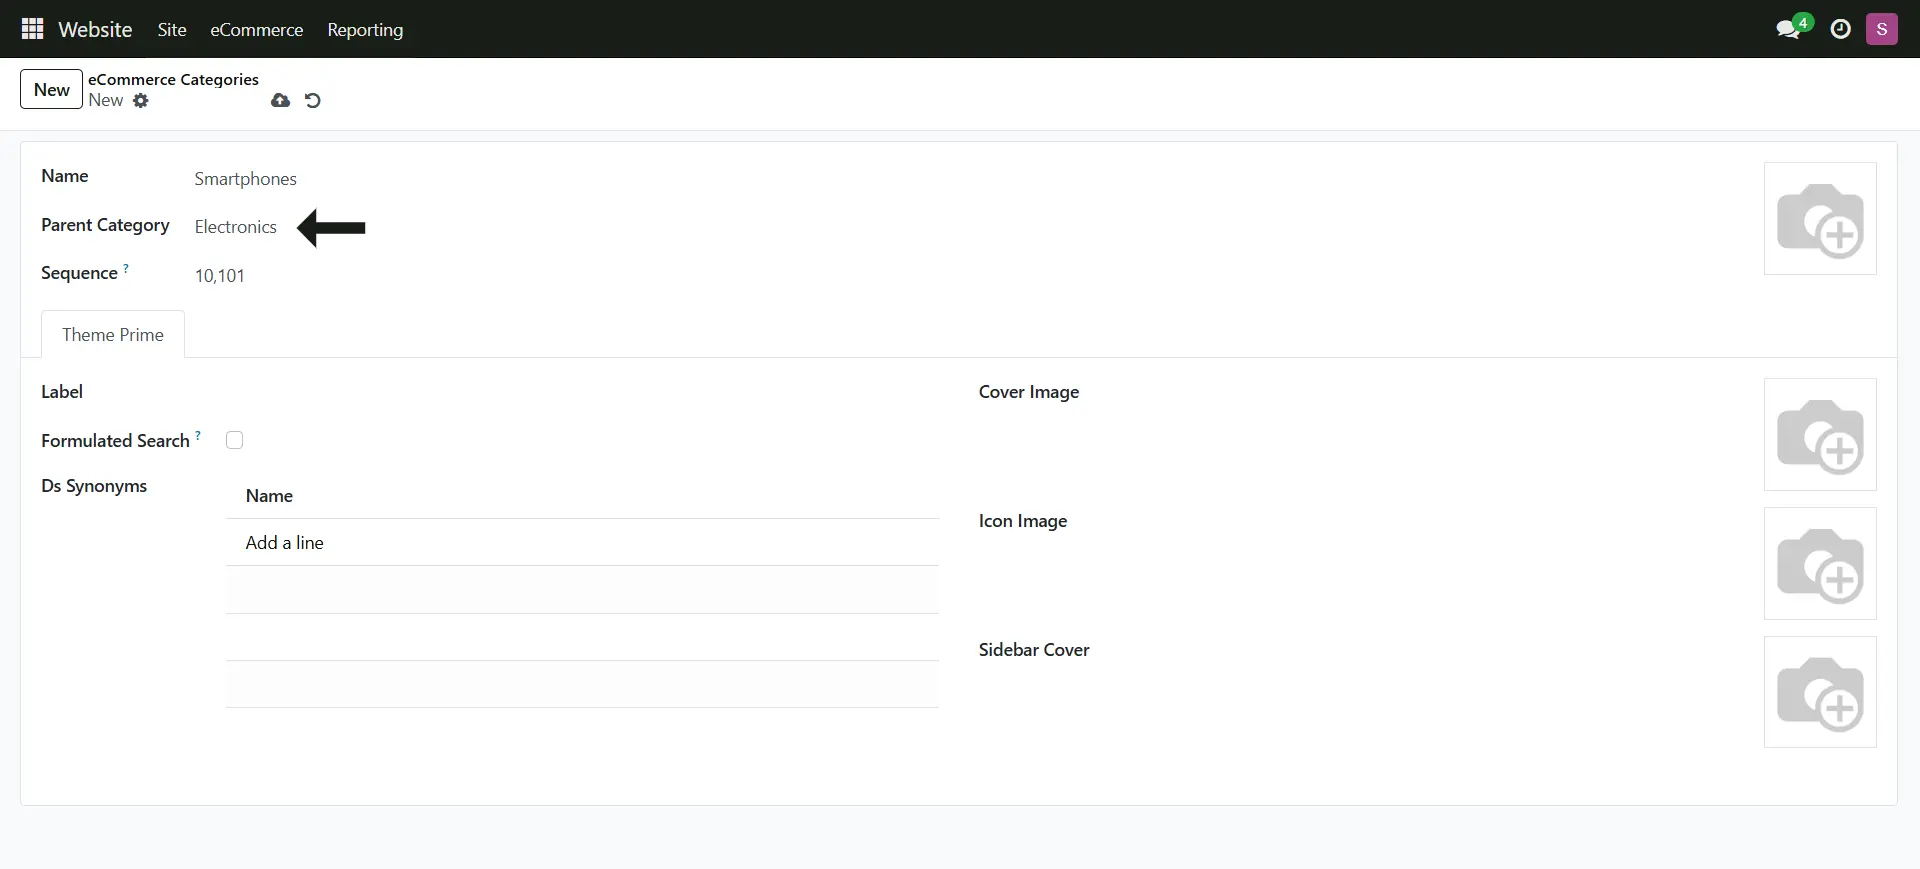
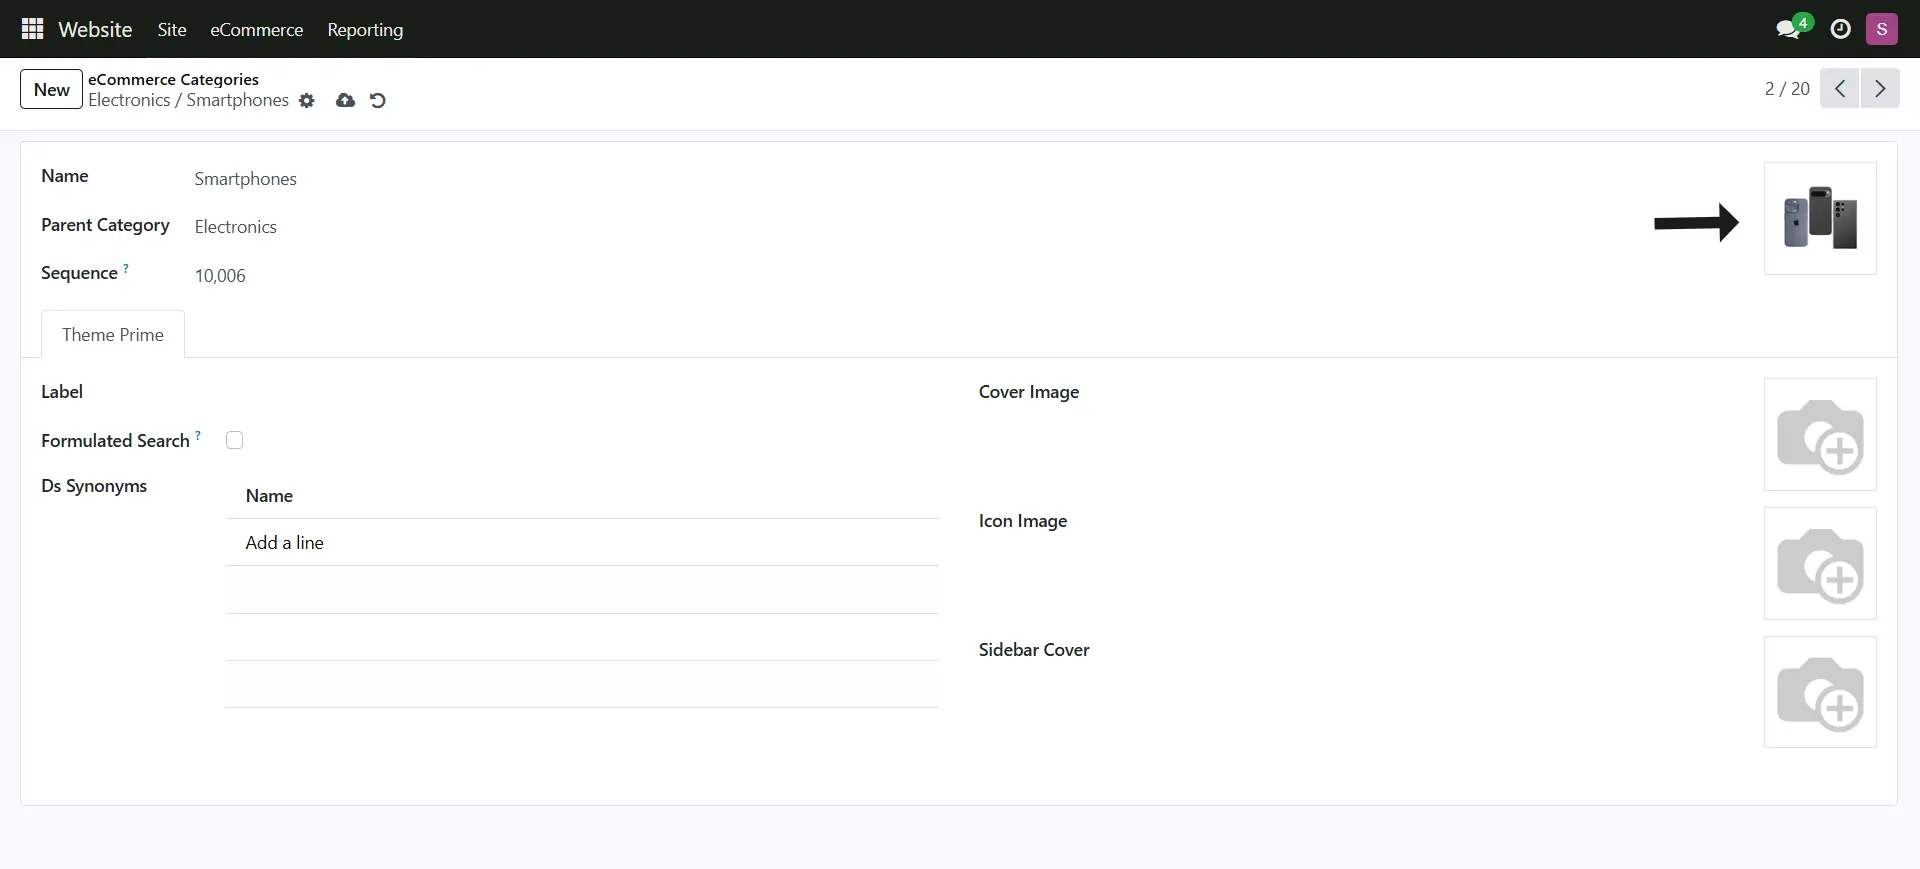
4. You can also add the Category Image
Adding Product on PoS
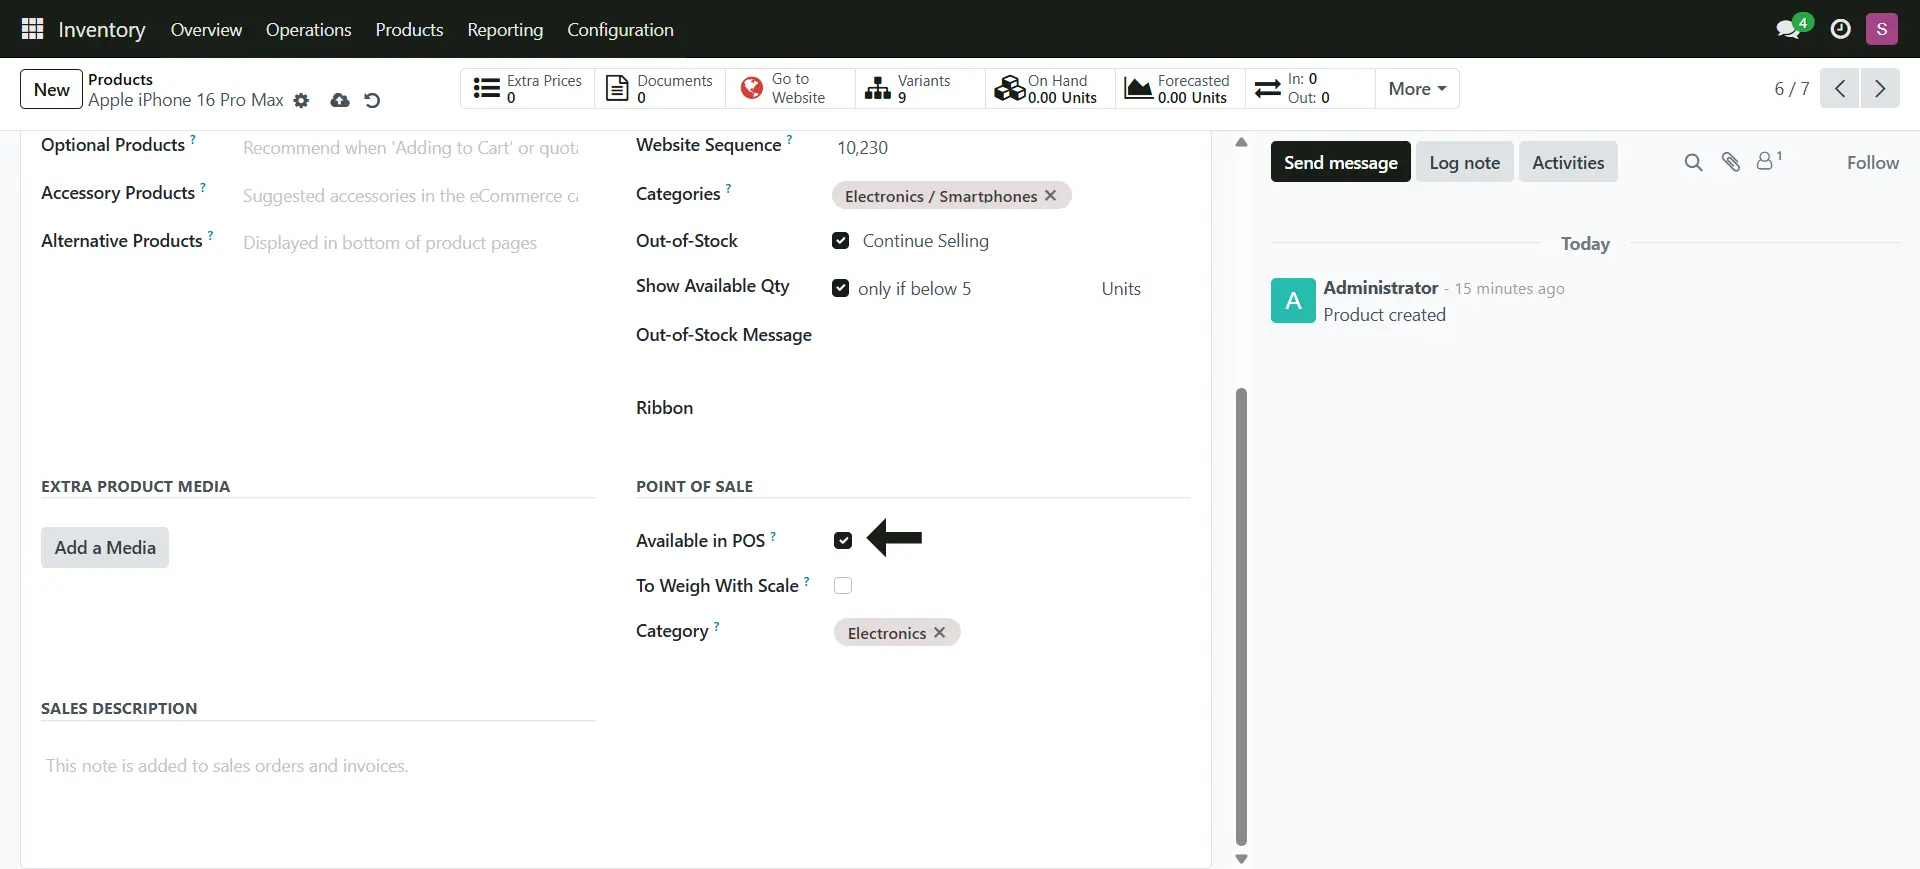
5. To show the product on Point of Sale, you have to enable this
Adding An Extra Product Images
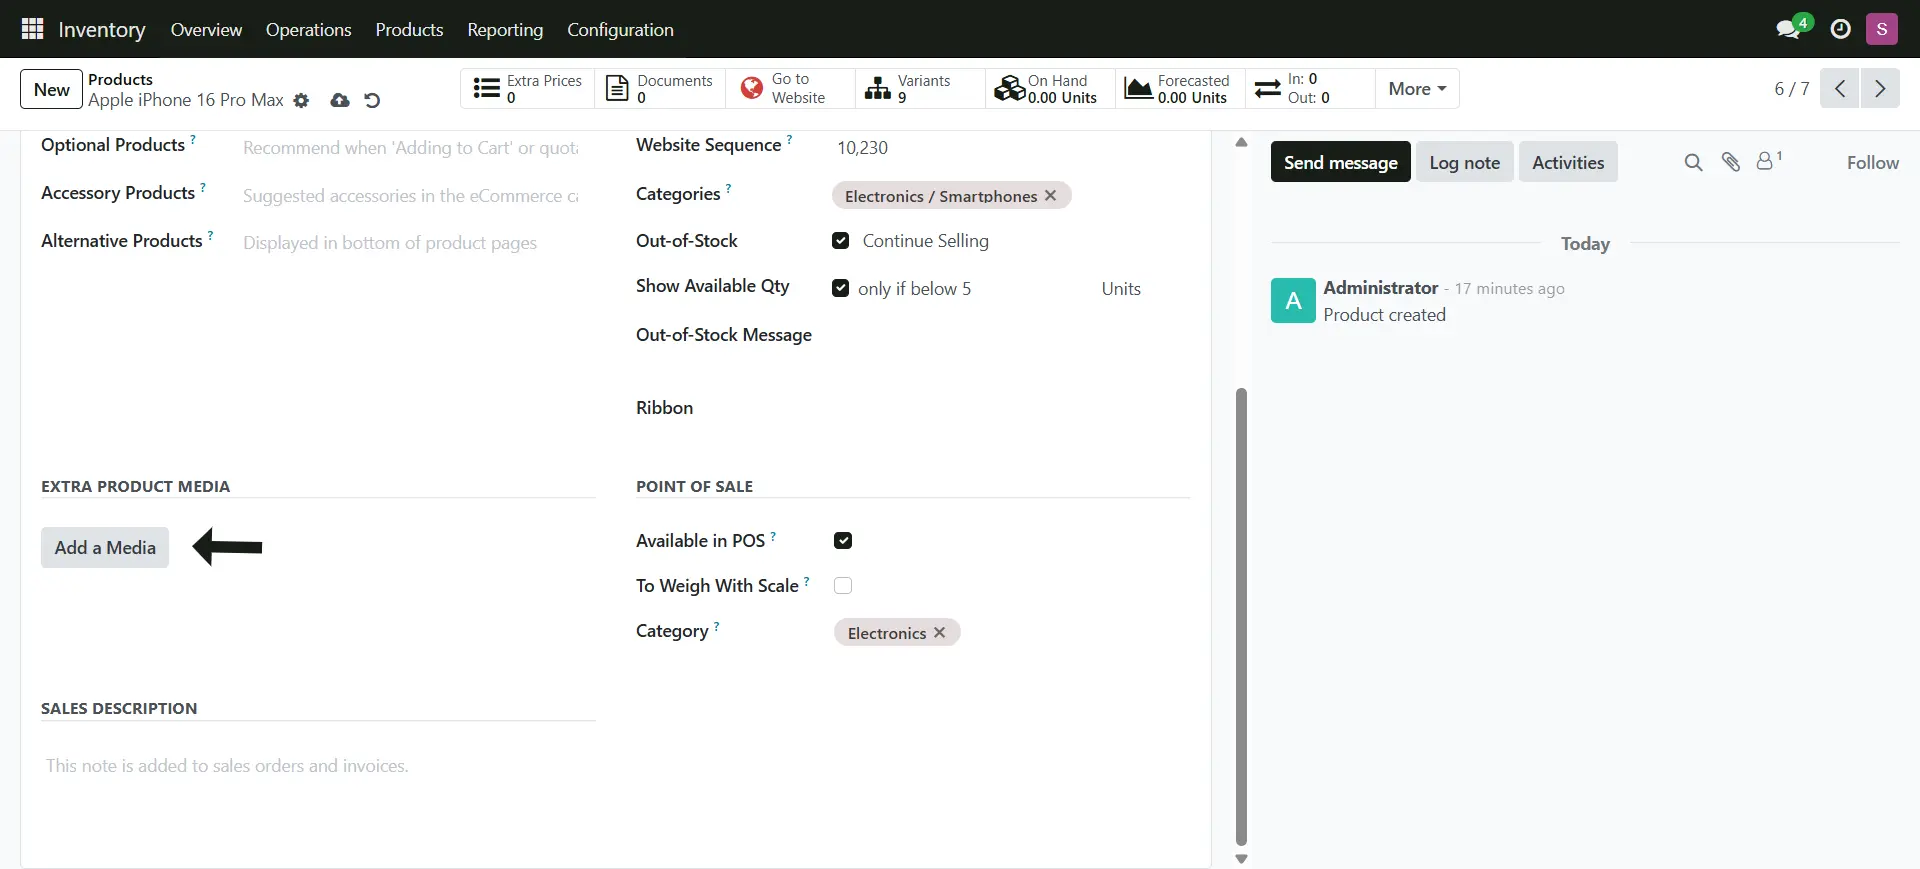
6. Add more product images
Customizing Product Variants
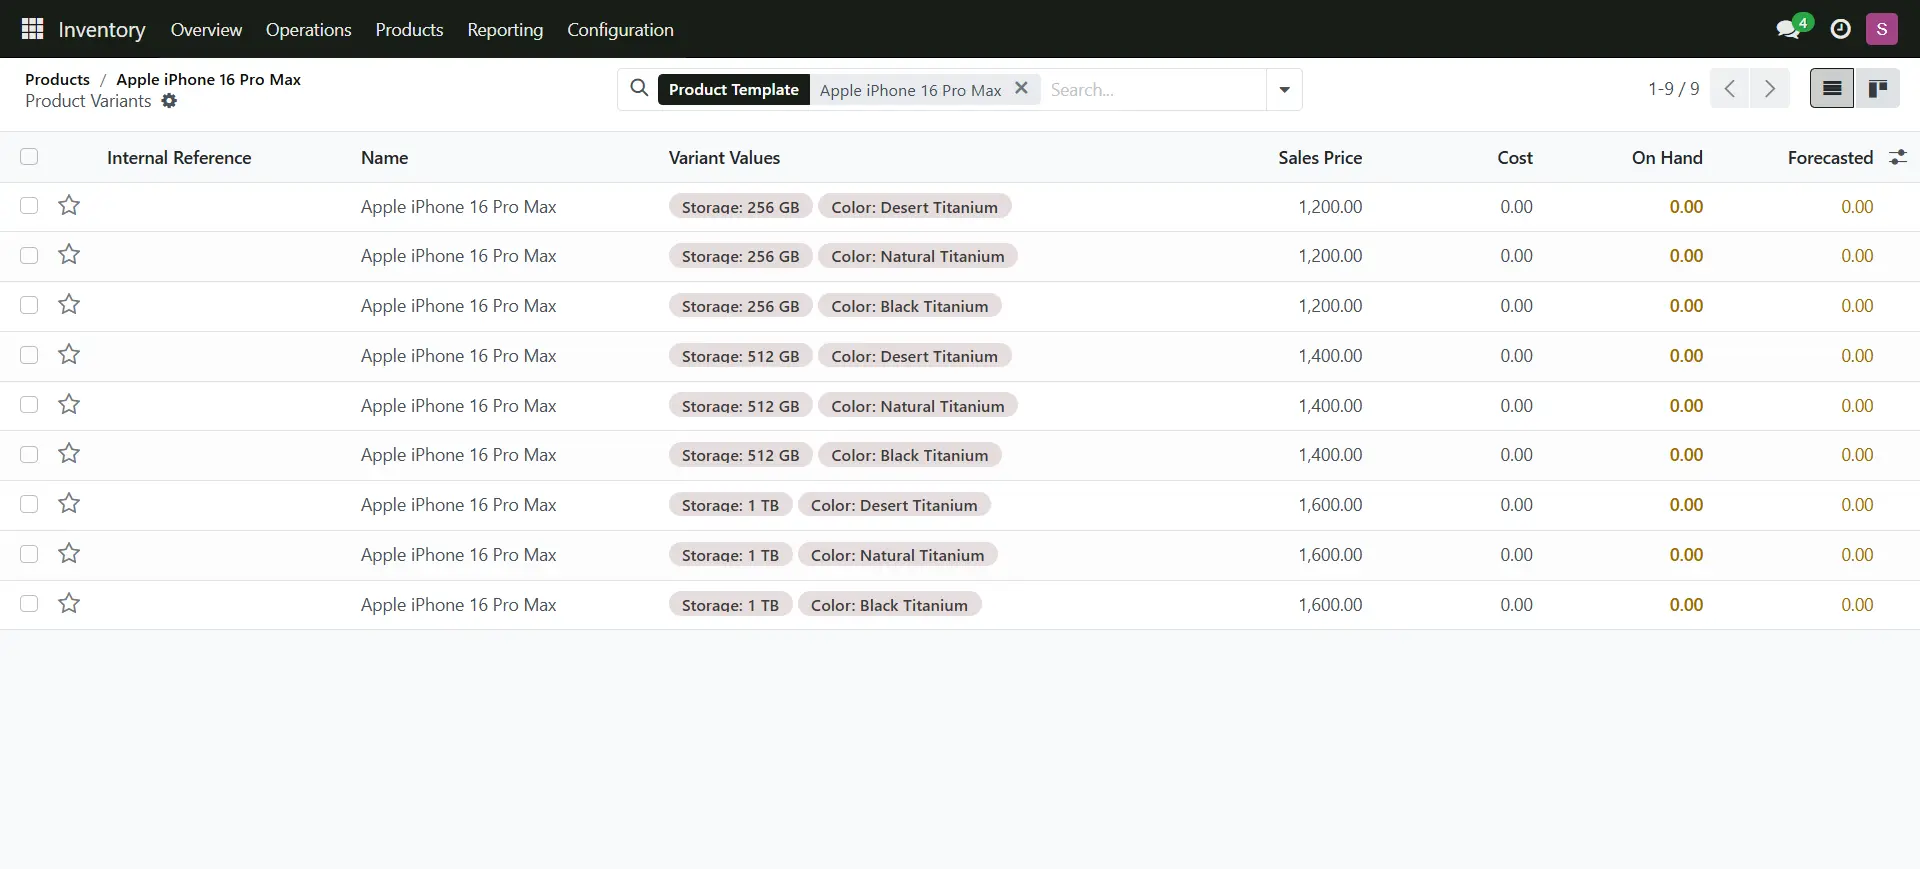
1. Now let's manage the created variants
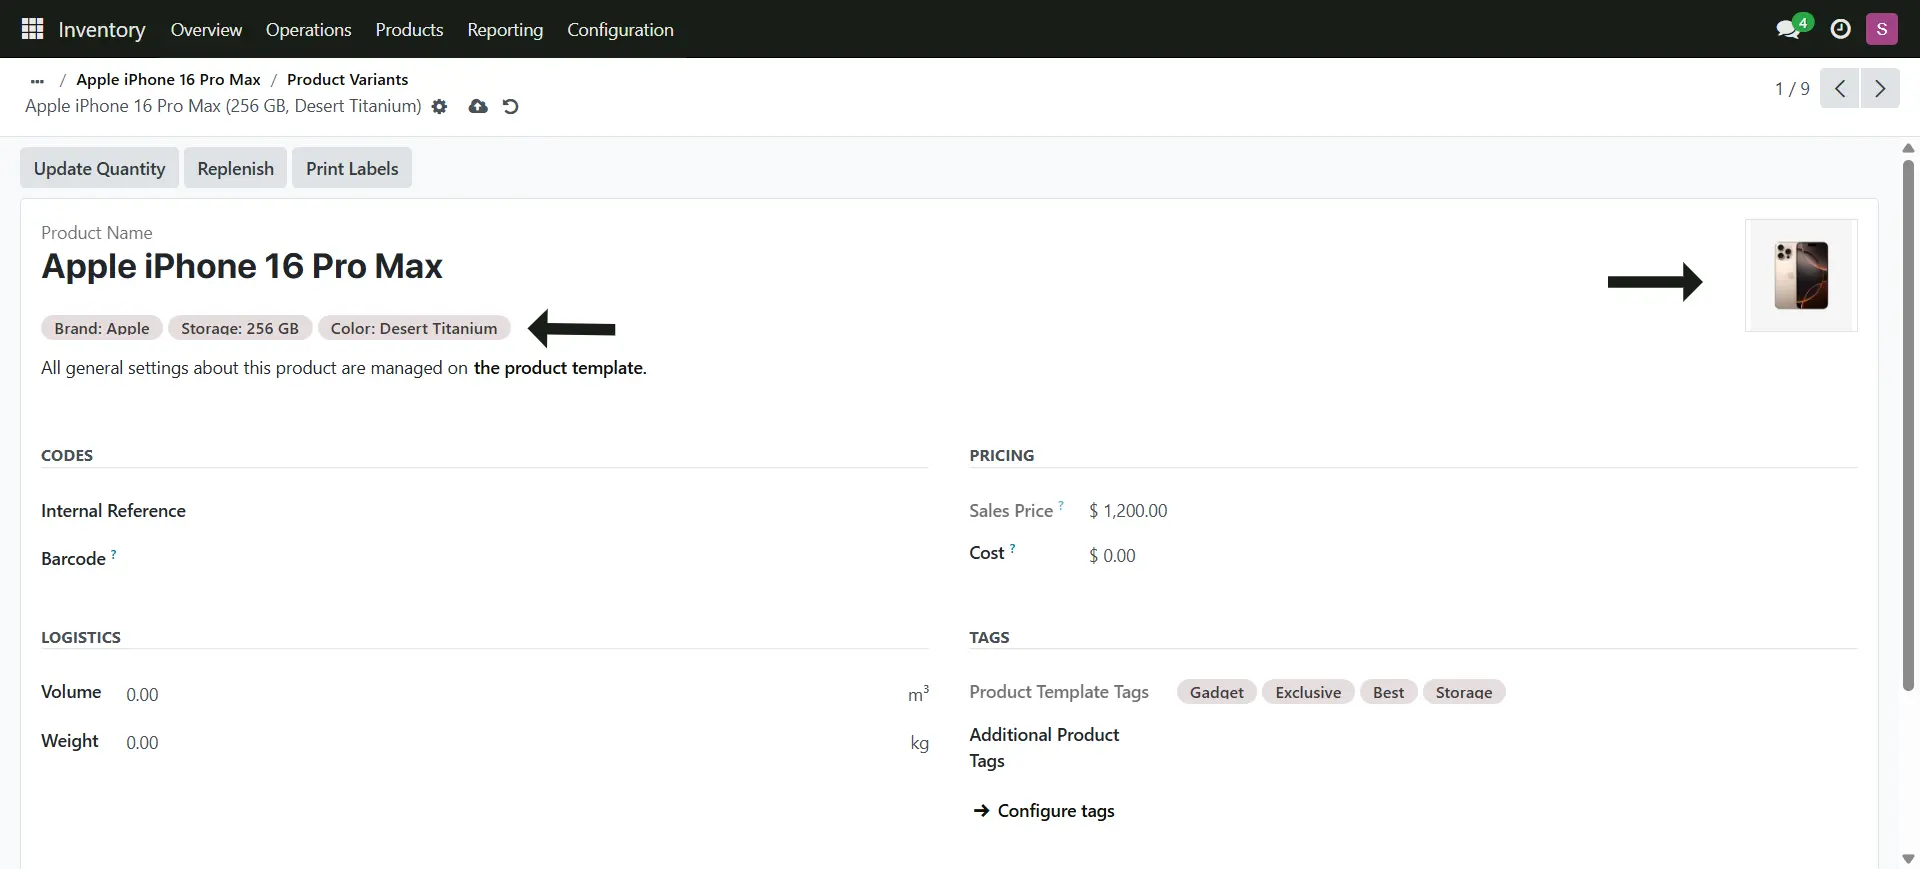
2. These are the created Variants, click one of the variants
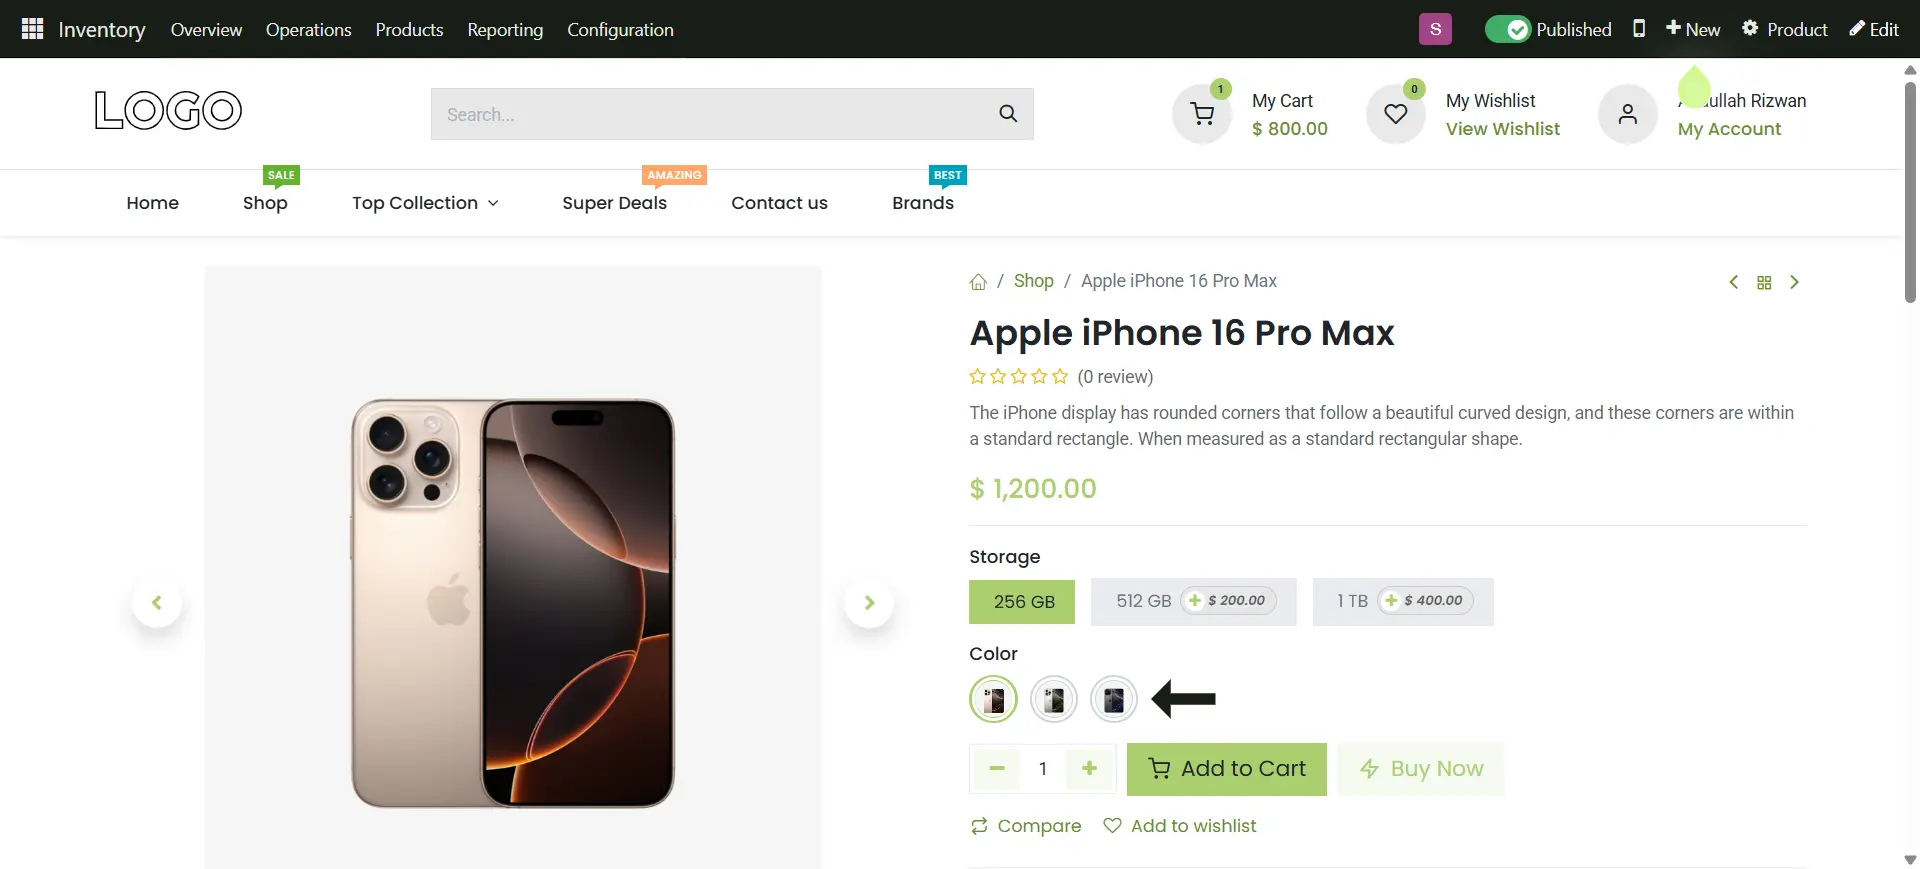
3. Now add the colored specific image, and do the same for rest of the product variant
4. Click on the go to website Button to check the product changes
Publish Product
1. The newly product will always be as unpublished, so you have to toggle it to publish
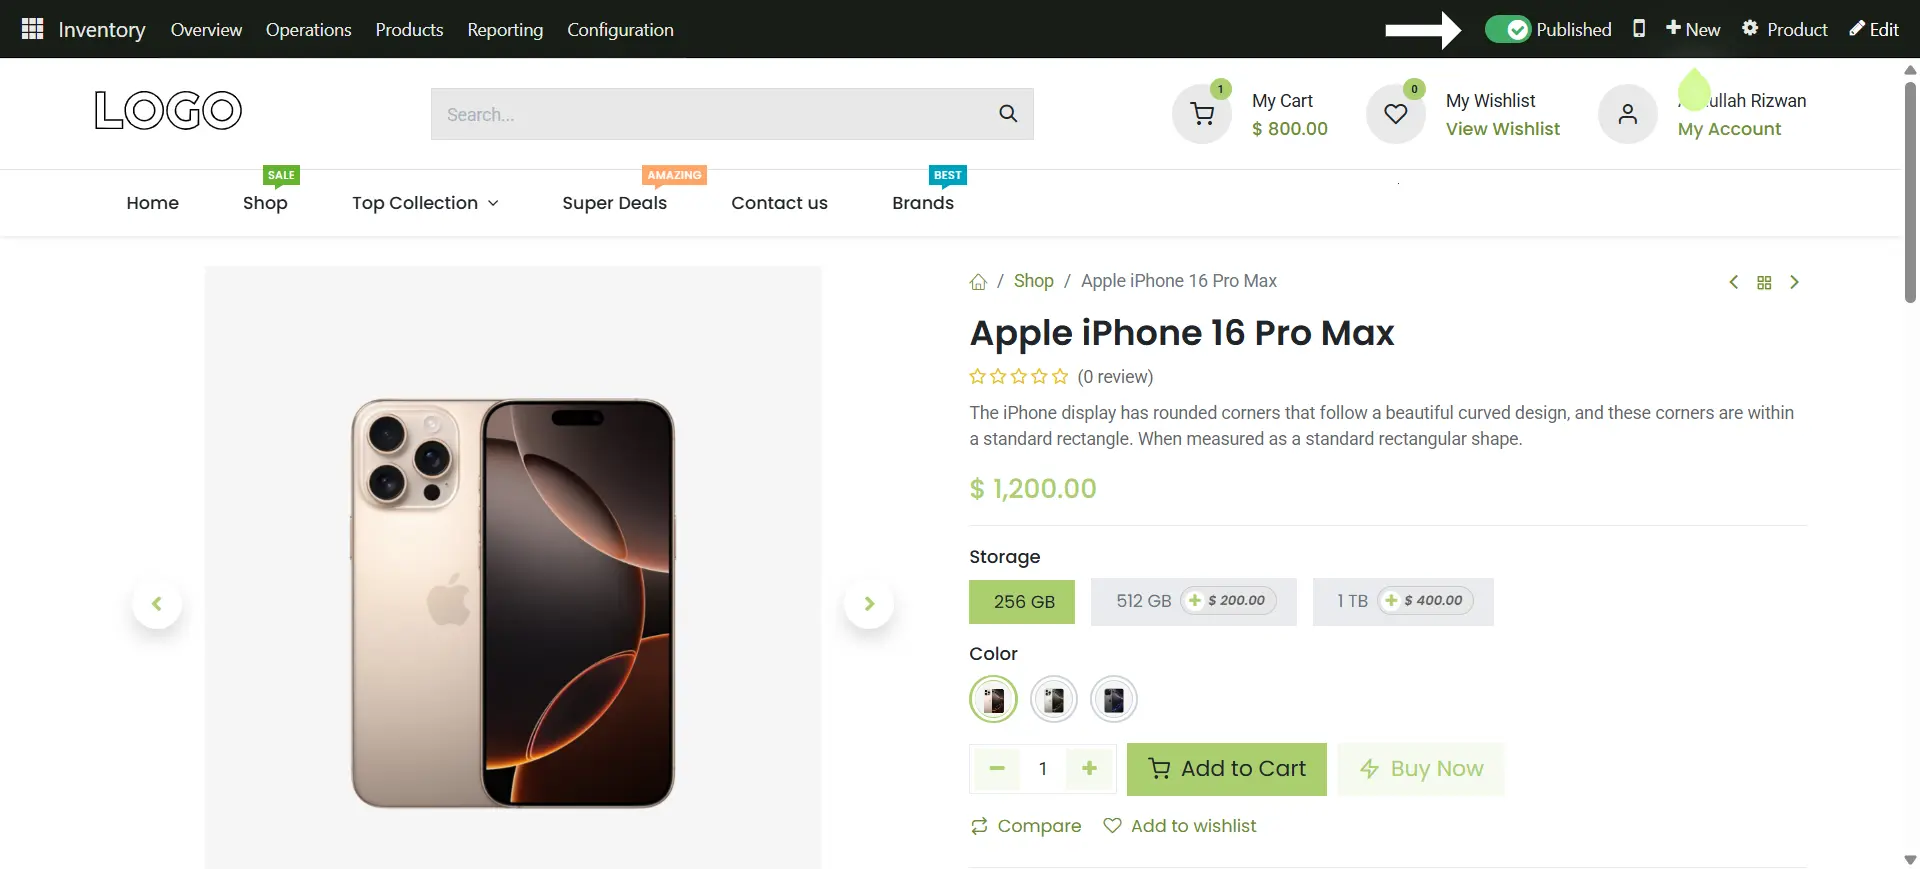
Adding a Product Description
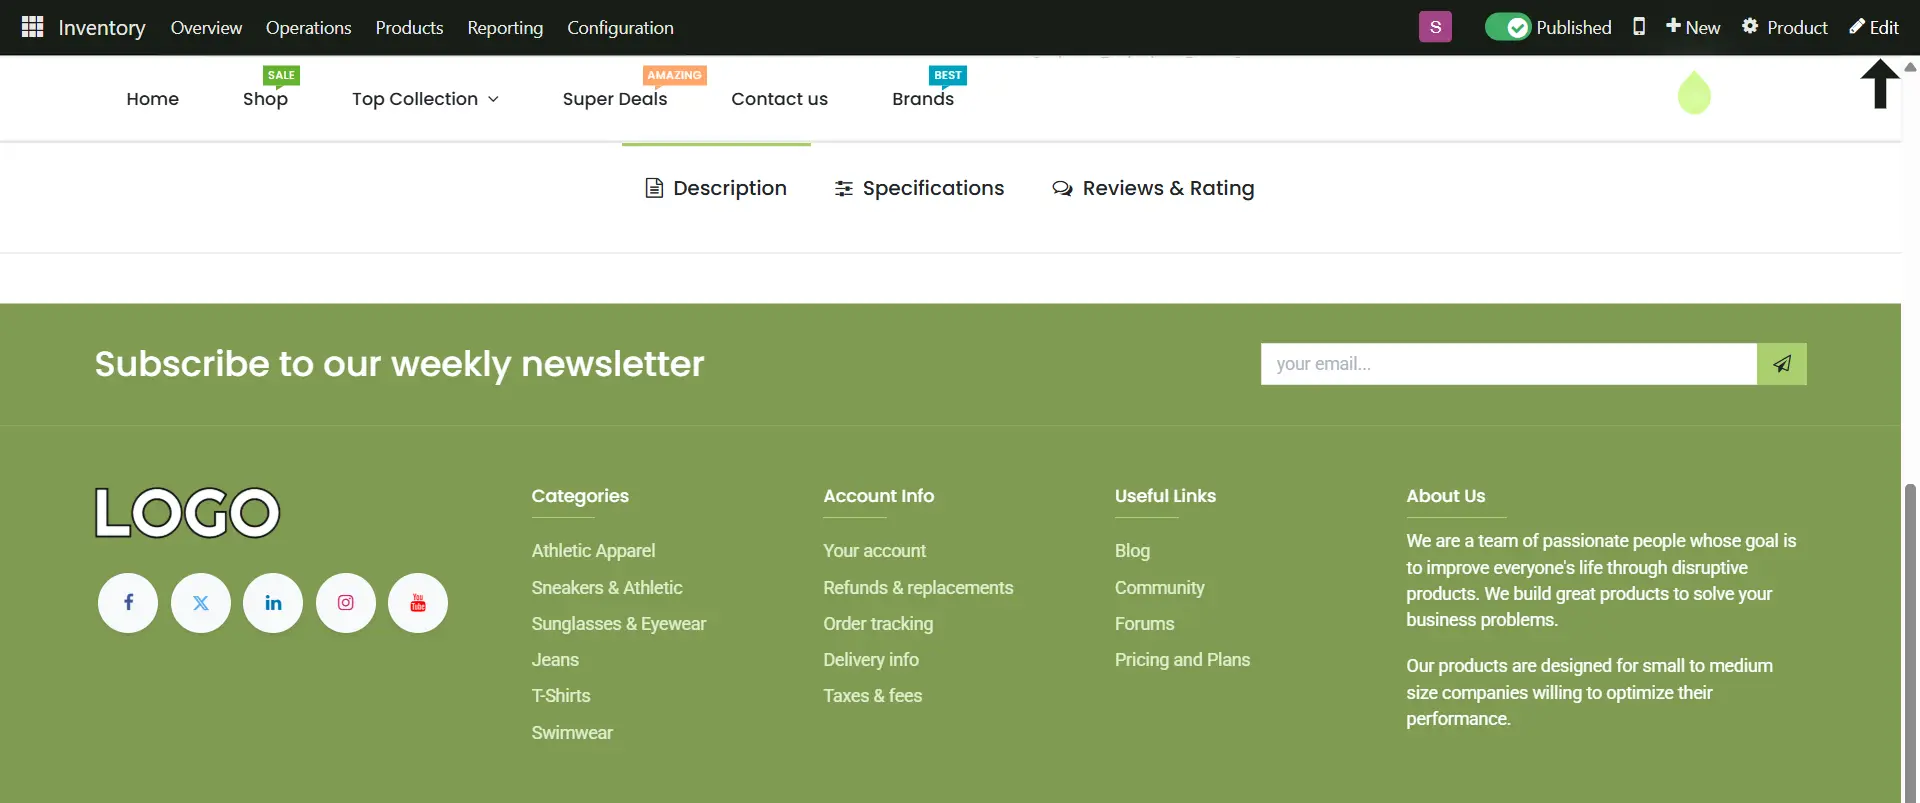
2. Scroll down to see product tabs to add description
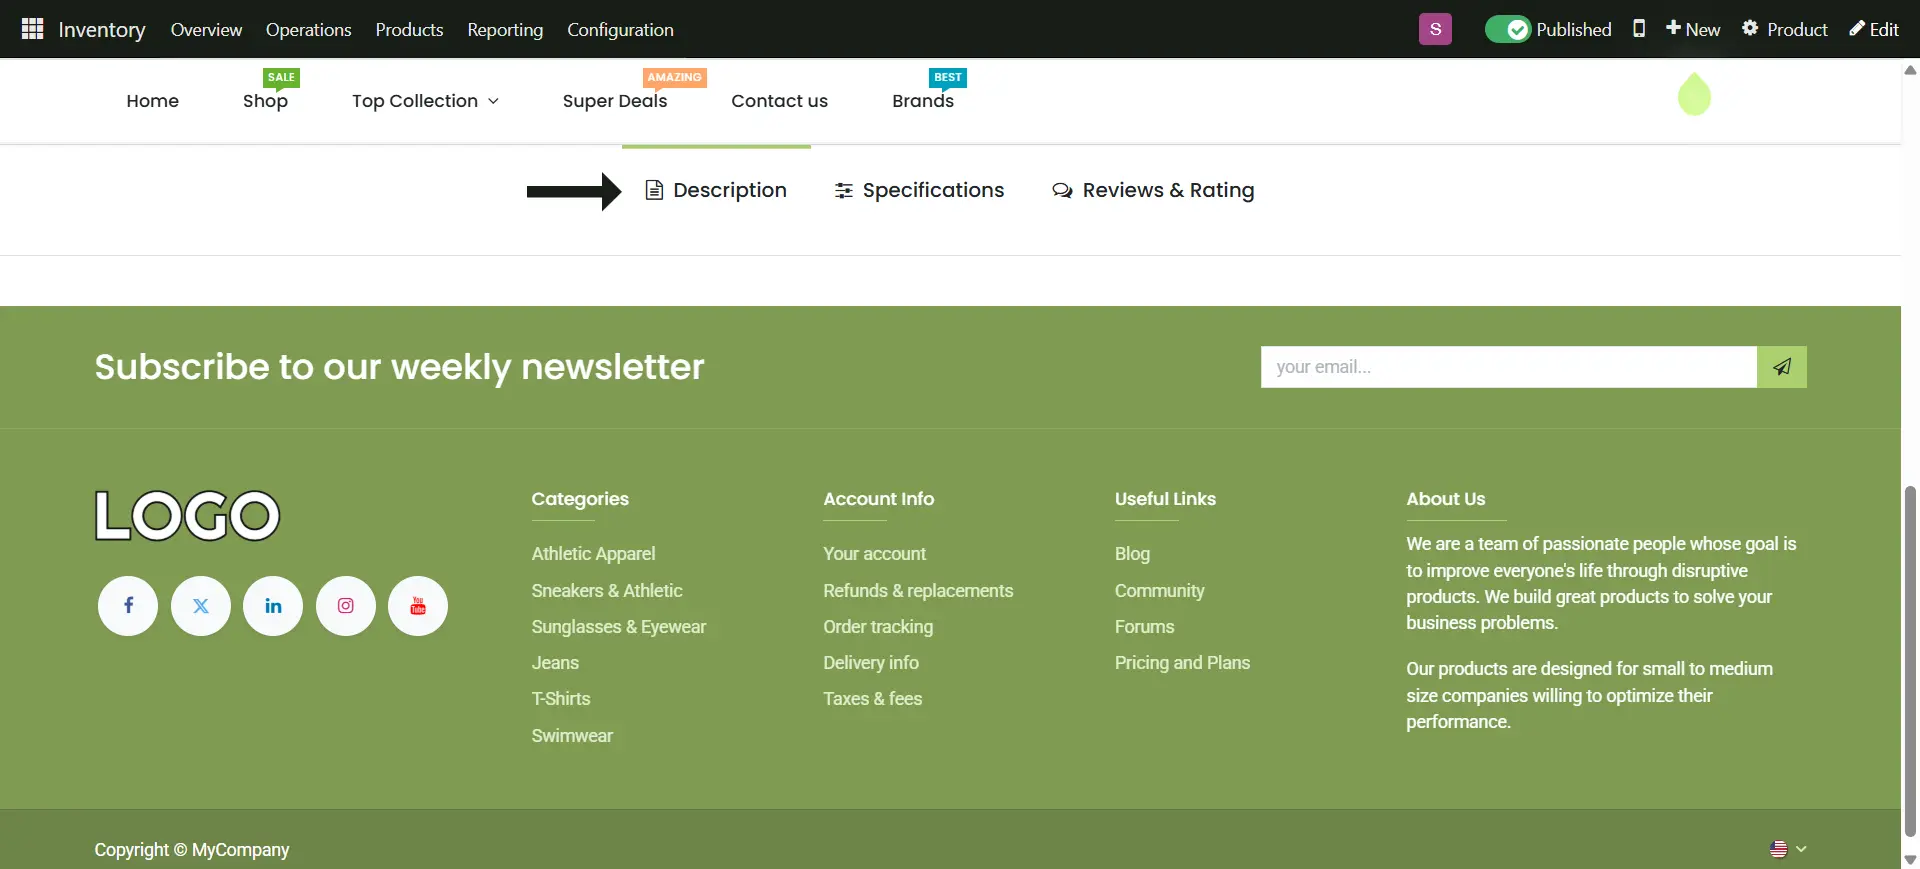
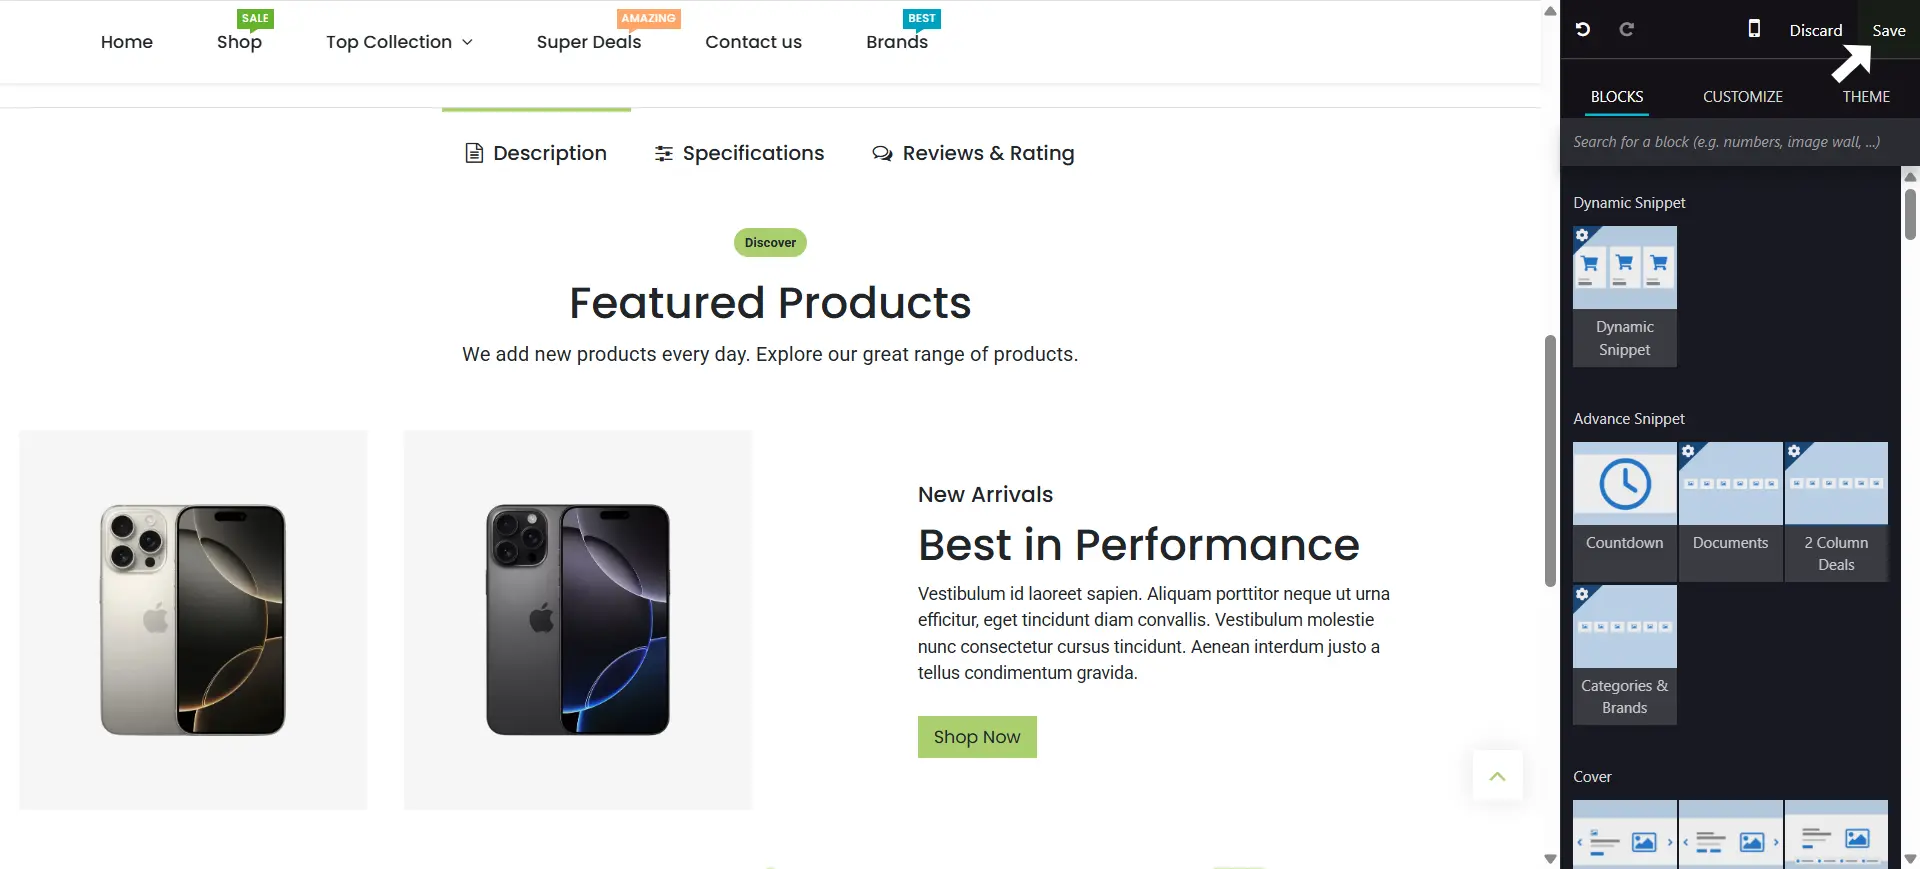
3. Click edit on the top right side
4. You will see bunch of snippets, just choose the layout you want and edit
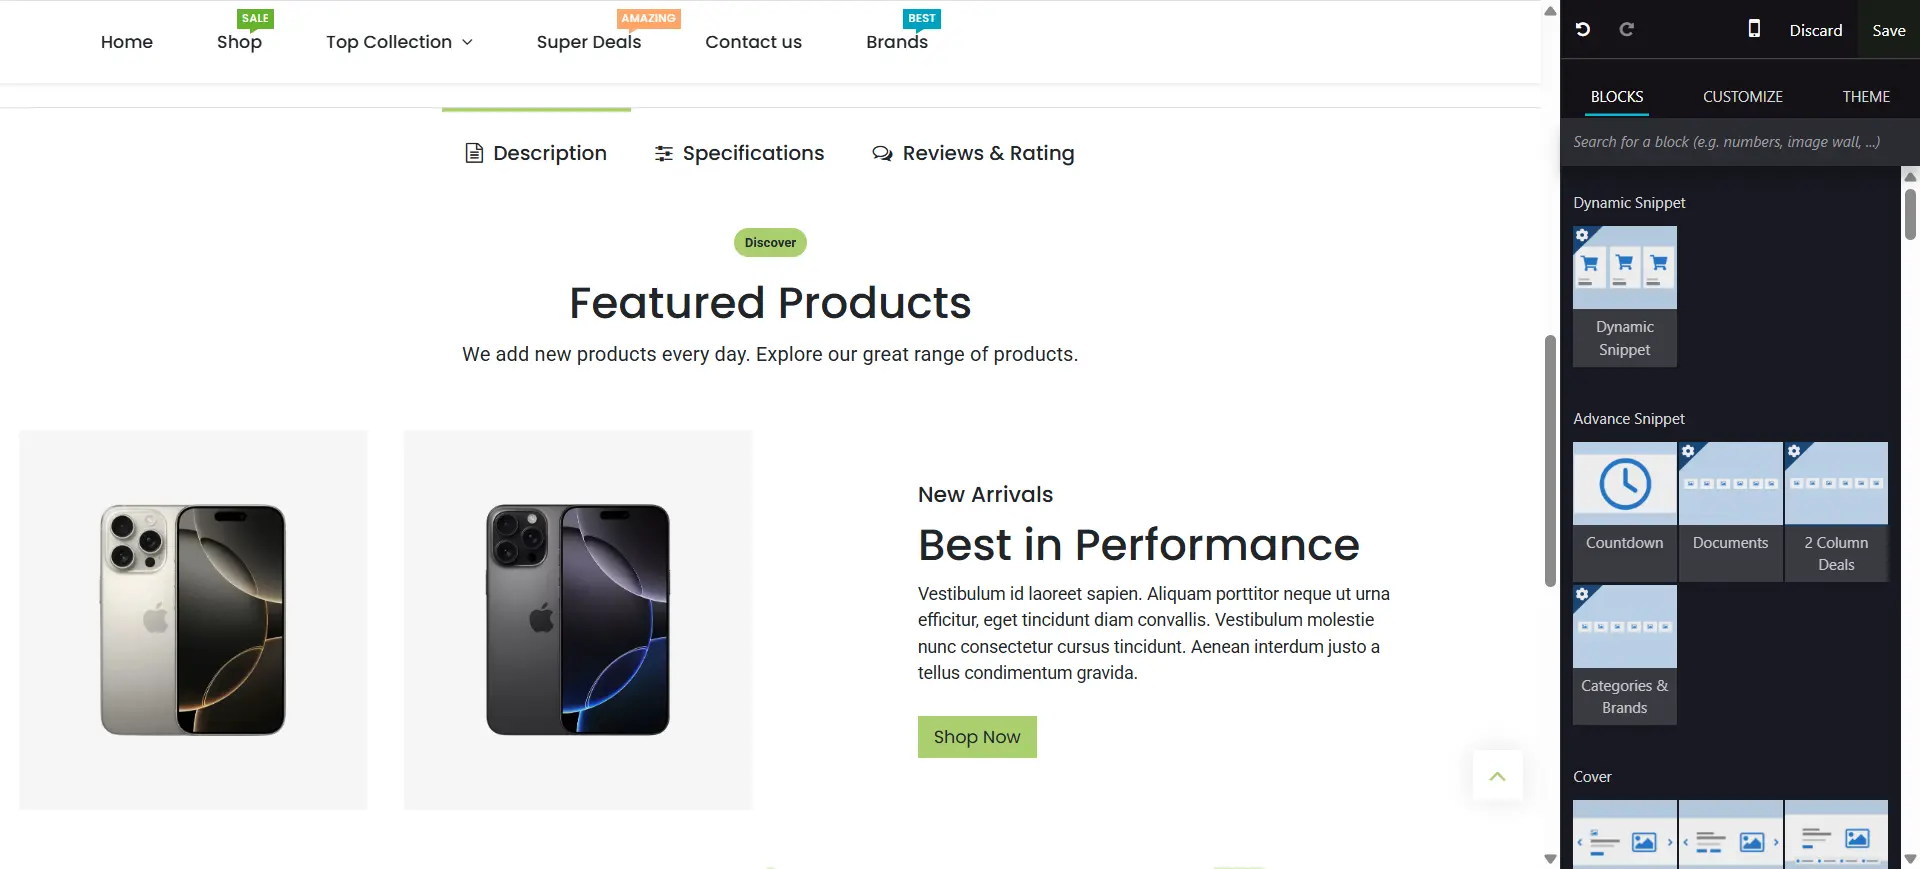
5. After choosing and changing the layout, just click on the save button
Adding a Product Stock
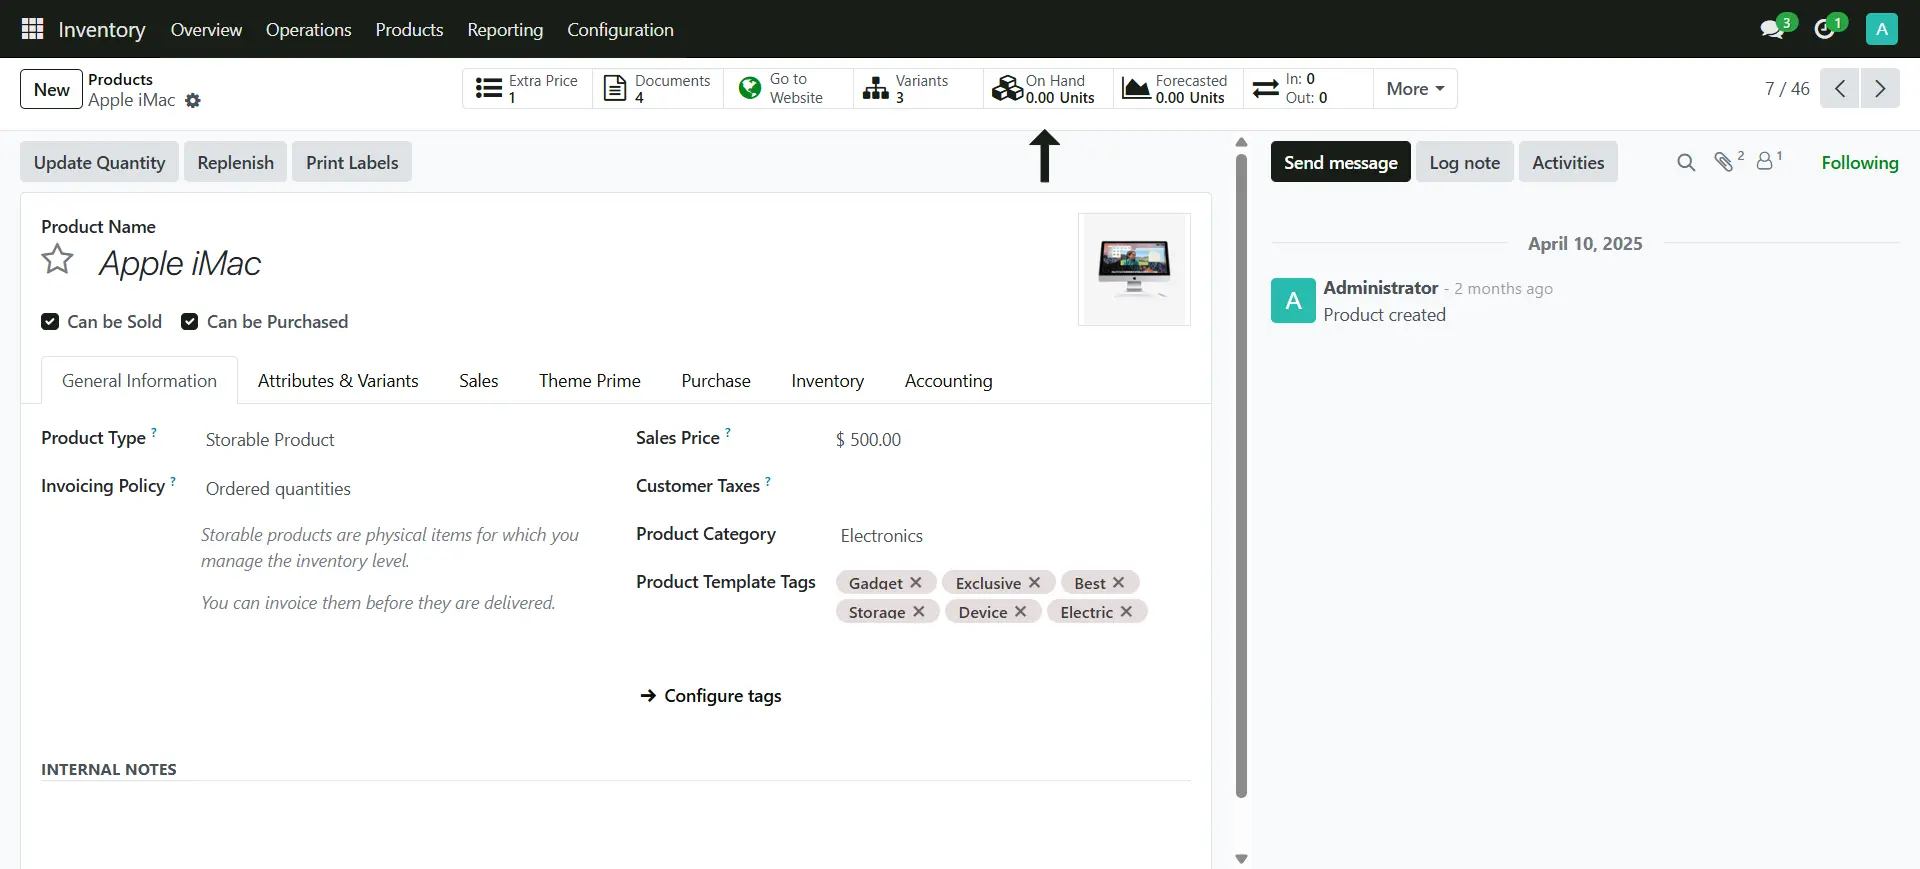
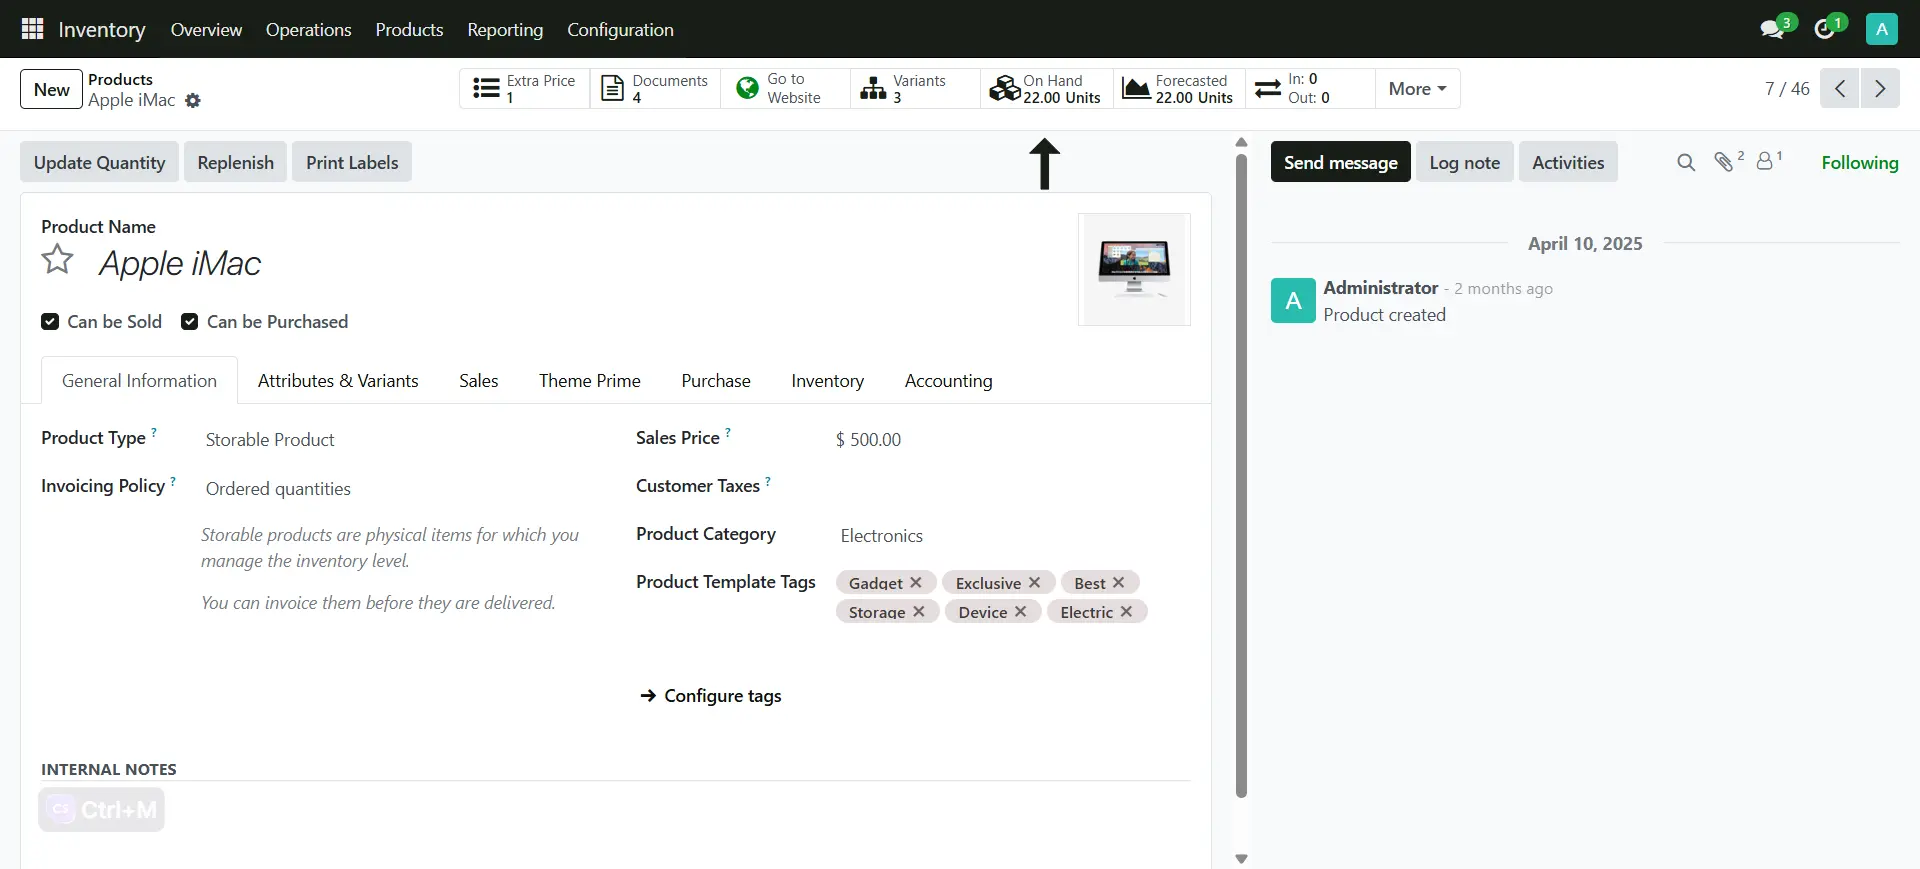
1. To add a stock of your product, go to Inventory > Products > Select the Product > On Hand
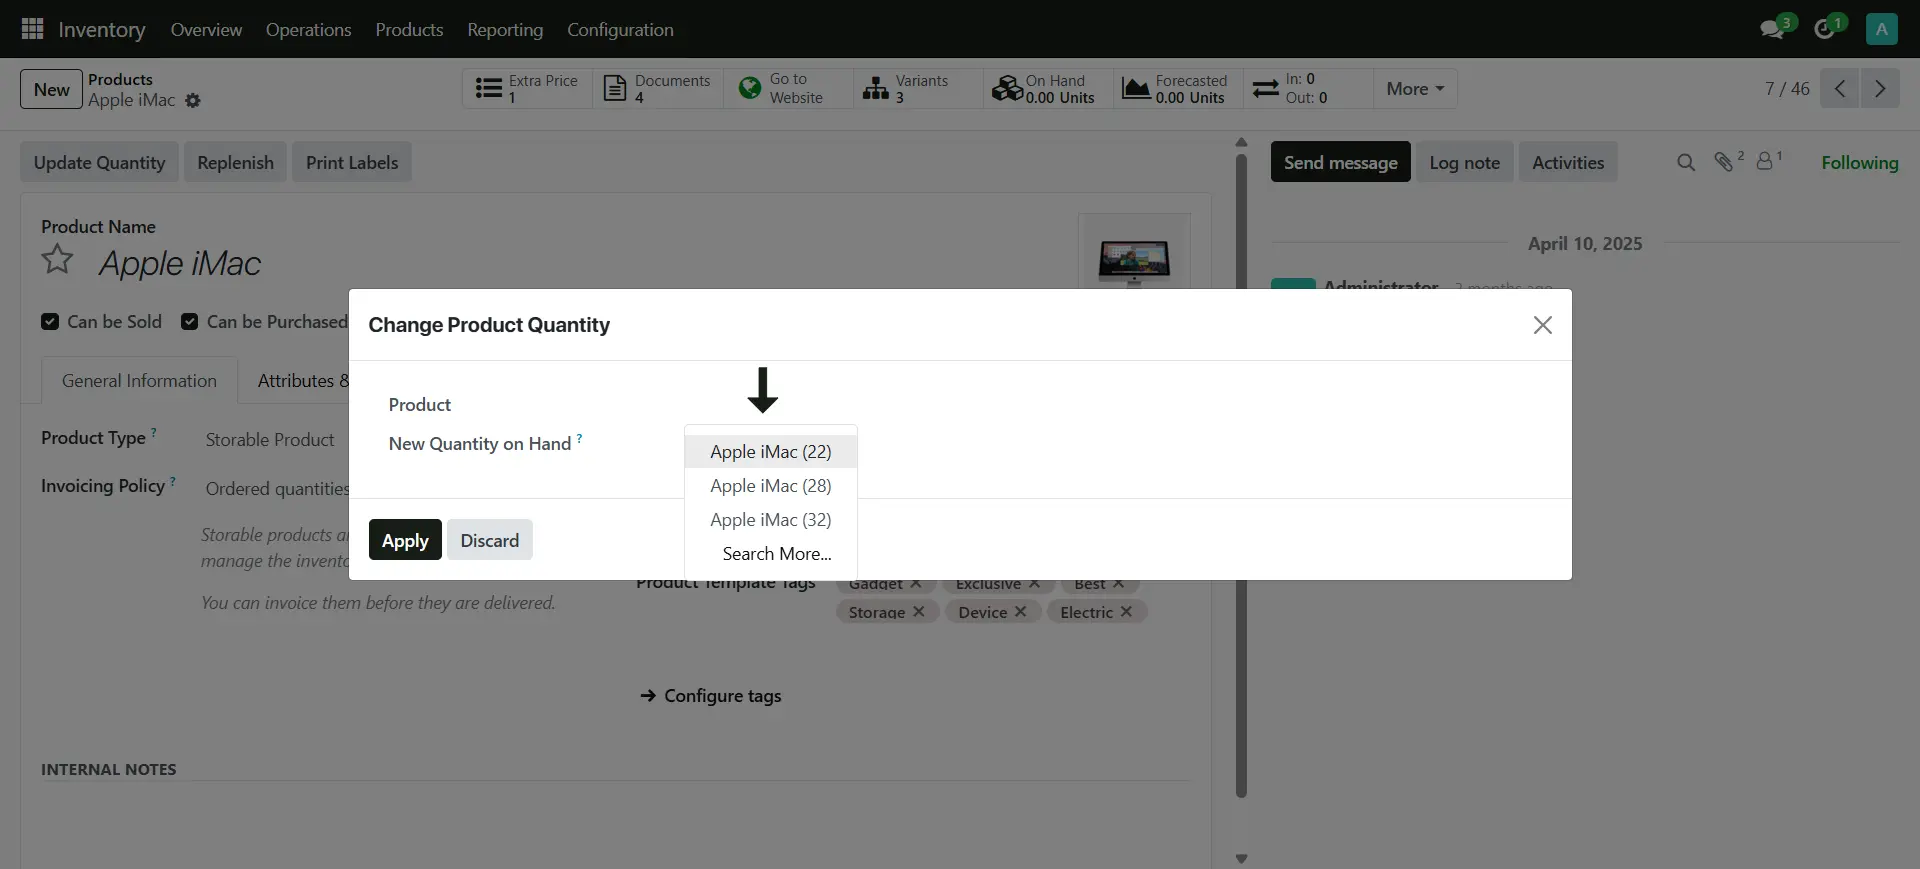
2. Select the product variant
3. Add the quantity on hand and apply
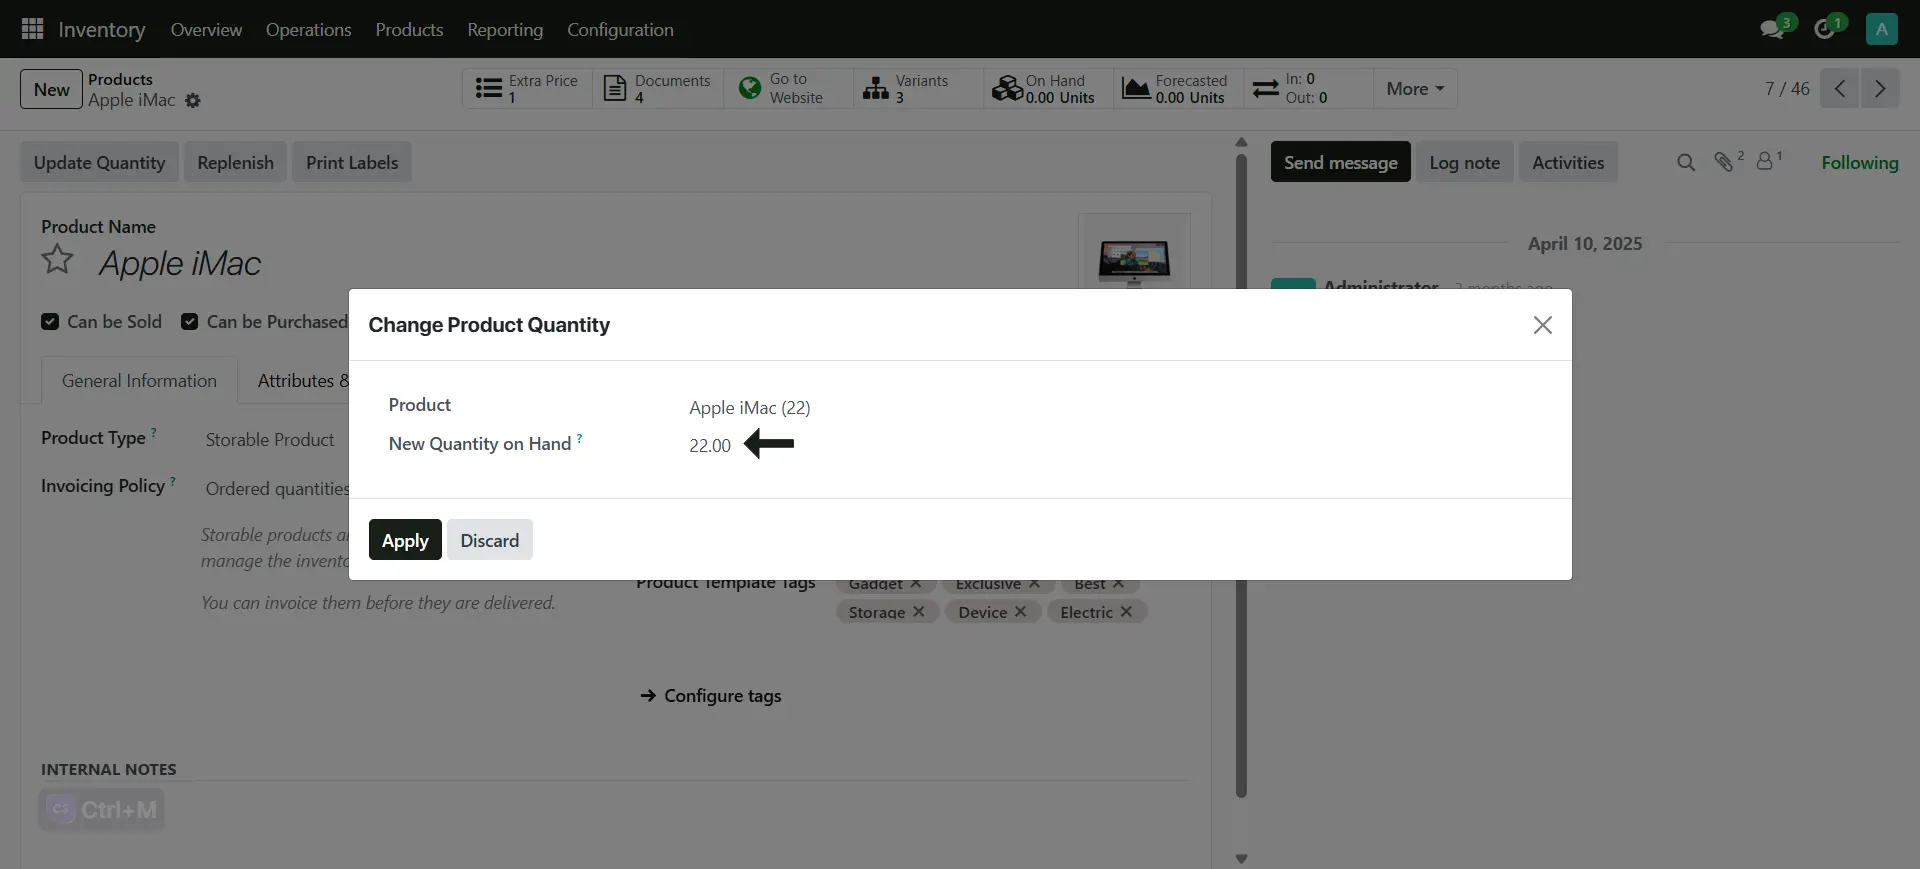
4. You can see the stock updated
Shipping Methods
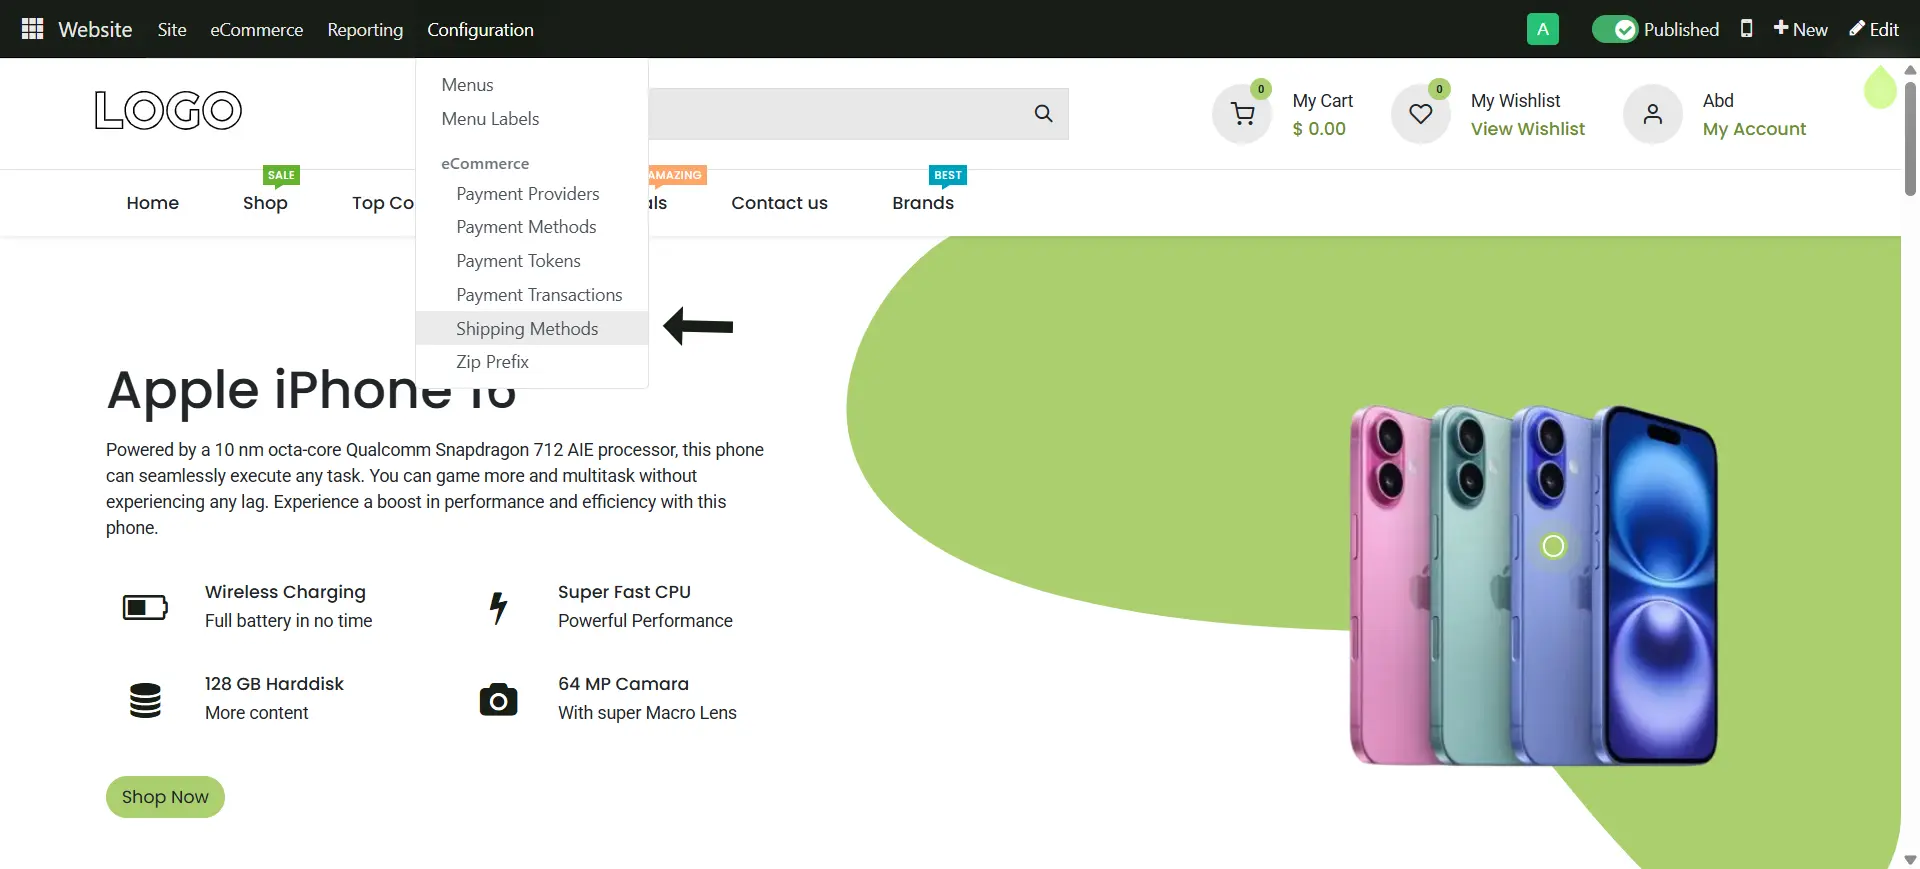
1. Go to Website > Configuration > Shipping Methods
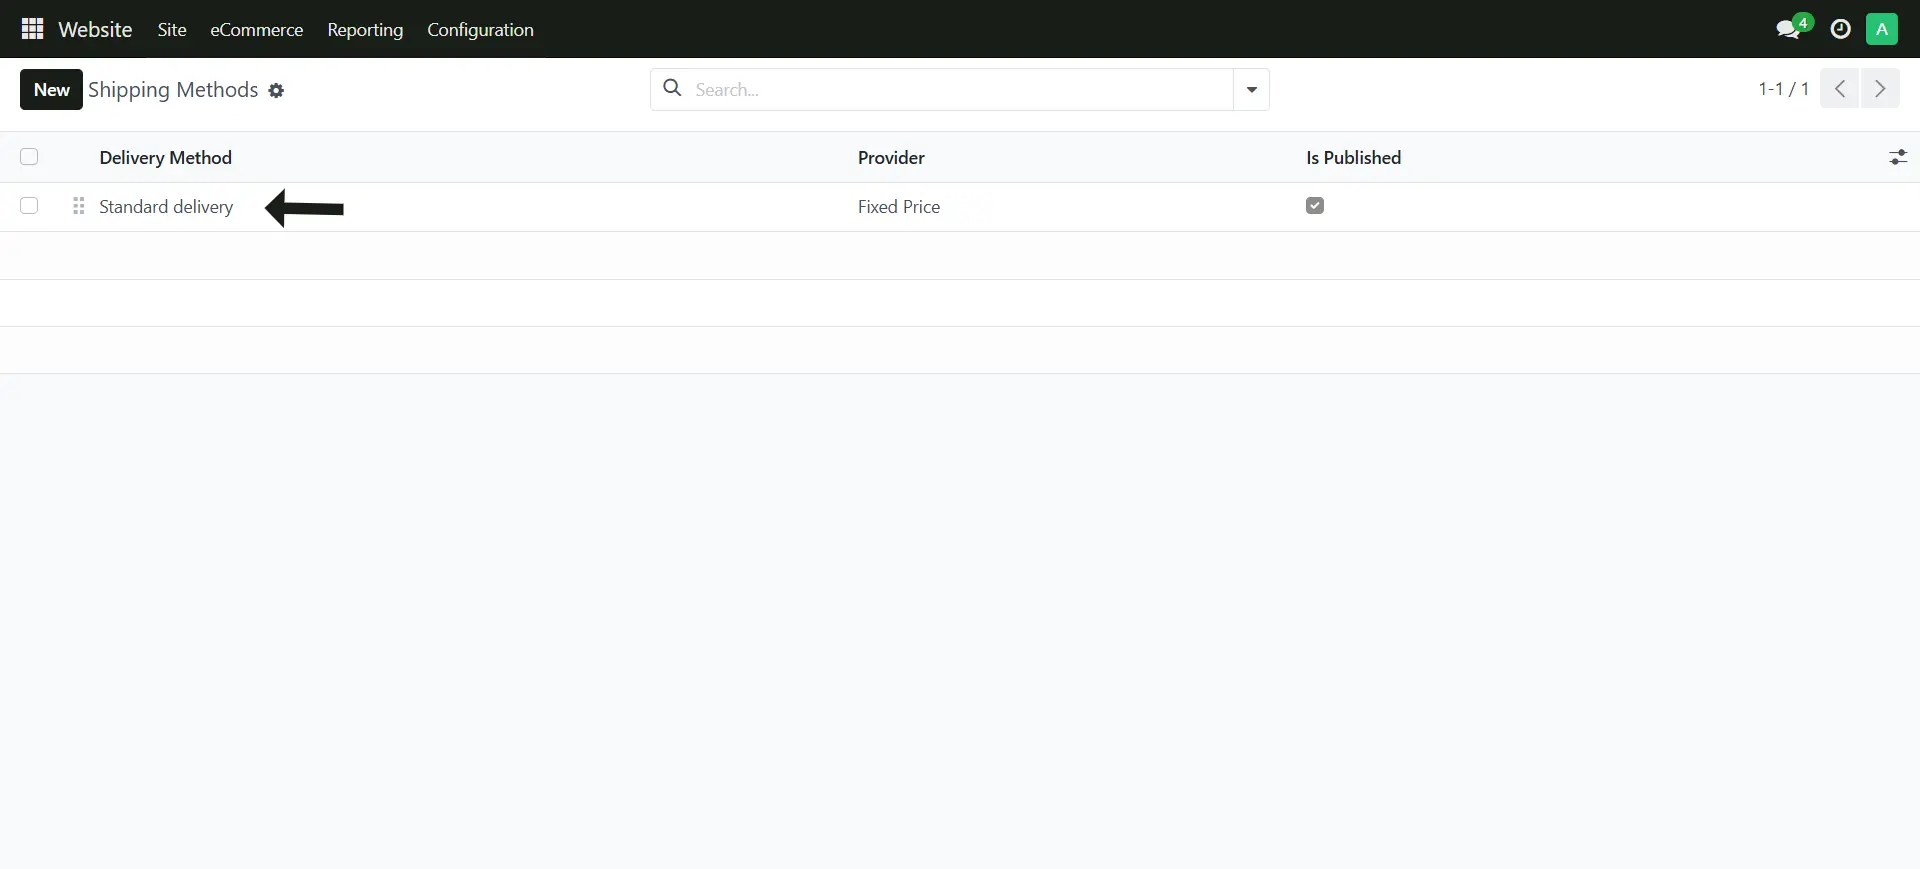
2. Theres a default shipping method that you can edit
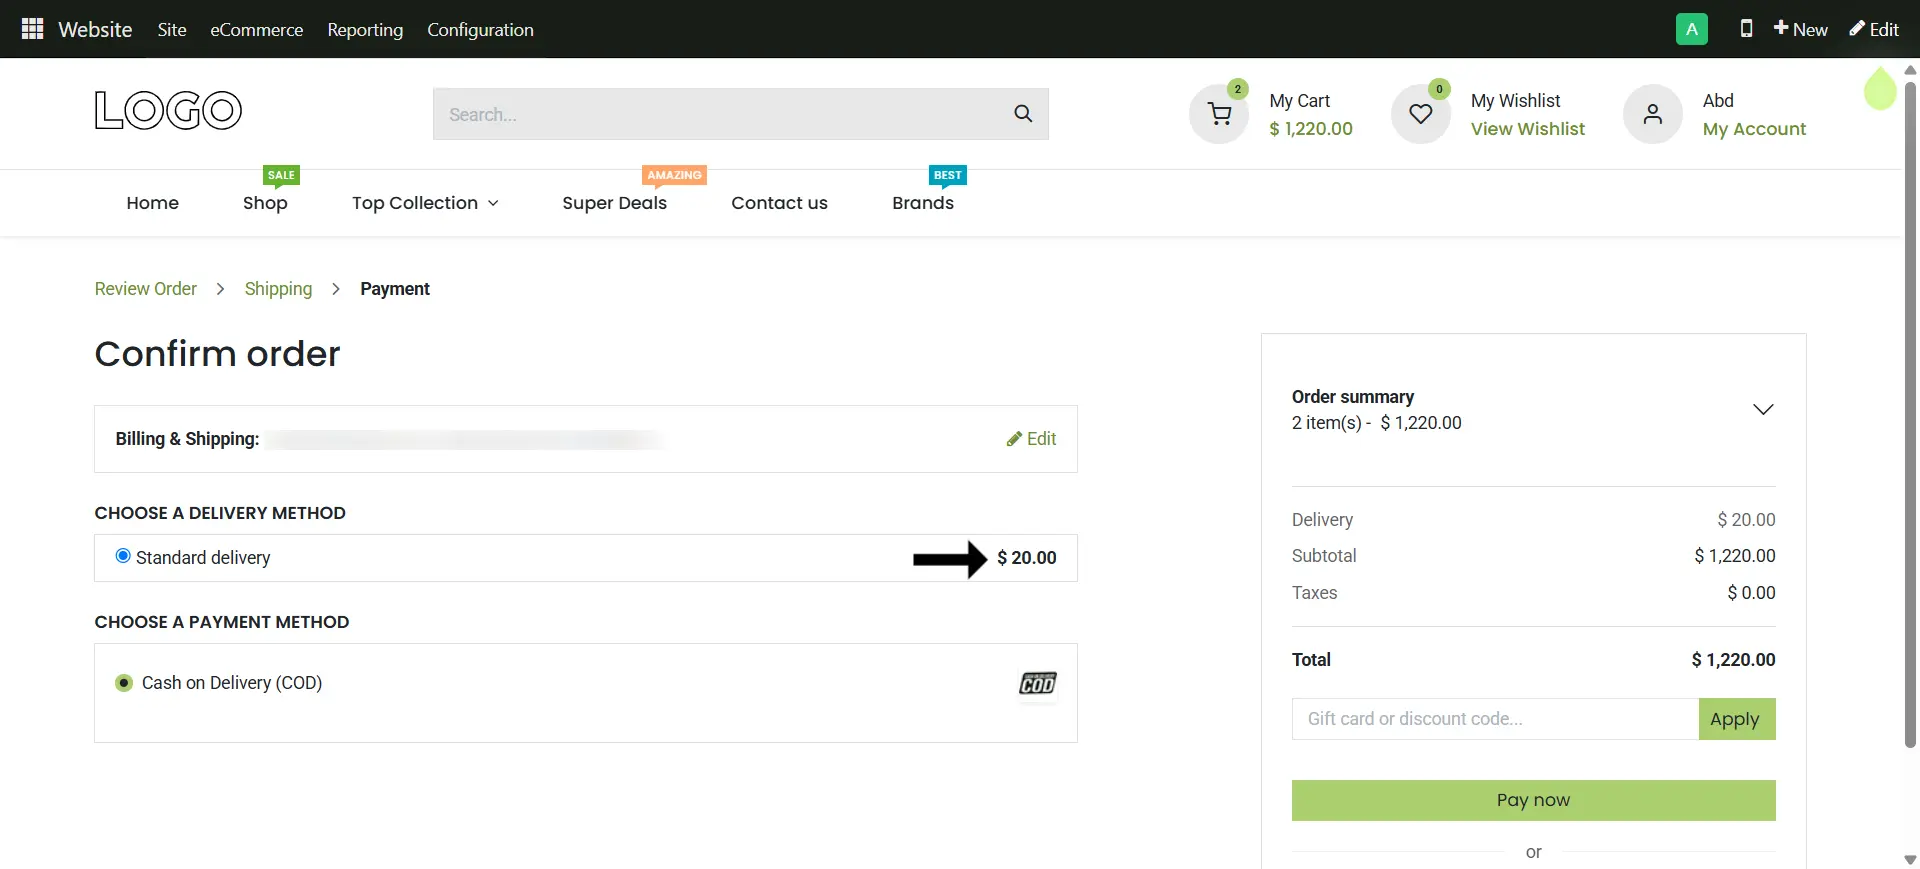
3. Now set the shipping charges
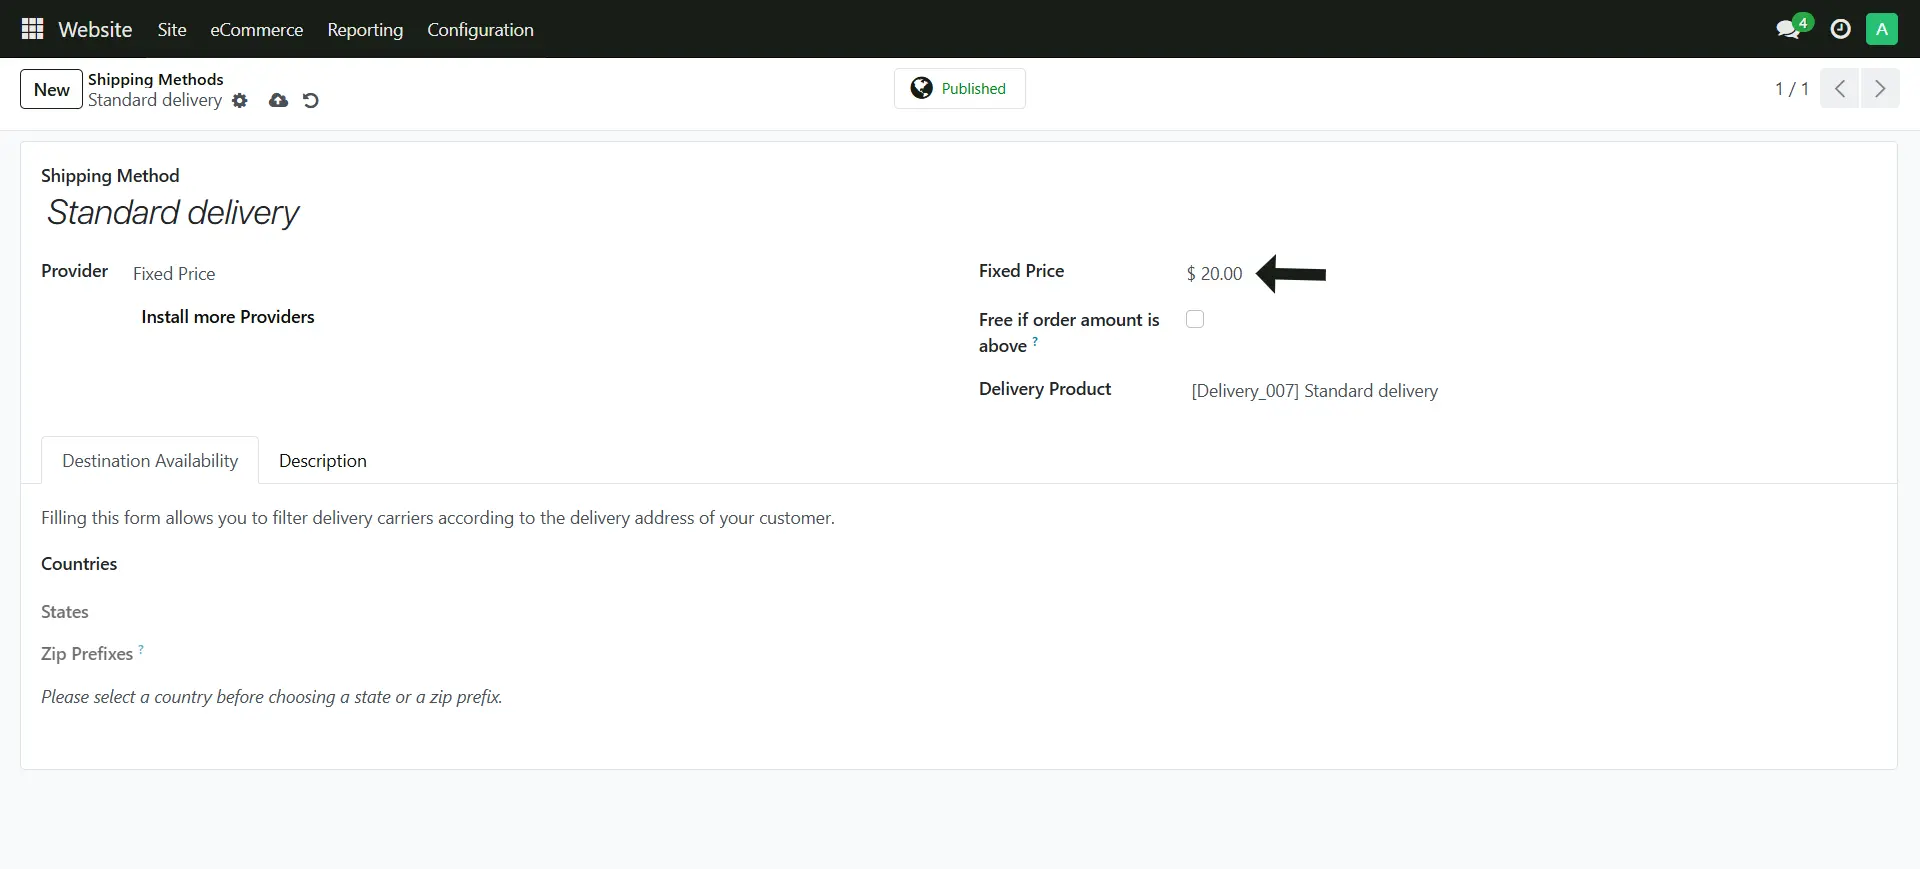
4. This is how it will look like
Change the Currency
1. Go to Invoicing > Configuration > Currencies
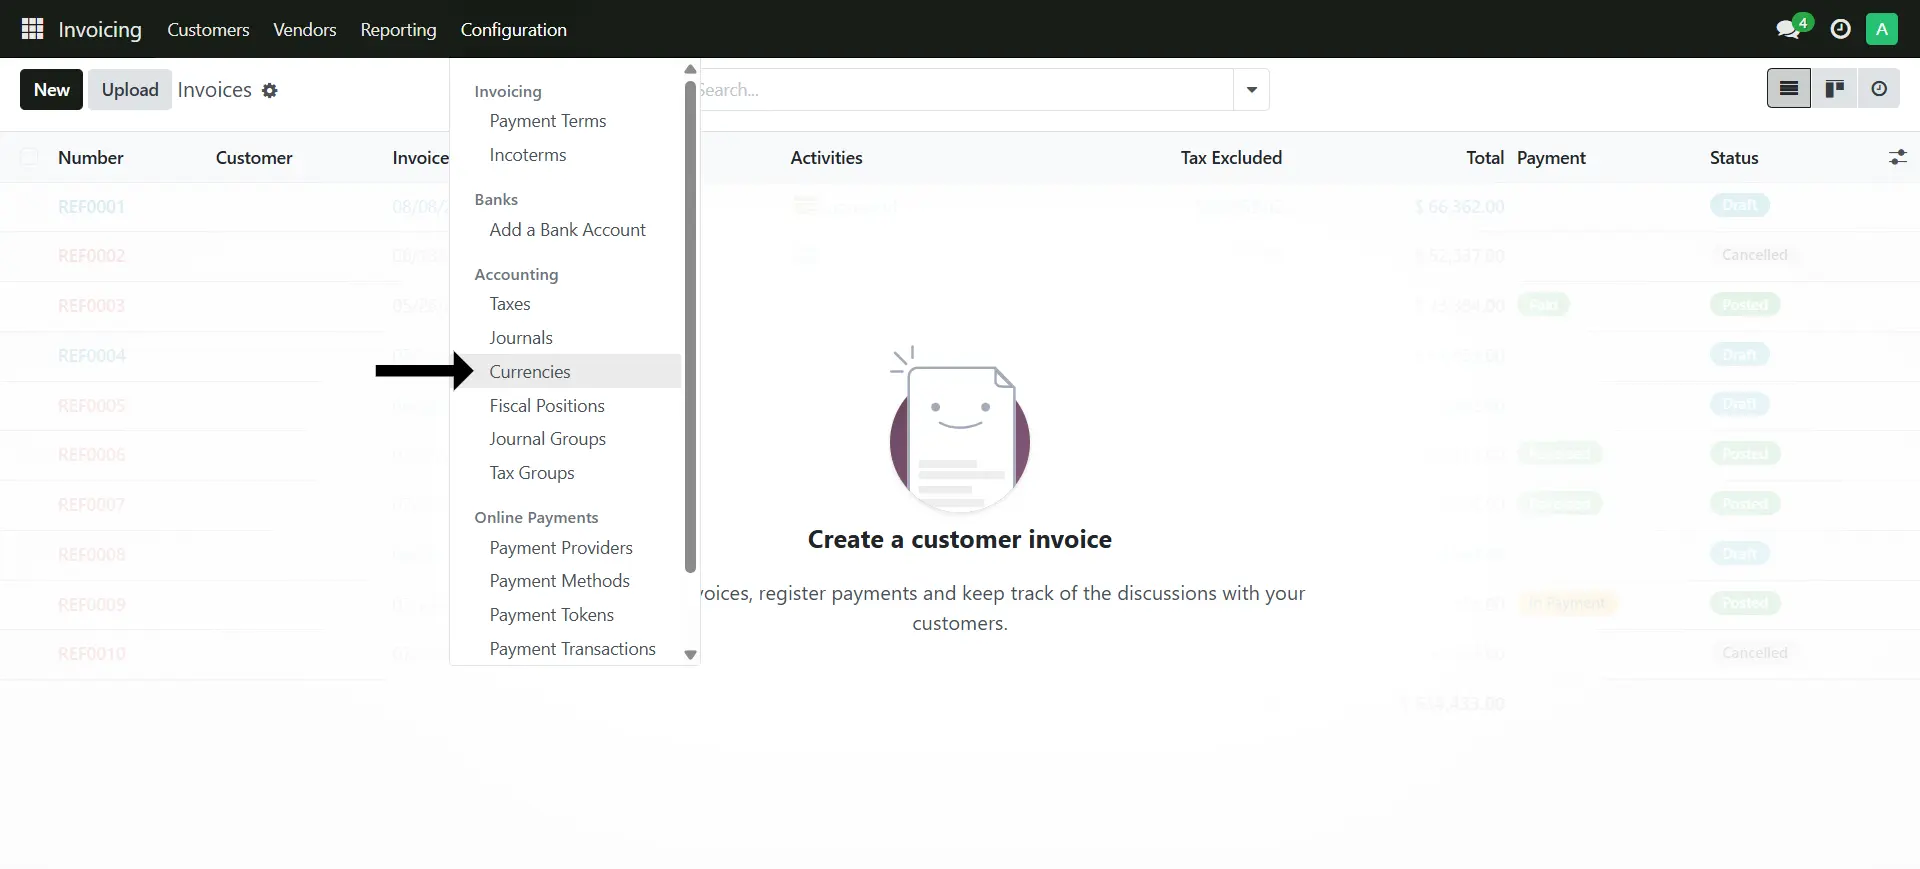
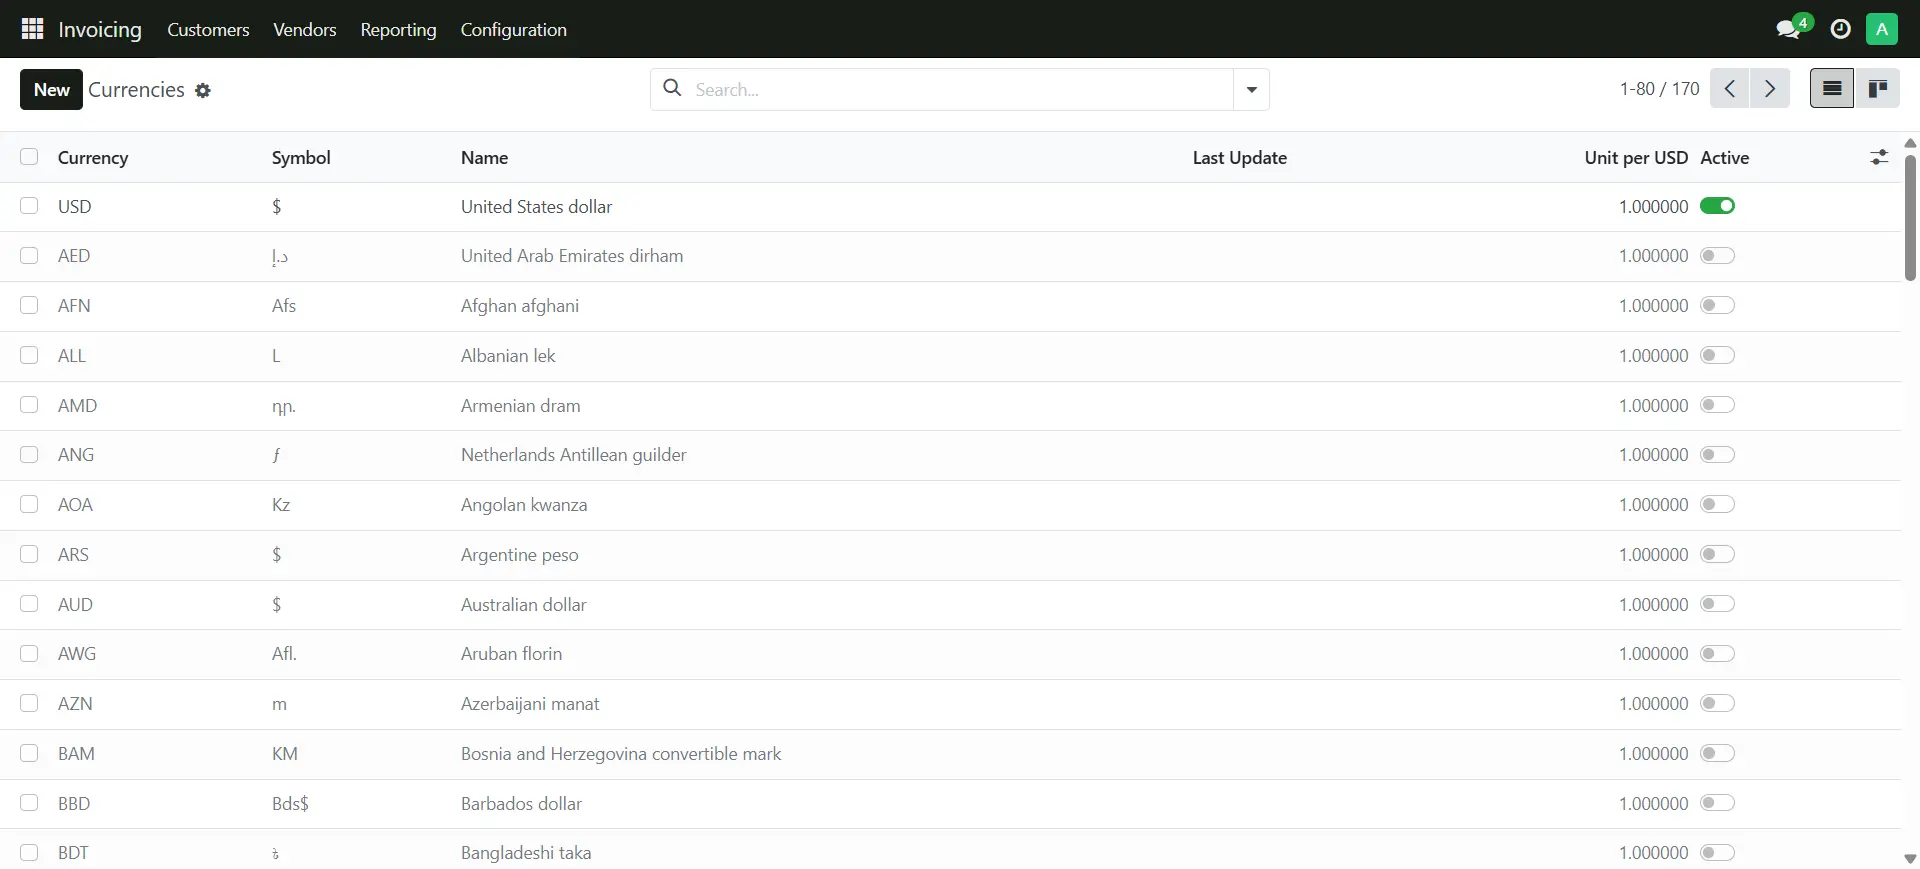
2. Choose the Currency you want and toggle to activate it
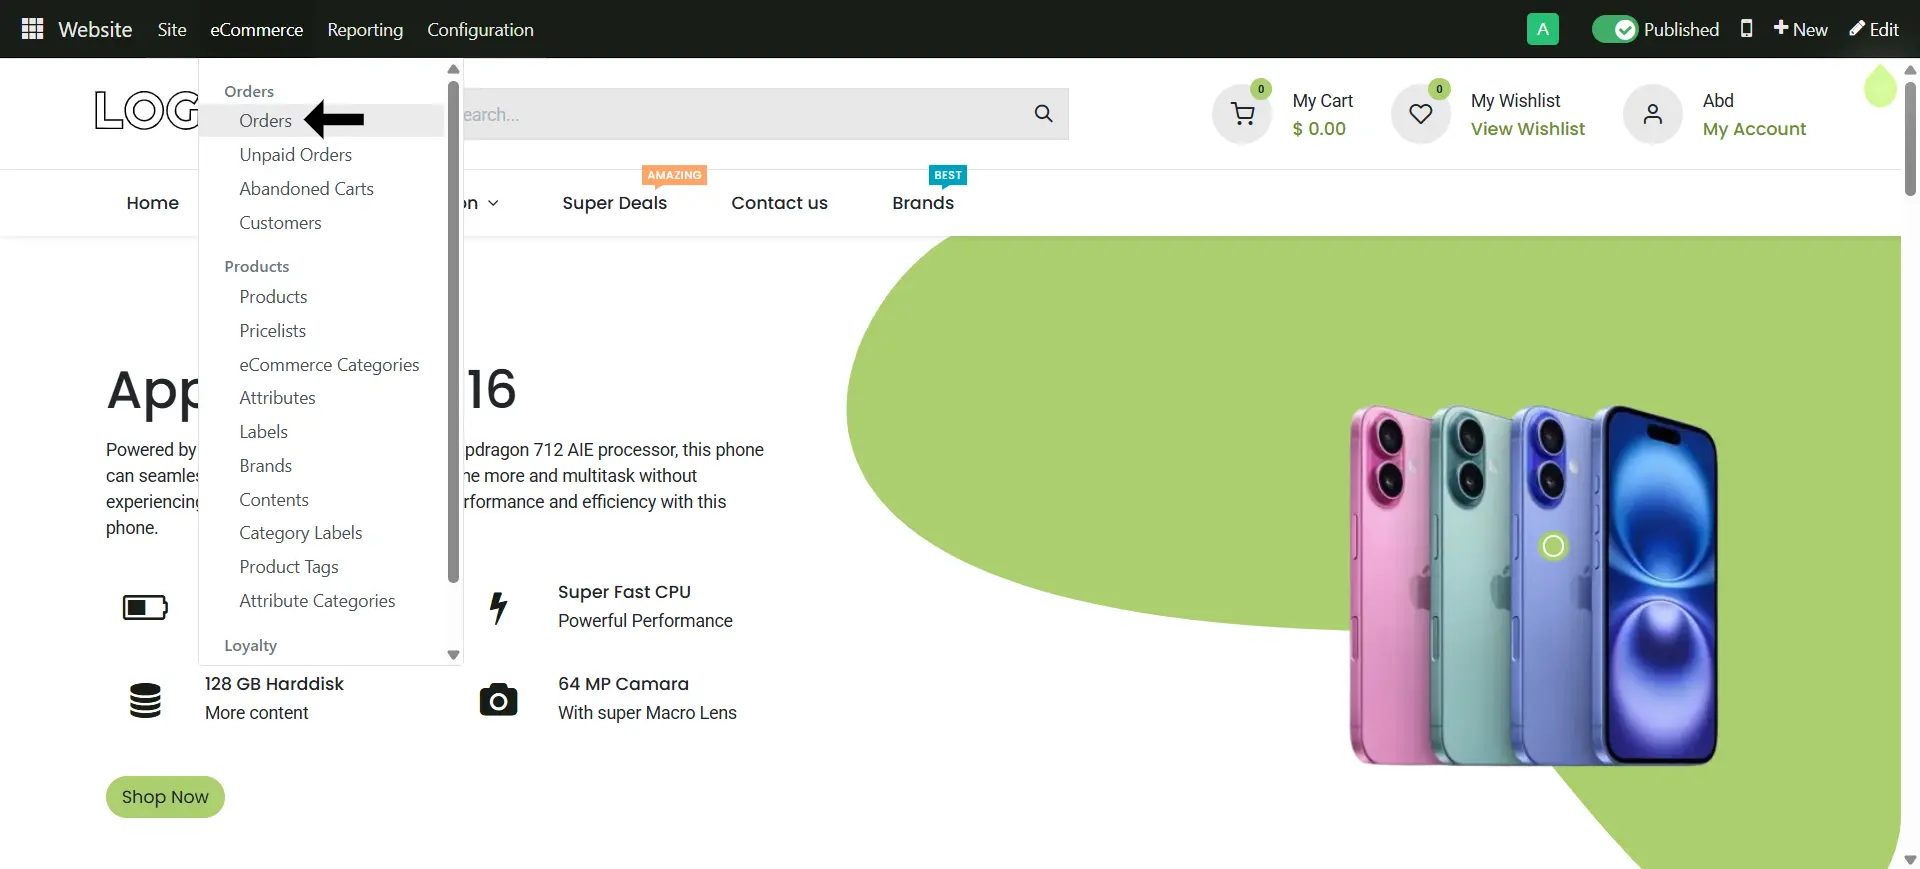
Order Management
1. Go to Website > eCommerce > Orders
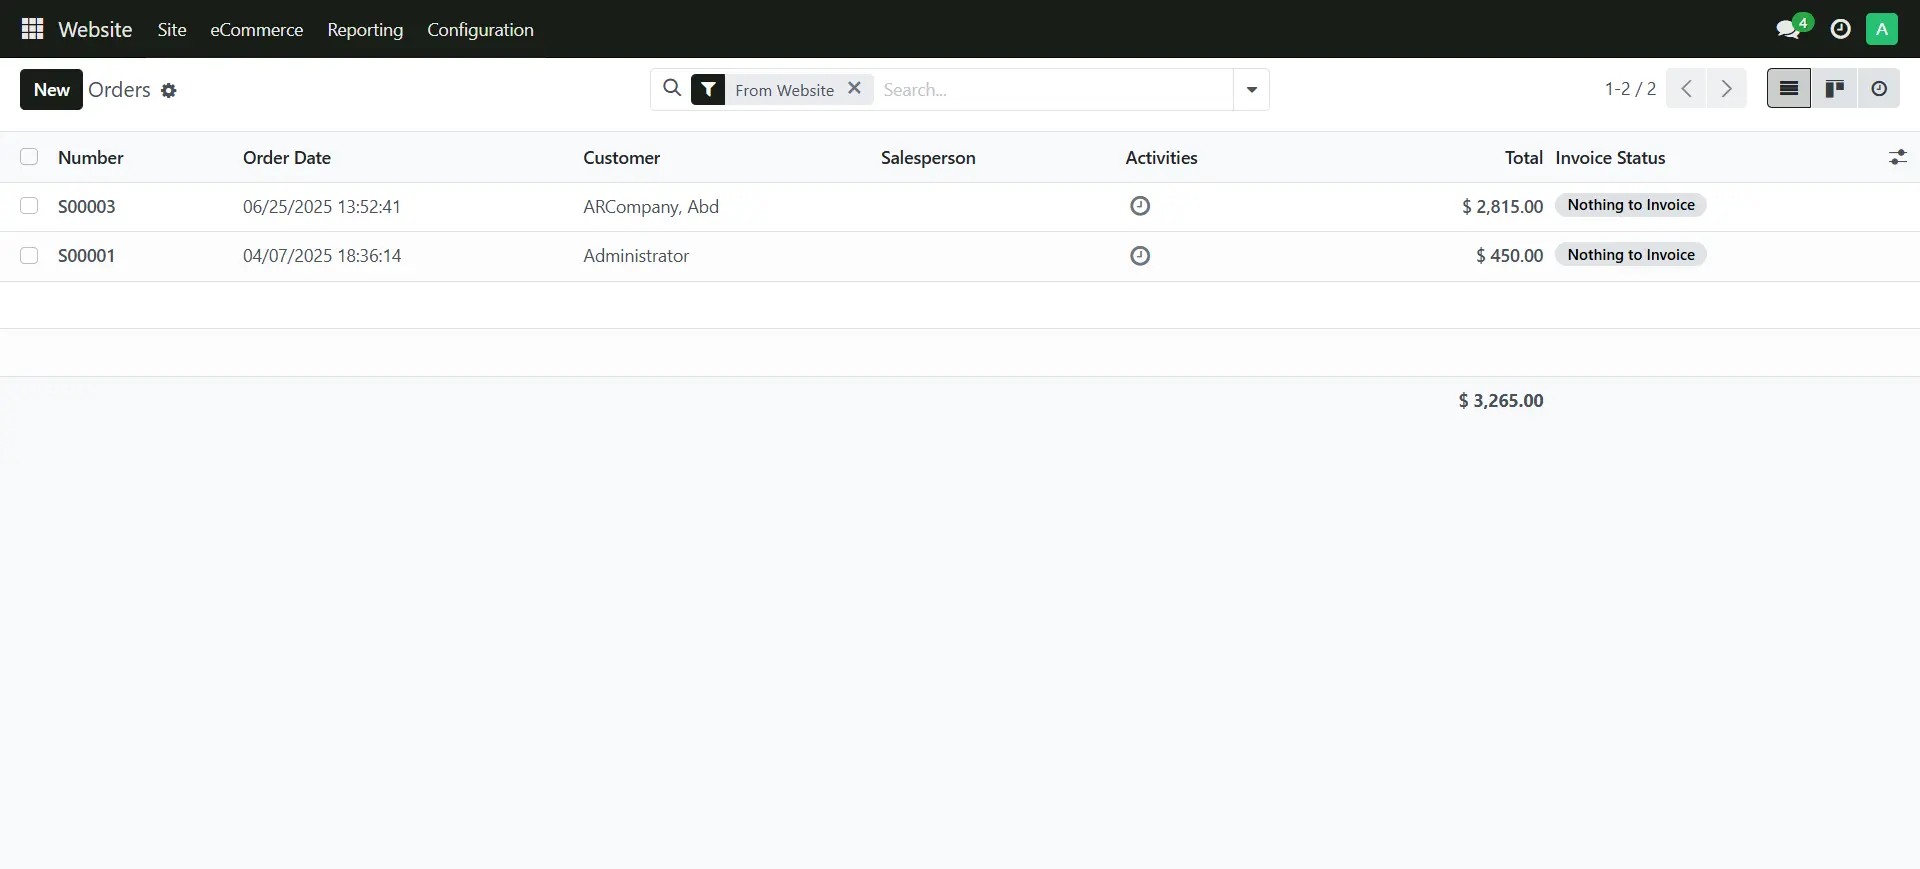
2. Remove the confirmed filter from the search bar
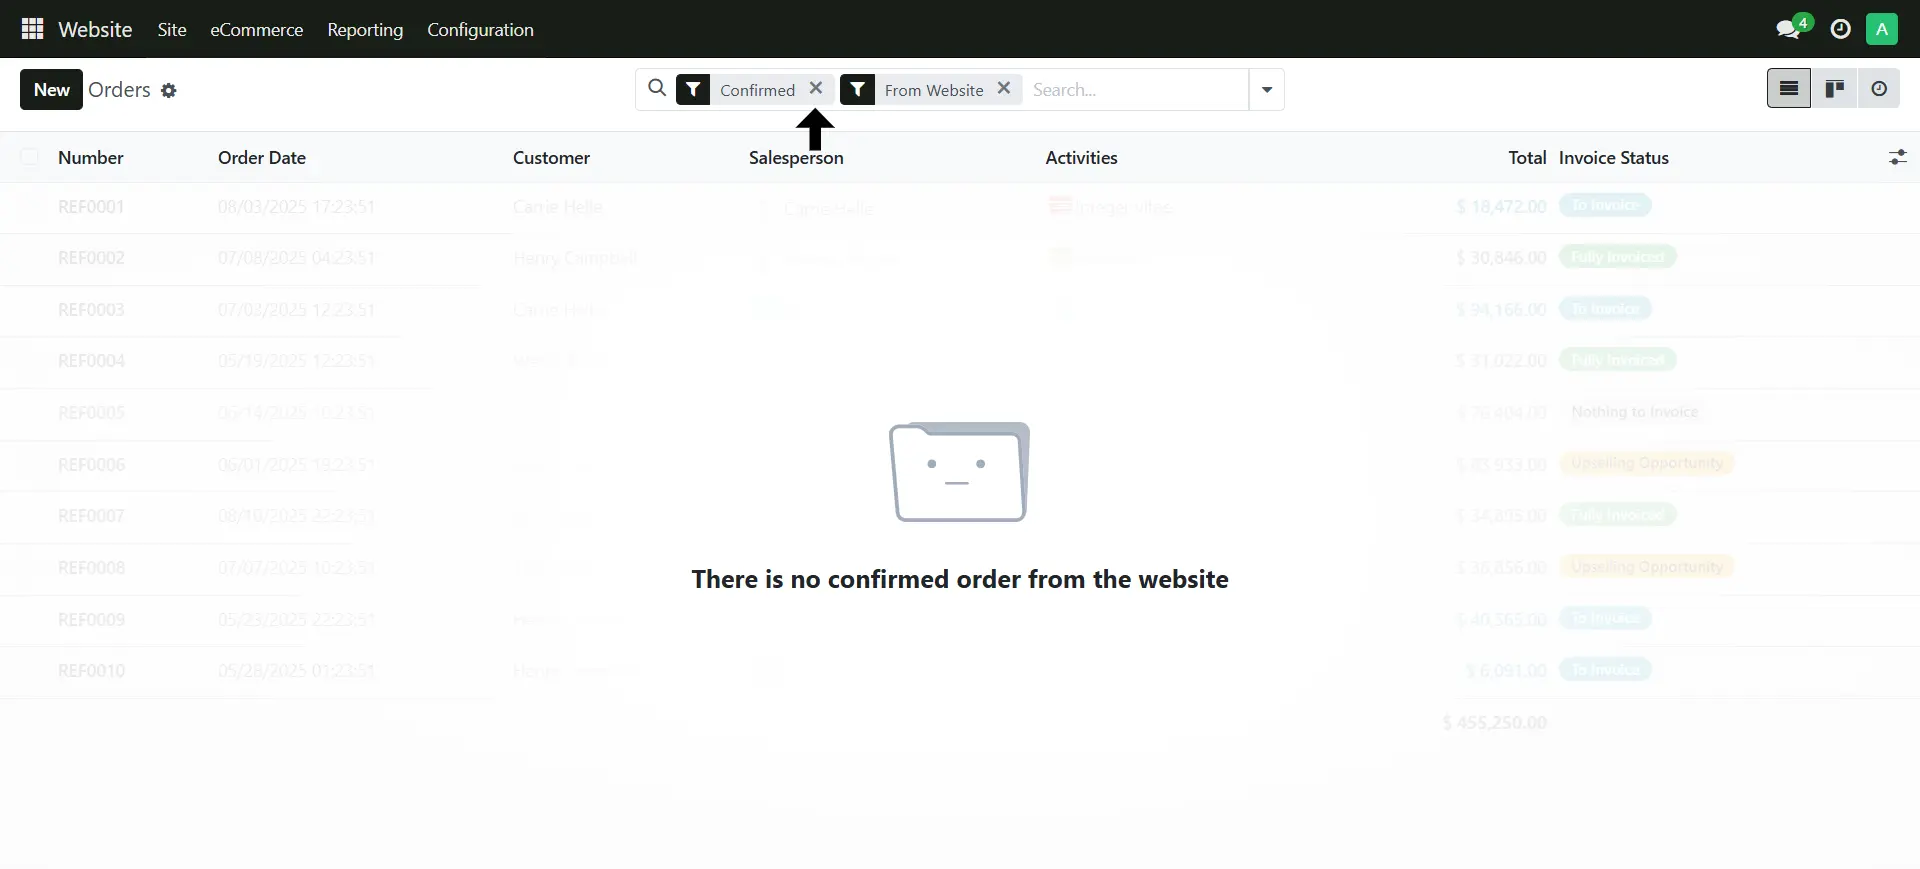
3. Here you can see all the orders coming from the website store
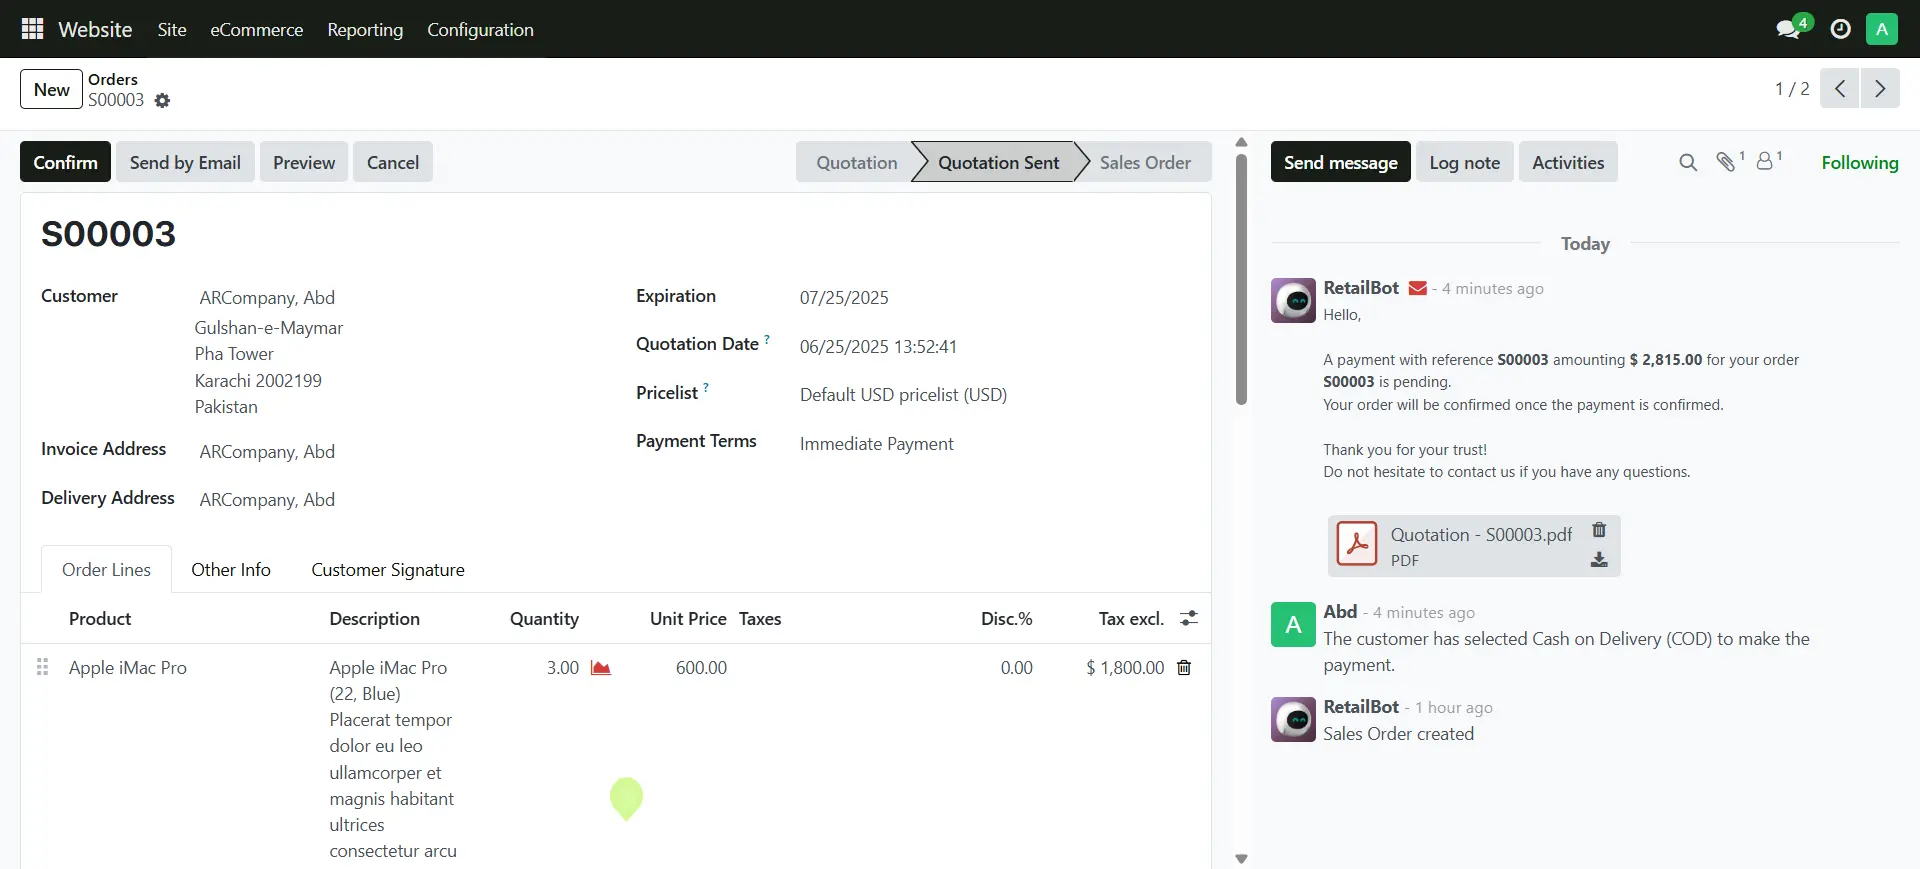
4. Here you can see all the order details
 For Free